#296 Tongue and Mushroom Crumble

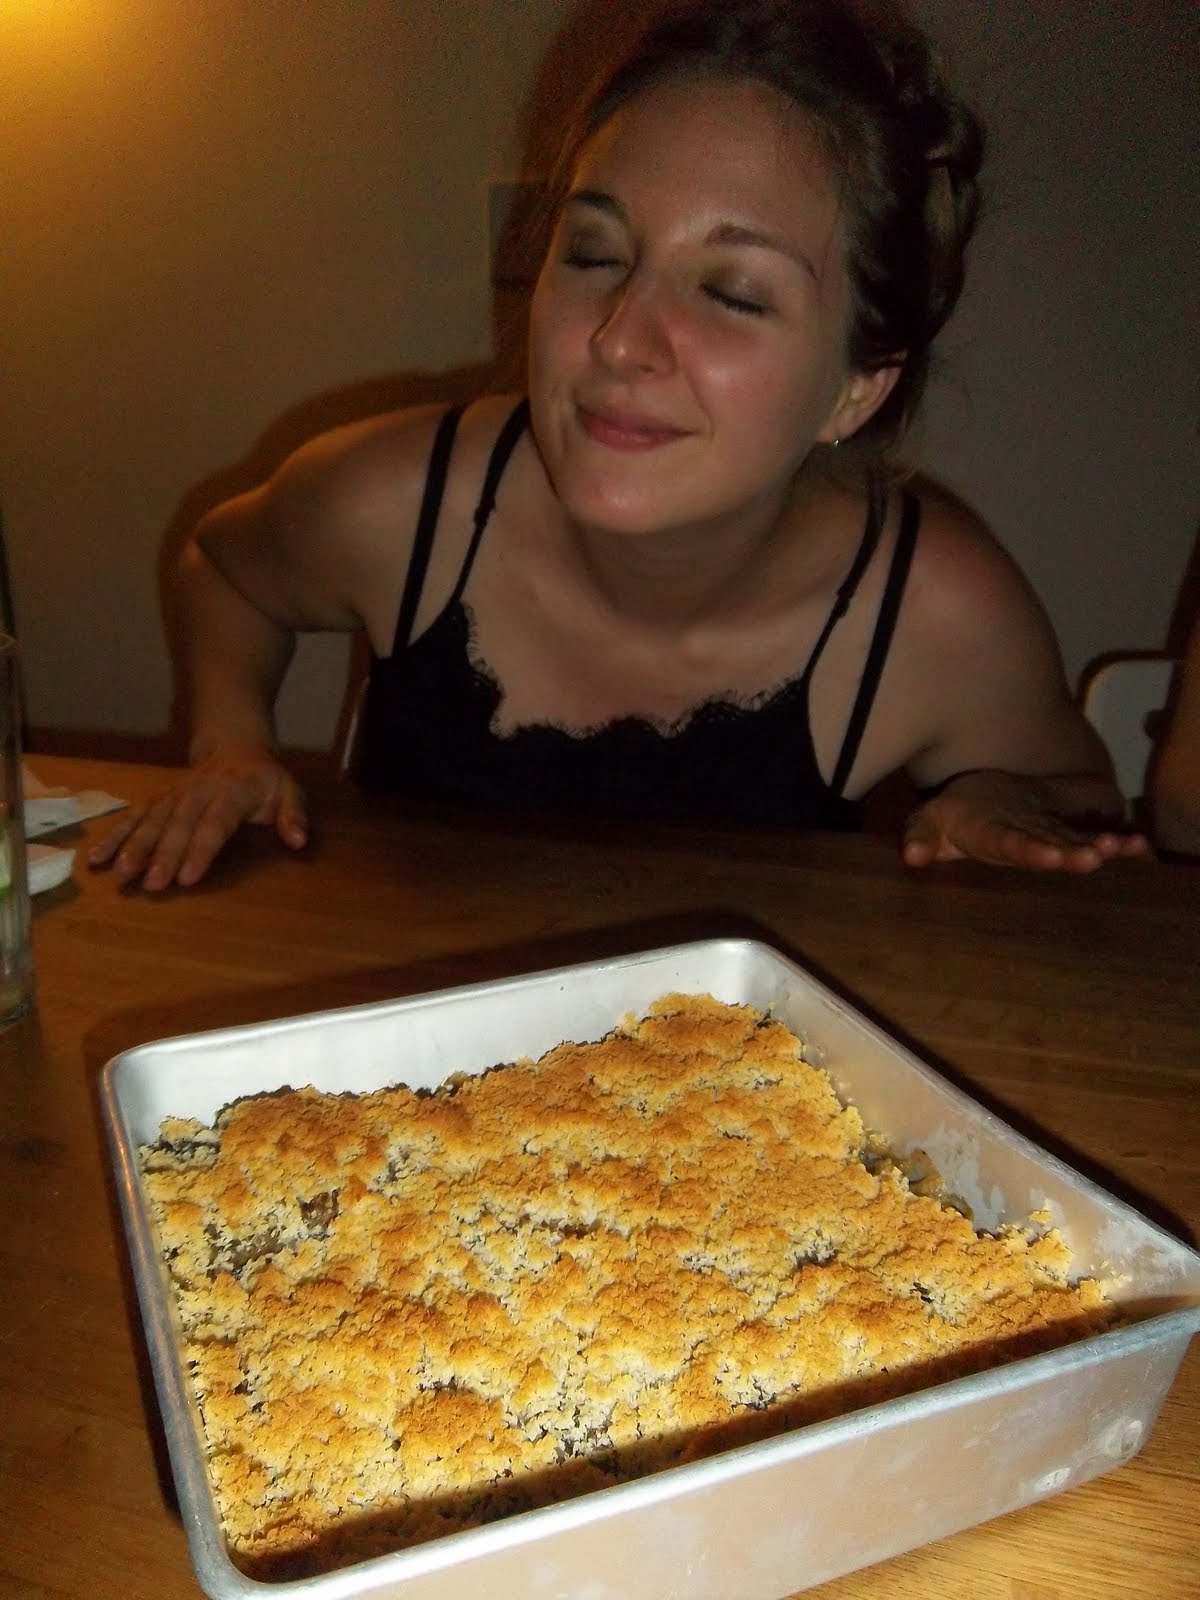
Around fifteen minutes after deciding to cook all the recipes in English Food, I had a first proper look through the good book. It was then I realised that some of the recipes were pretty bizarre, and this one stood out; I had not eaten tongue then, but now I have done a couple of tongue-based recipes so I wasn’t squeamish. Though a tongue crumble is still a bit weird. I made this and took it round to a small gathering of friends to try. There were mixed attitudes…

There’s not much of an introduction to this recipe – Griggers says nothing about it in the book and after an internet search, I was also none the wiser. Recipes did crop up, but there was, alas, no background or history to it. Here’s a nice painting with an ox tongue in it though:

Calf’s Head and Ox Tongue by Gastave Caillebotte, 1882

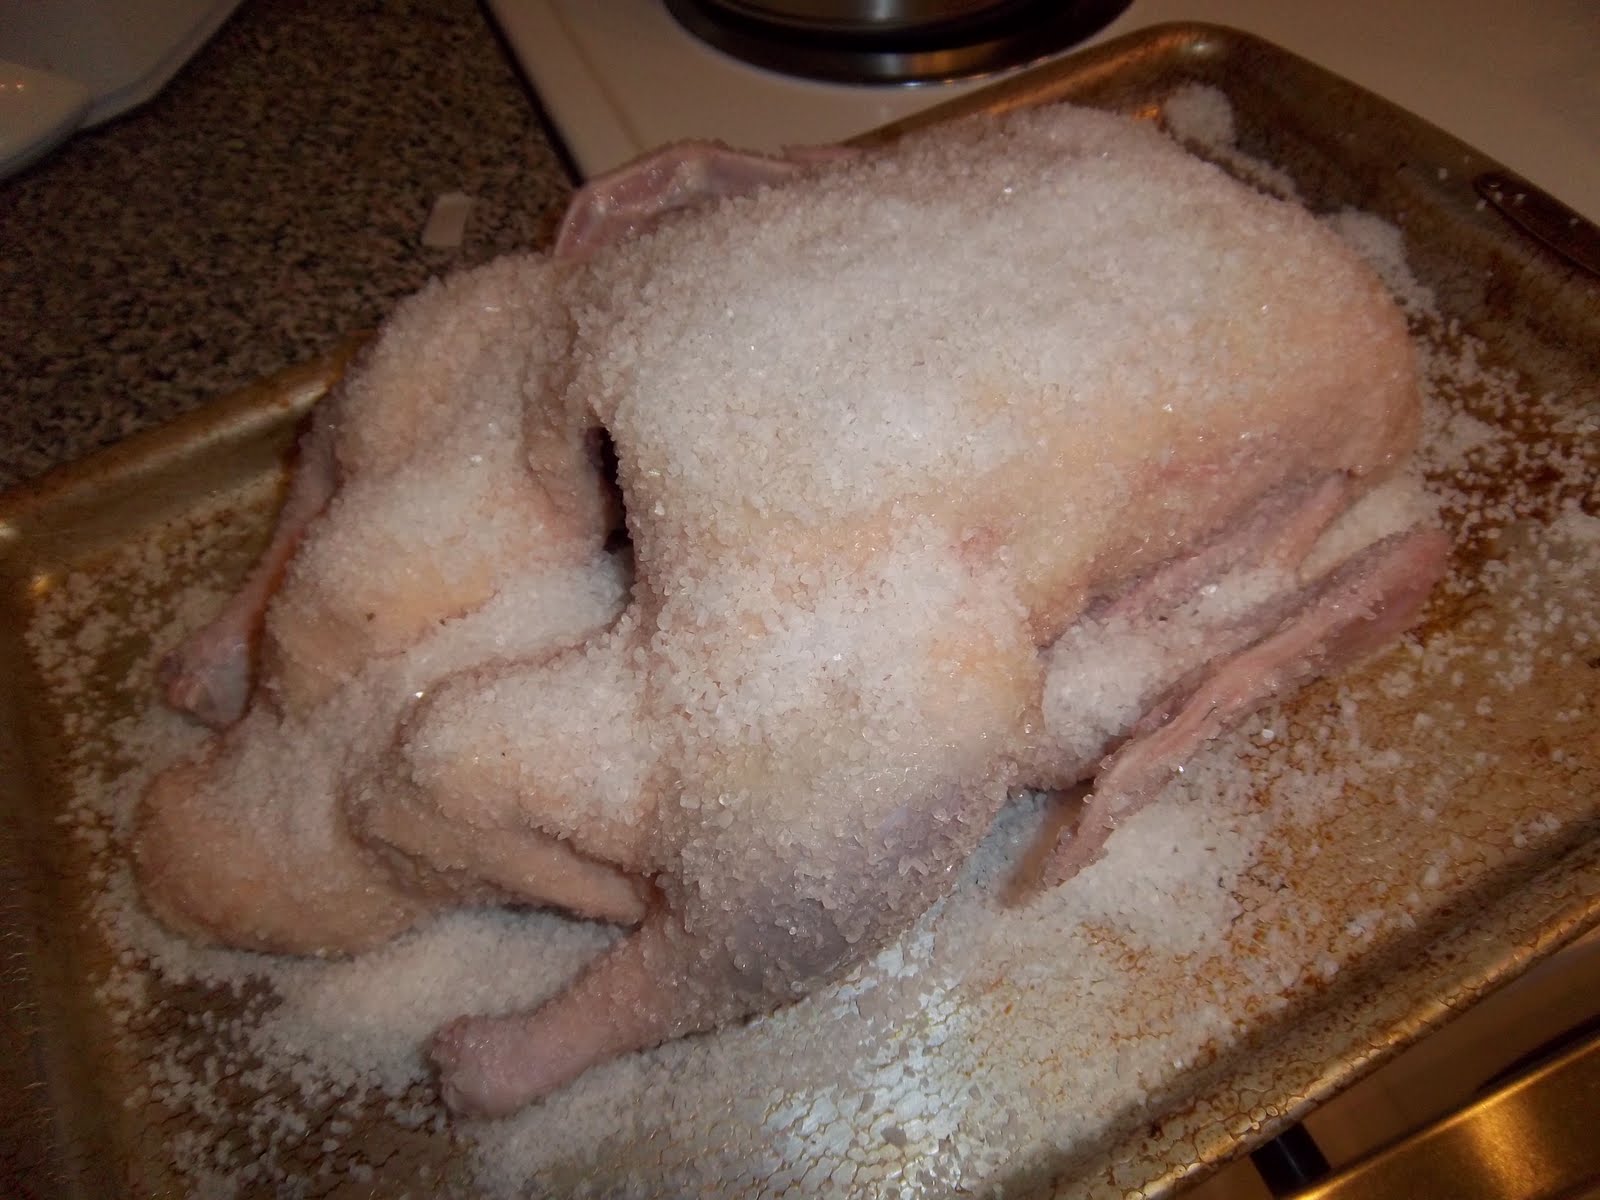
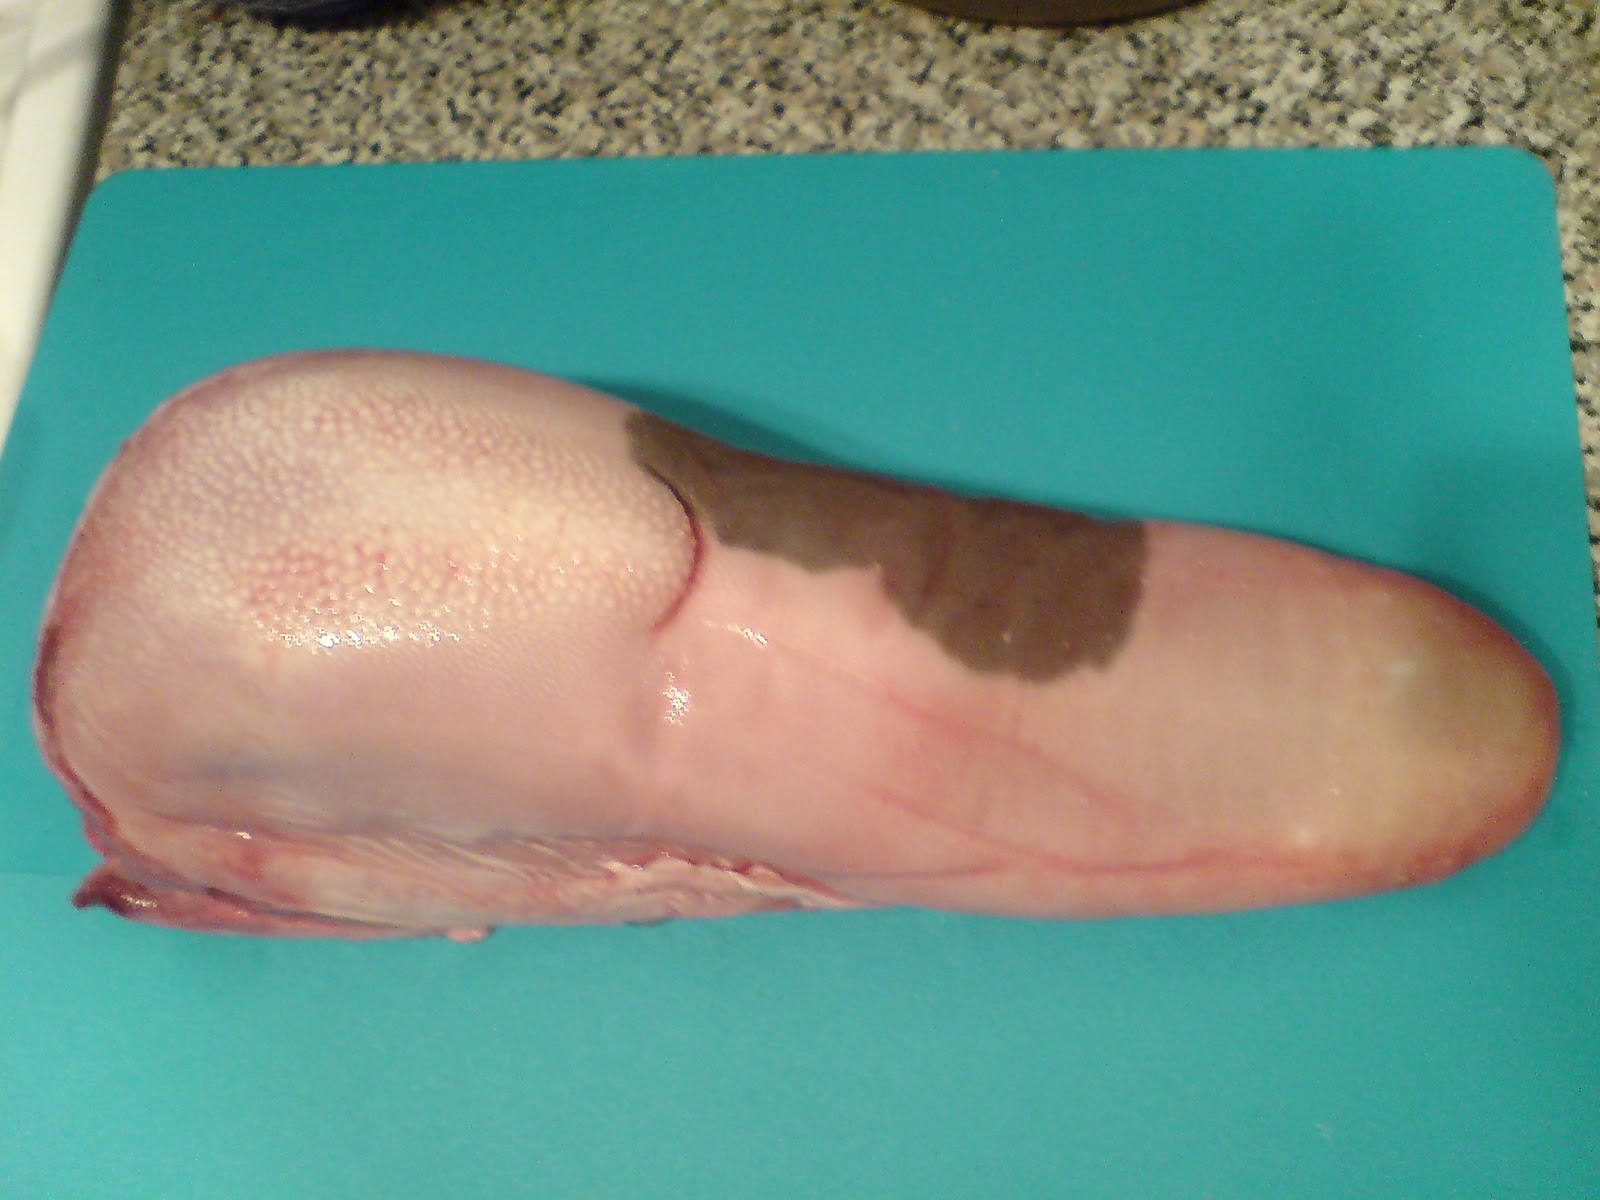
To make the dish, you need to start with pickled tongue weighing around 3 ½ pounds – you can use any tongue you like: ox, calf or pig (I went with ox). You can pickle them yourself (look here for a post that fills you in on this) or get them pre-brined by the butcher. The tongues should be just lightly brined, so if you are doing your own, just leave them in the brine for a day or two. If it’s from the butcher’s shop, you’d be best to soak the tongue(s) overnight in cold water as they may have been in his brine crock for quite a while.

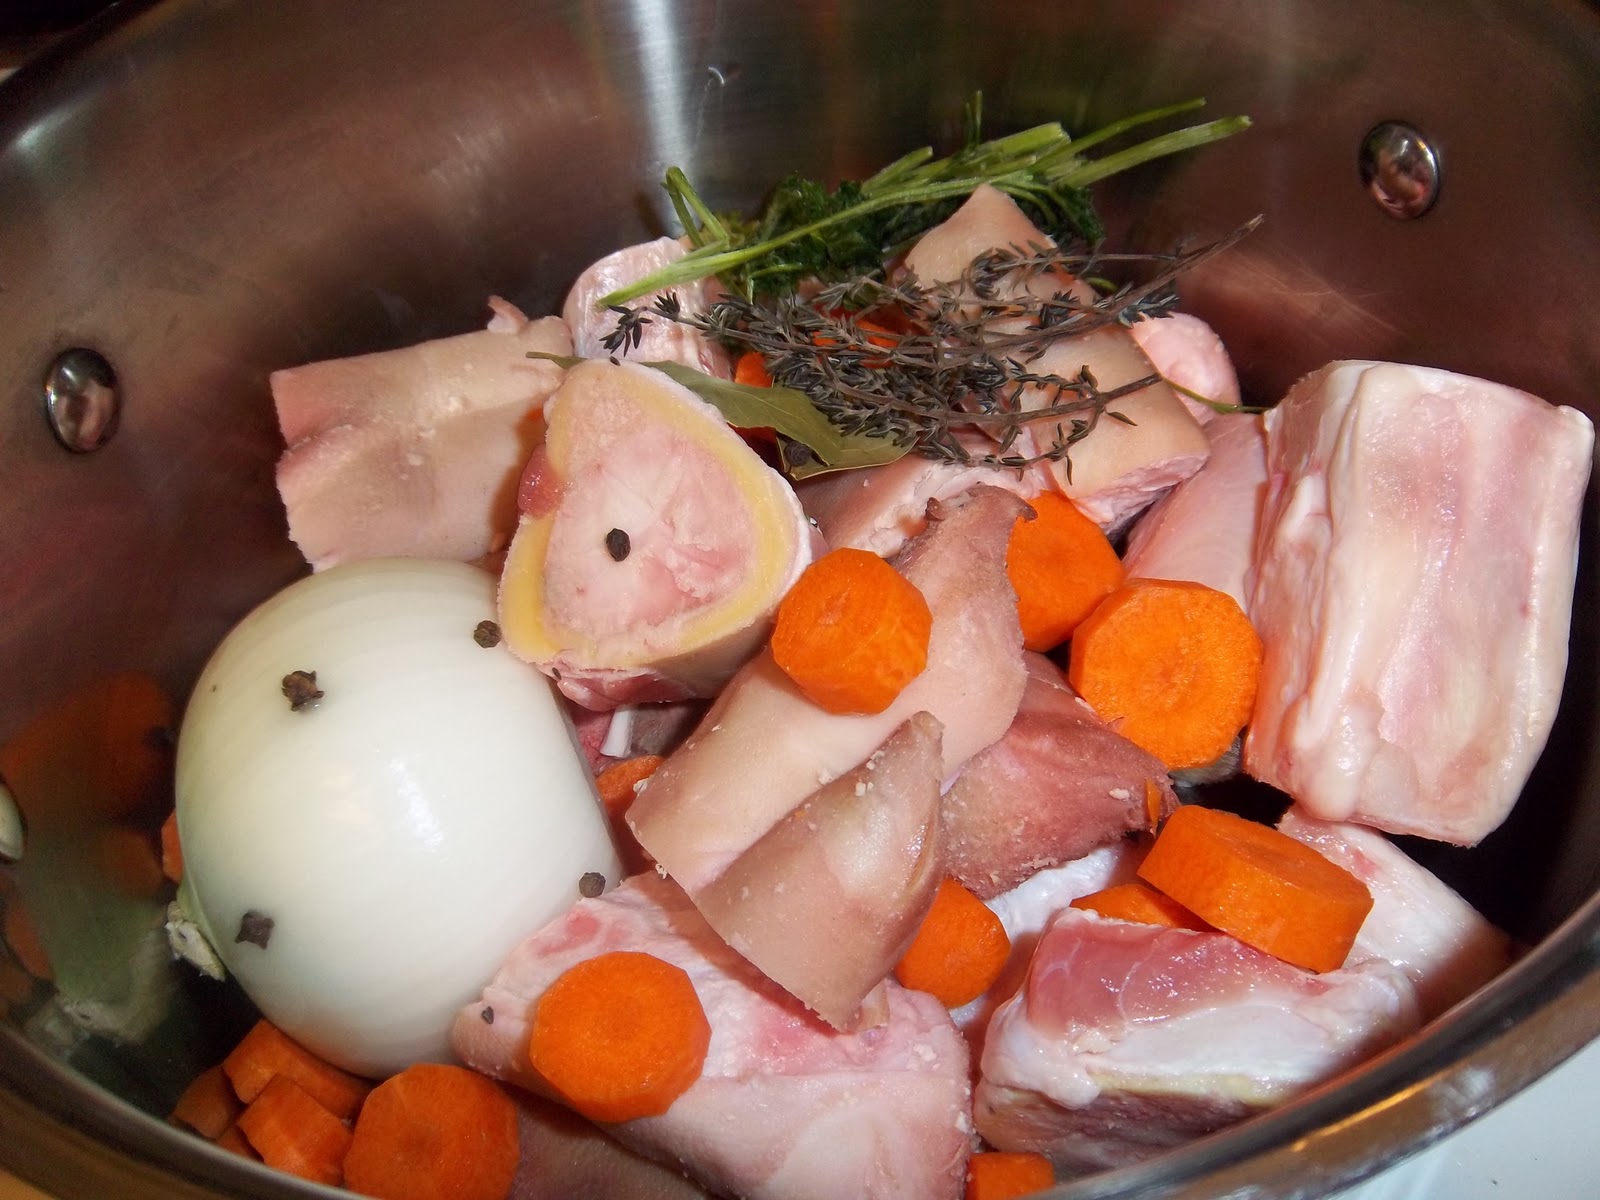
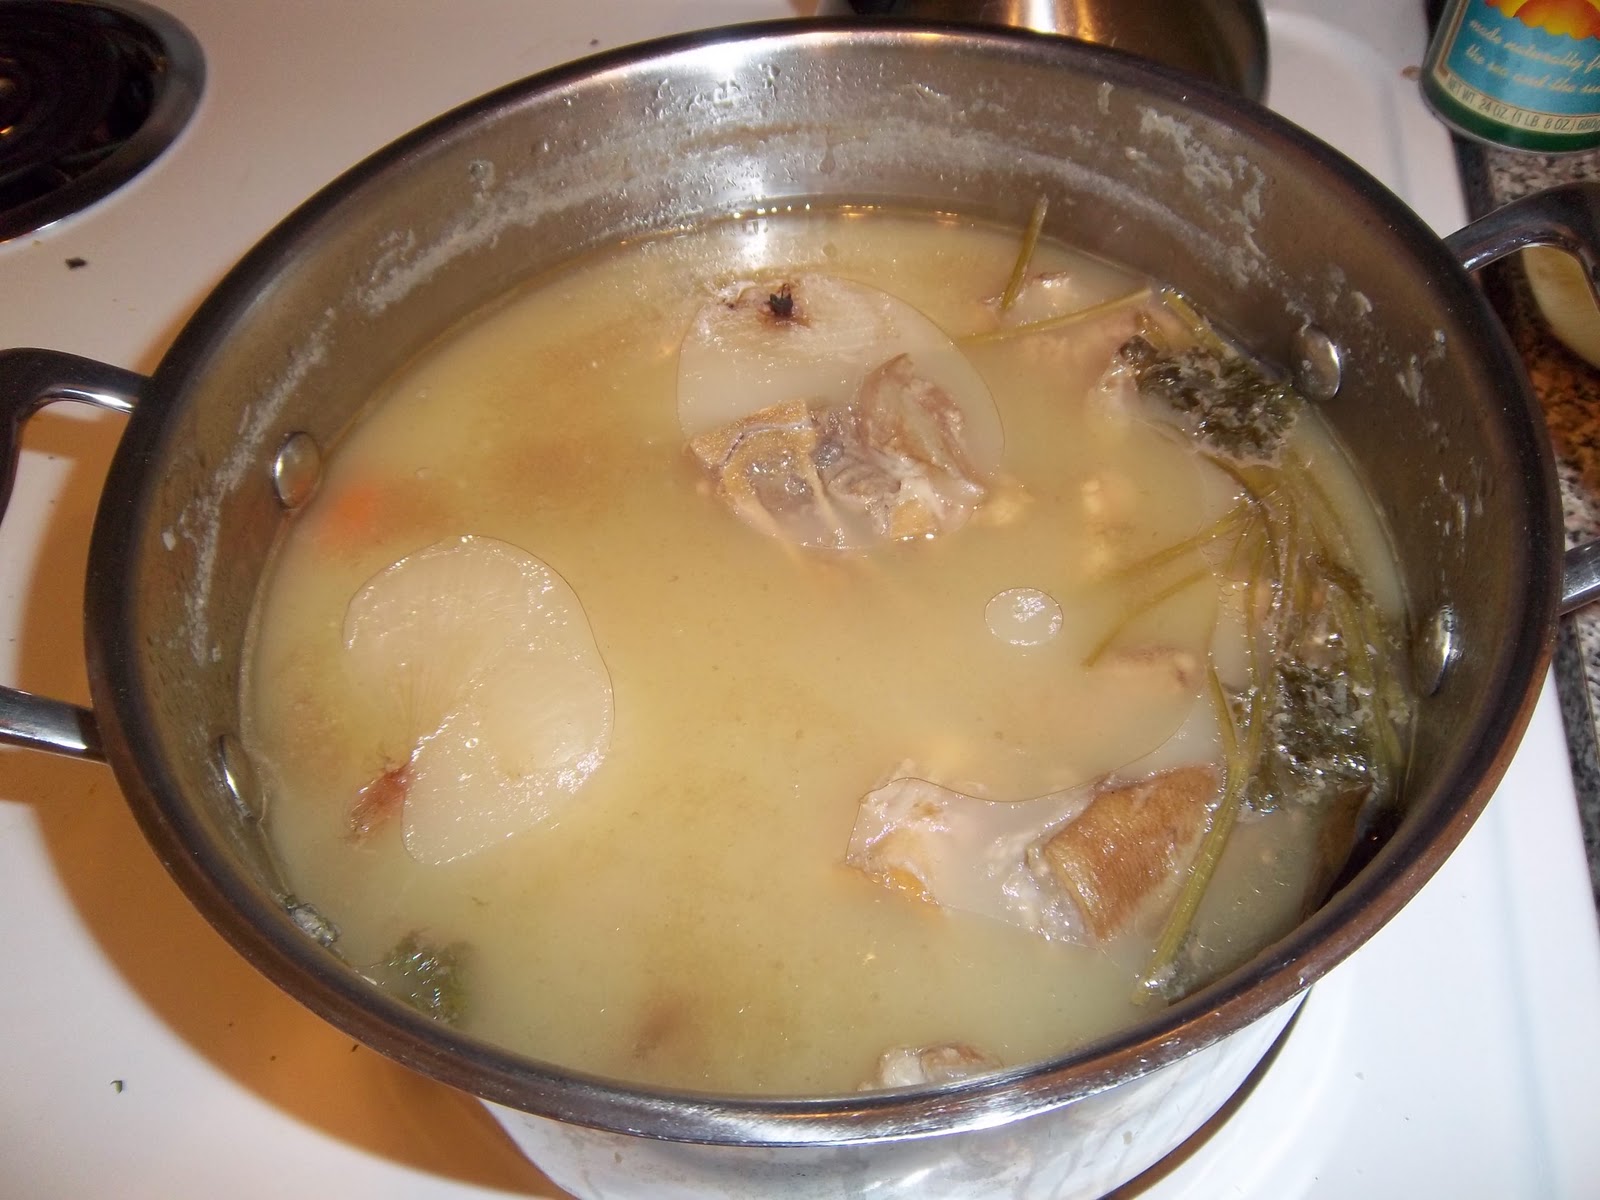
Place the tongue(s) in a stockpot along with a chopped onion and carrot, a bouquet garni and half a pint of dry cider. Top up with water to just cover. Bring slowly to the boil, skim if you need to, and simmer very gently until cooked – this could be one hour for pig, 90 minutes to two hours for calf and three hours for ox. You can tell a tongue is ready if a skewer goes in without much resistance. Don’t worry if you cook it too long, as long as the water was barely simmering, the tongue will still be moist, this because tongue is a fatty meat, around 70% fat in fact.

Take the tongue out of the pot, but keep the stock, let the tongue cool slightly so you can peel the skin off and cut away the sinew from the blunt end. There are some quite large blood vessels and sinew running along the underside of a tongue, so turn it over and cut that away too.

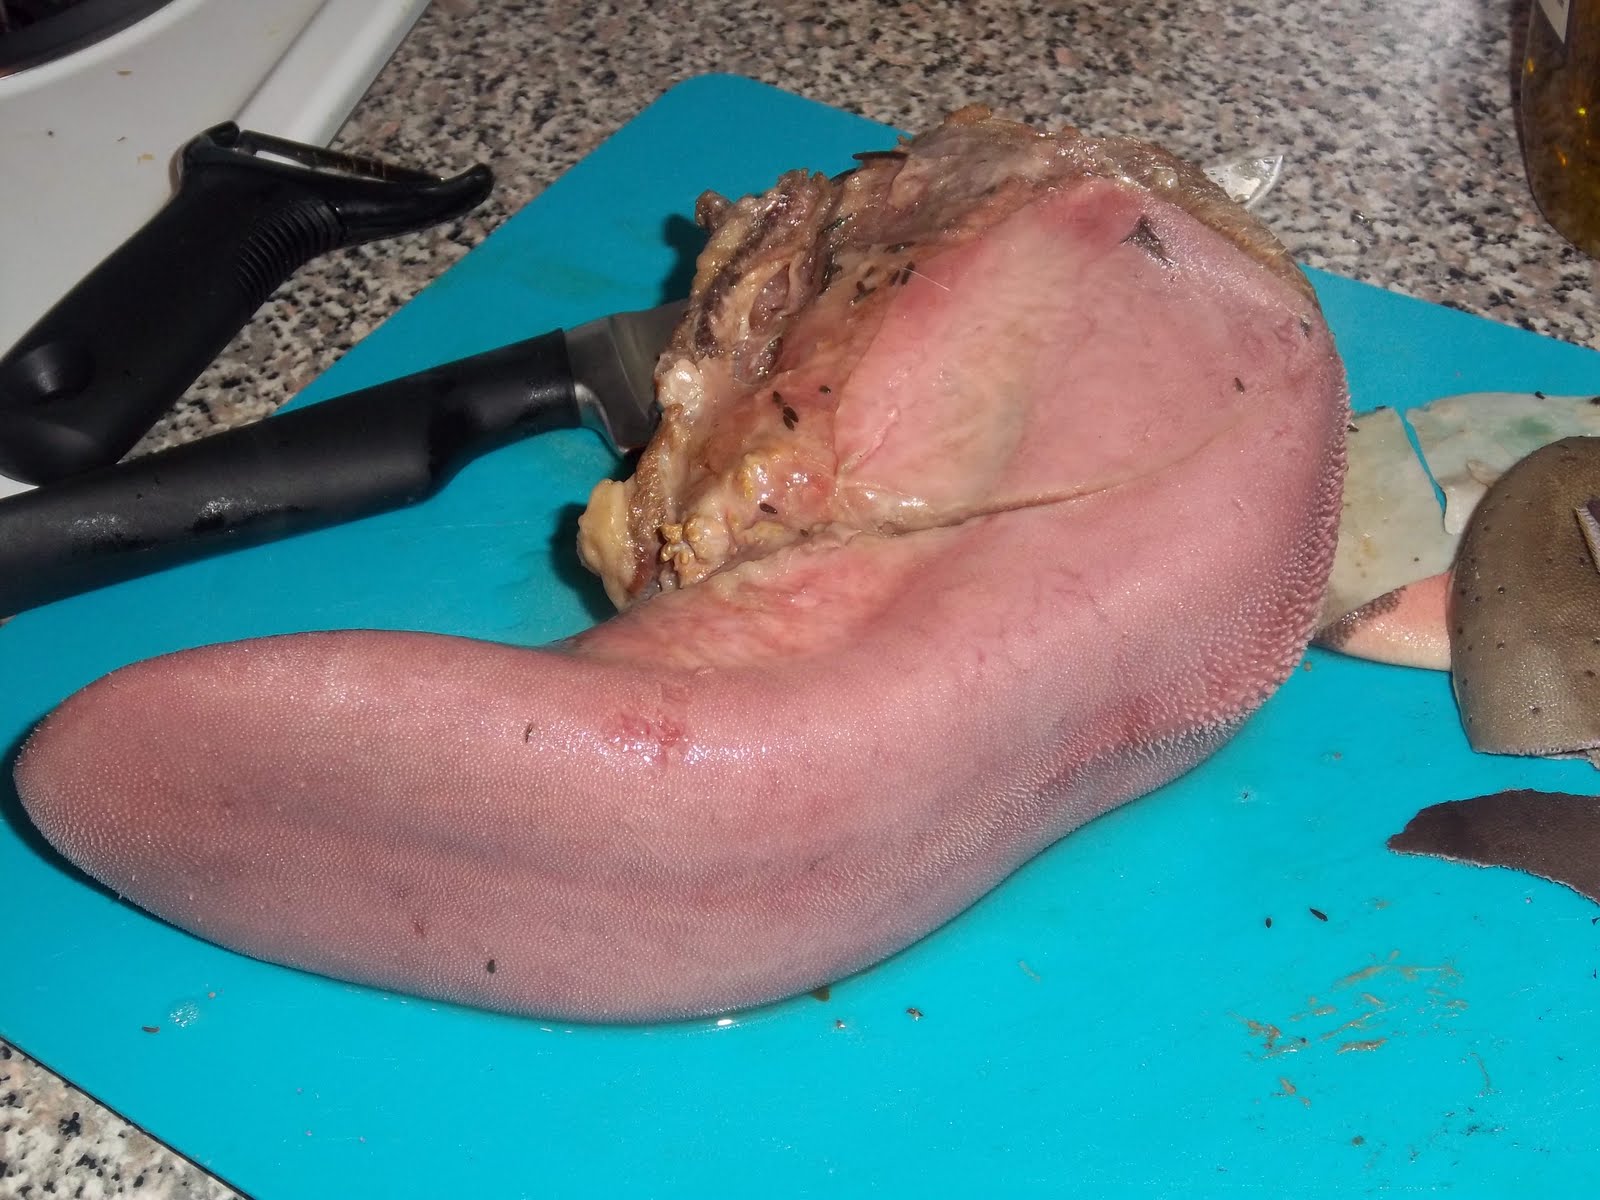
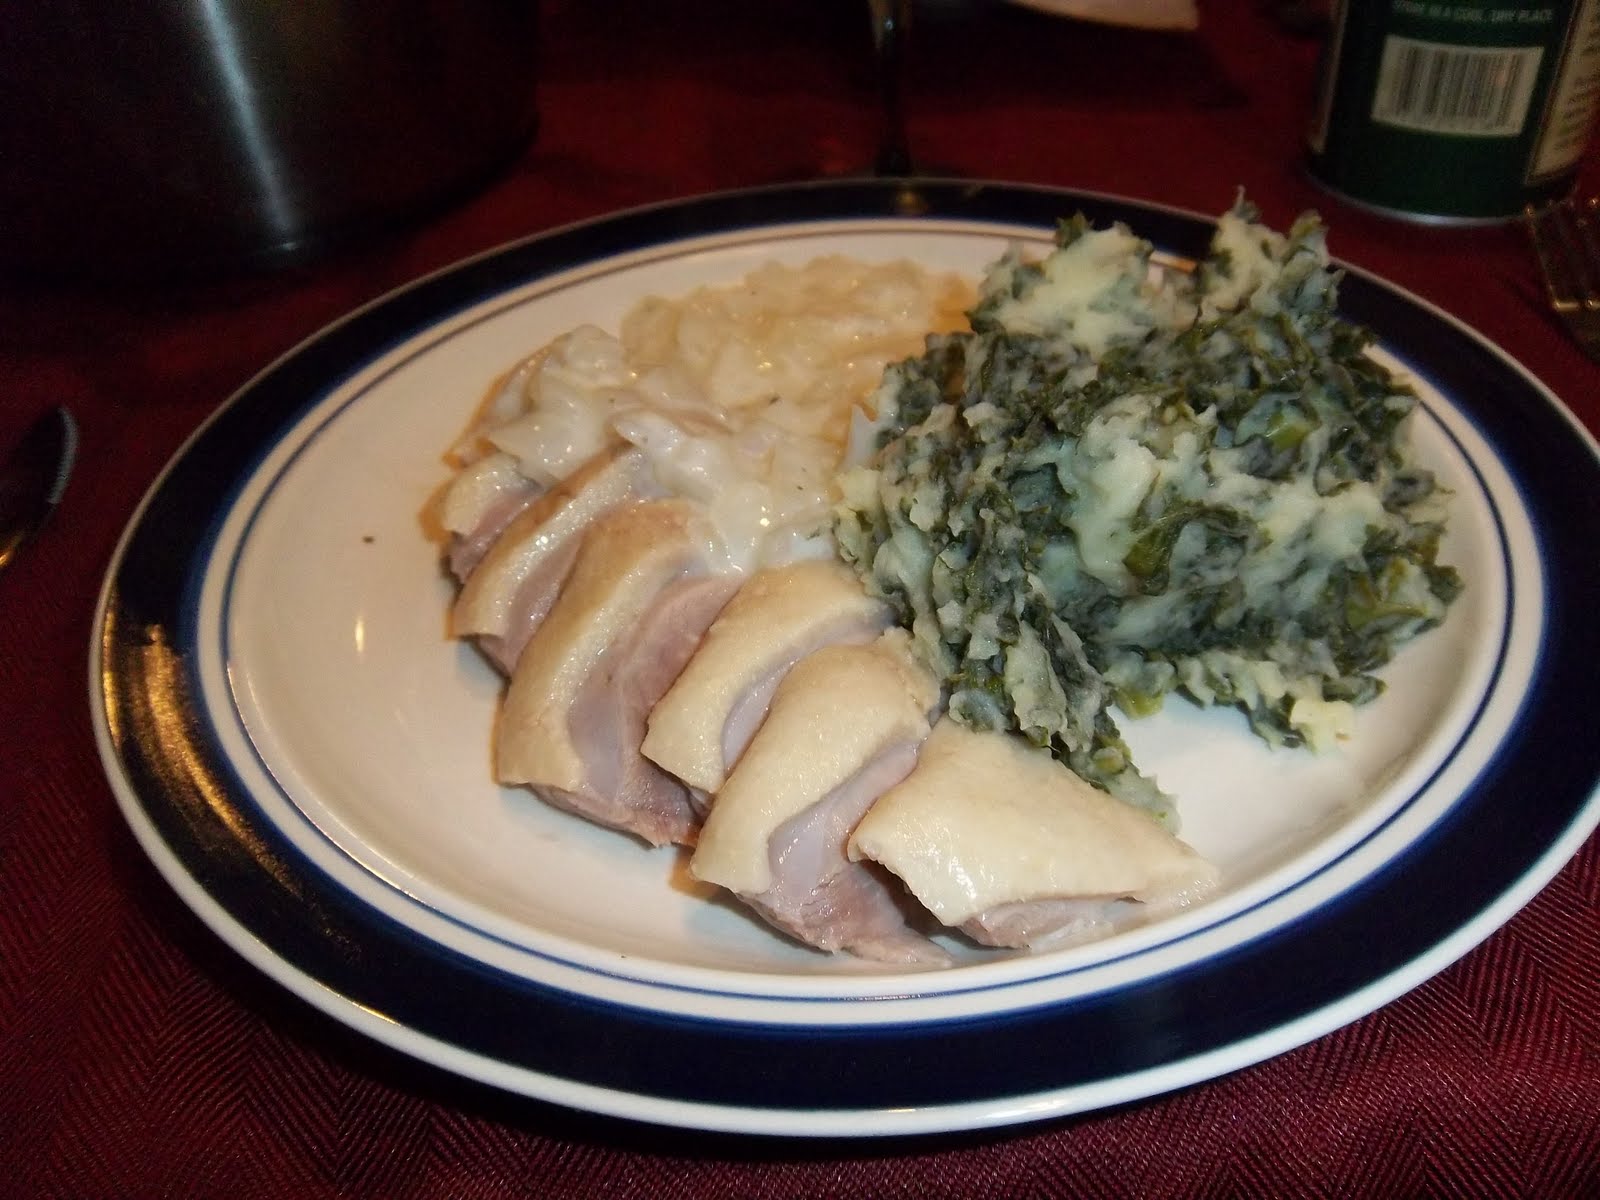
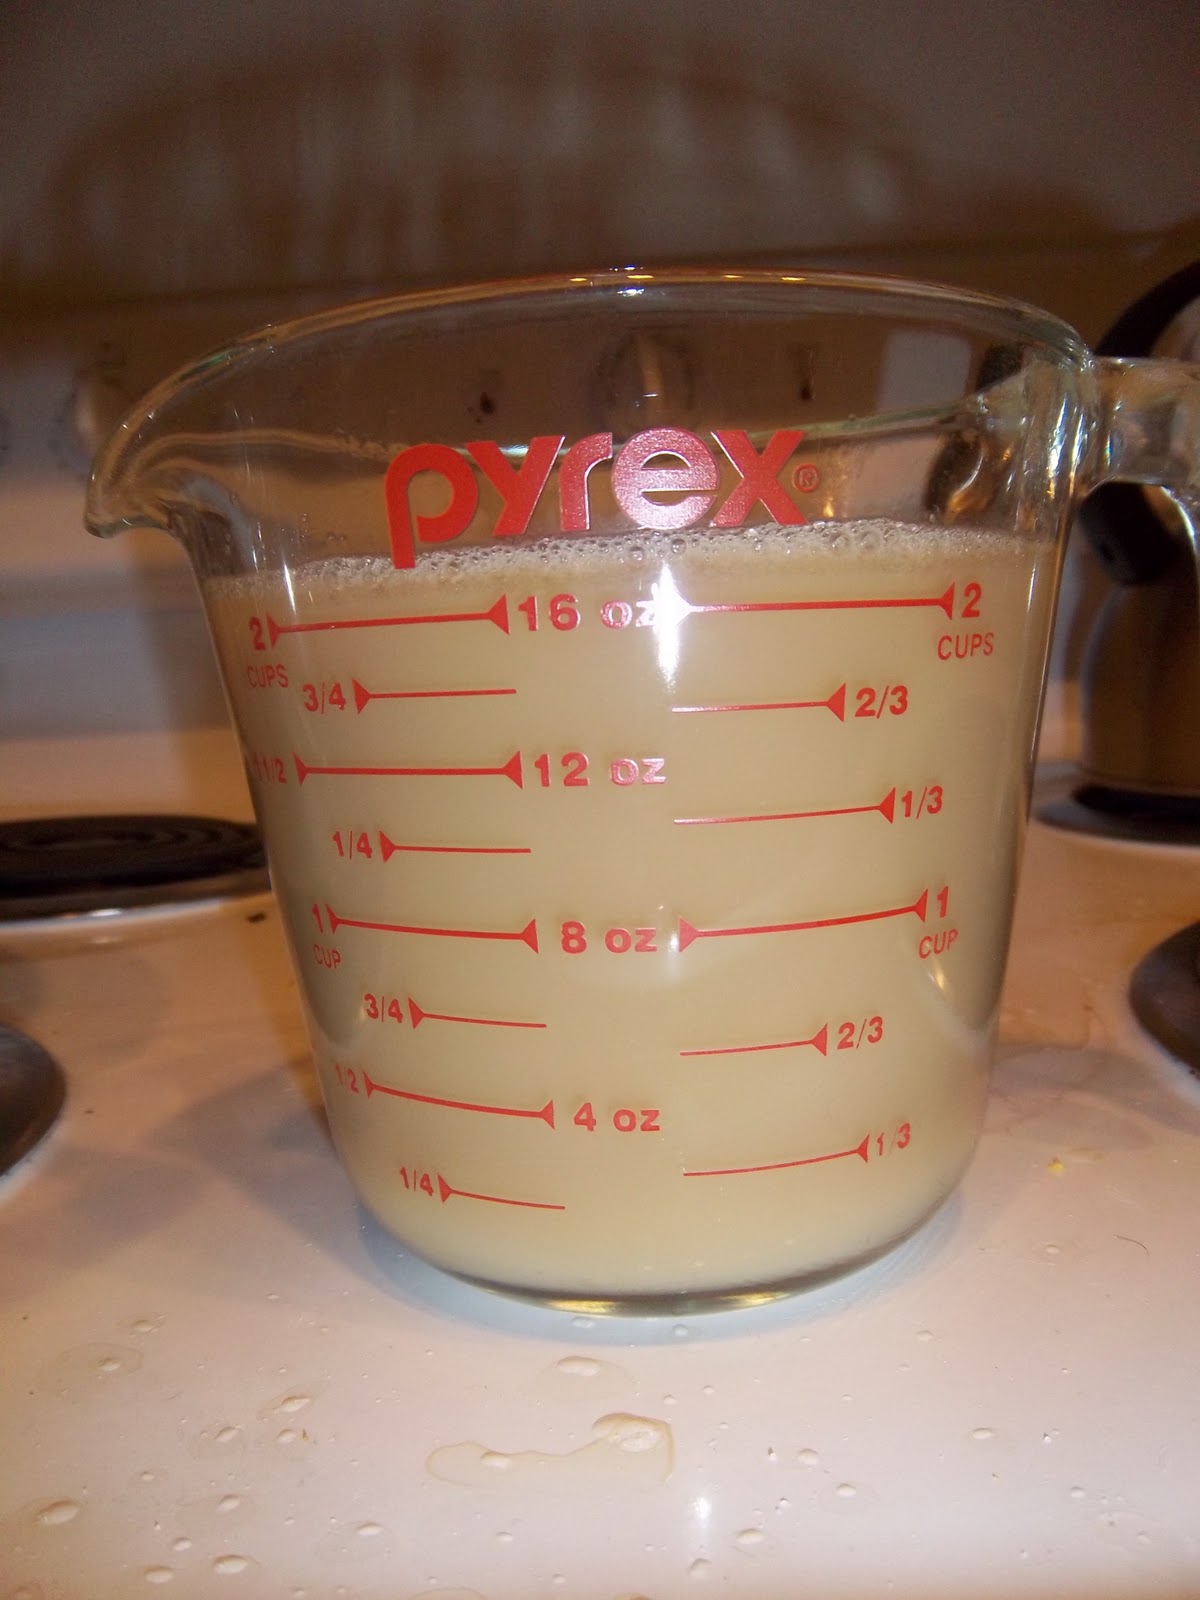
Now slice the tongue, removing any more gristle as you go – there is none as you approach half way. Arrange the tongue on the bottom of a buttered ovenproof dish. Next cook down 4 ounces of sliced mushrooms in one ounce of butter and scatter them over the tongue. Whilst they are cooking, finely chop a medium onion and cook it gently in two ounces of butter – cover the pan so it doesn’t brown. Once softened, stir in a rounded dessertspoon on plain flour and let it cook for a couple of minutes. Whisk in 6 tablespoons of dry white wine. It will instantly thicken. Thin it out with some of the stock until you have a sauce the consistency of thin gravy. Cook for a few minutes, adding more stock should the sauce become too thick, season and pour it over the tongue and mushrooms.

Next, make the topping by making some fresh white breadcrumbs using a blender. Griggers says to use 1 ½ ounces of bread, but you may need more. Sprinkle this over the tongue and sauce and bake in an oven preheated to 190°C (375°F) until all is bubbling. Because everything has been cooked already, it is just a heat-through that’s required, so it can all be made in advance.

Hannah gets a good lungful of tongue.
That sounded less gross in my brain than when read out loud.

#296 Tongue and Mushroom Crumble. Like most of the weird recipes in the book, this savoury crumble was pretty good. The corned tongue was very tender indeed and well flavoured too, and the mushroom lent an earthiness that always goes well with anything beefy. Much, much better than I expected 6.5/10.

#292 Isle of Man Salt Duck


After returning from my little trip back to England and Ireland, I wanted to cook something that evoked some memories of it whilst all was still fresh in my mind. There are no Irish recipes in English Food, but there are a couple of Manx recipes (if you are from the Isle of Man, you are Manx). When Hugh and I flew the short distance from Belfast to Liverpool, we looked out the window and he told me about the bits of coastline and other features, and of course the Isle of Man was pointed out, looking surprisingly small. I’ve never managed to go to the Isle of Man, but it looked very pretty from the air.

This is apparently a traditional Manx cured meat dish, but I did a quick internet search and could find any references to it at all, so I can’t give you any background information I’m afraid, Grigsoners. The cure is very simple to do; you simply have to pack coarse sea salt inside and outside of a duck 24-hours before you want to cook it. I assume in the days when this was done for actual preservation of meat, rather than for flavour, the duck could have been cured for several days or weeks. When you are ready to cook it, brush off the salt, rinsing off any tricky to remove bits and place in a pot with enough water to barely cover it.

Cover, bring to a simmer and let it happily gurgle away for between an hour and ninety minutes, depending on the size. I am always worried about doing the boiled meat recipes in the book, I always think they are going to come out insipid and boring, especially in this case as there was no call for any stock vegetables or seasoning with spices. I invited my friends Danny and Eric around to sample the delights – hoping it would taste okay…

If you like, you can cure your duck in brine instead – check out the recipe and instructions on brining meat here.

While the duck is simmering away gently, you can be getting on with the accompaniments: an onion sauce and colcannon (an Irish invention of potatoes and either cabbage or kale mashed together).

For the onion sauce, chop four large onions and add them to a pan with just enough water to cover them, season, cover with a lid, and allow them to simmer for fifteen minutes. Drain them over a bowl, so that the cooking liquor is saved. Add half a pint of milk and just under a pint of the liquor to the pan along with half an ounce of butter and bring to a simmer. Measure two level tablespoons of cornflour and slake it with a little more cold milk and whisk it into the hot sauce; it will thicken instantly. Simmer for a few more minutes so that the cornflour can cook out. Add the onions back to the pan and season with plenty of salt and pepper – very important here to season it very well – plus the grated rind of a lemon. Add more liquor or milk if it becomes too thick. This sauce can be (and was!) made in advance – make sure you keep it covered with a lid or some cling film to prevent a skin from forming if you do.

For the colcannon, boil equal amounts of potato and kale or cabbage together in a pan. Drain, and mash with butter and salt and pepper. If you are feeling extravagant, add a little blob of cream.
When the duck is cooked, make sure you let it rest for about twenty minutes before you carve it.

#292 Isle of Man Salt Duck. I must admit, when the duck was taken out of pan to rest, it did not look that appetizing with its podgy fat and no hint of colour. I’m used to eating roast duck. However, when I cut inside, there was the most tender duck meat within. It was salty, but not overpoweringly. It also had very subtle flavour too, as did the onion sauce, which I expected to be terribly strong. Instead, it was light and very good for a spring or summer meal. The colcannon was a great accompaniment too. This kind of good, but bland food, really requires heavy seasoning, otherwise it is in danger of becoming tasteless pap. This was not tasteless pap however: 7/10.

#290 Roast Pork with Crackling and Baked Apples


Man’s relationship with pigs goes back several thousand years. Acorn-eating wild boar were slowly tamed in European forests to become the slightly tamer proto-pig utilized by the Spanish, French and Greece. Swineherds had the unlucky job of attempting manage the unruly pigs. Modern pigs are not quite as wild as their forbearers, but do apparently revert to their feral behaviour quite readily. So beware.

Galen, the medical pioneer of the Roman era, enjoyed a bit of pork like his fellow Romans. What is odd is that he thought it tasted of human flesh. Whether this was a hunch or whether it was knowledge from experience, I do not know. He is correct though, the cannibals of the South Sea Islands, called the various explorers and pioneers they caught and ate longpigs due to their flavour.

The pig is famed for it versatility and pretty much all the animal can be used, and it is the pig that is the focal animal in Fergus Henderson’s wonderful nose-to-tail restaurant, St John in London (check out the blog here). I’ve never managed to get there unfortunately, but one day I shall! For any nose-to-tail fans out there, the ultimate delicacy must be Pliny’s personal favourite, the vulva of a sow who had aborted her first litter, according to Maguelonne Toussaint-Samat in her amazing book A History of Food.

This dish was cooked on my recent trip to England, where Hugh somehow managed to buy a massive shoulder of pork for £1.50. Absolute bargain. He’s a good bargain-hunter; in fact, he’s known for it! I pounced upon the opportunity to roast it the Grigson way which includes baked apples as well as a glaze to go over the crackling. I imagine a sweet glaze would go down well with Texans going by this sign I spotted at the rodeo:

It’s worth mentioning that it is best to buy the largest joint you can afford, the meat will be much more moist and tender in a large joint than a small one. This particularly applies to pork that benefits from a good blast of heat and then a slower roast on a lower hear than say, beef.

As mentioned I used shoulder here, but you can use leg or loin. If the meat has a bone in it, ask the butcher to remove it but ask to keep it. Also ask him to score the rind, every centimetre or so. You can do it yourself with a razor-blade. Make sure that the rind is nice and dry and season the joint all over. You can, leave it overnight in the brine tub, but if you do this, you won’t get the crackling. Seeing that the crackling is the best bit, I wouldn’t recommend it. If you have bones, pop them in a saucepan with a chopped carrot, a peeled onion studded with three cloves and a bouquet garni. Cover with water and allow it to simmer for three or four hours. Strain and reduce to ¾ of a pint. If there was no bone, use some pork or vegetable stock and simmer for just an hour.

Heat the oven to 220°C (425°F) and rub the skin of the joint with some oil and sprinkle with some salt. Cook for 35 minutes to the pound (1 ¼ hours to the kilo). Place in the oven and turn the temperature down after 20 minutes to 160°C (325°F). An hour before the end of the cooking time, prepare the apples. You need one per person, and use Cox’s Orange Pippins if in season. If not, use Braeburn or Mackintosh. Score a circle close to the tops of the apples, to prevent the skins bursting and nestle them around the joint. If you don’t want baked apples make an apple sauce.

Next prepare the glaze. Melt a tablespoon of redcurrant jelly in a pan and mix in a tablespoon of French mustard as well as half a tablespoon each of cream and soft brown sugar. Paint the glaze all over the crackling in the final half hour of cooking.

When ready, remove the joint from the oven and let it rest for at least 20 minutes. While you are waiting, make the gravy. Melt an ounce of butter in a pan and when it goes a nutty brown colour, stir in a tablespoon of flour. Whisk in the stock and add any meat juices from the roasting pan.

Voila!

#290 Roast Pork with Crackling and Baked Apples. I have eaten roast pork many times, but never actually cooked, but I can honestly say that this was the best roast pork I’ve ever had from a domestic oven. It was so tender, it took no effort to slice and the glazed crackling was half crispy, half chewy and almost toffee-like. The baked apples were a revelation. An absolutely fantastic roast dinner! 9/10.

#289 Quail

And the LORD spake unto Moses, saying,
I have heard the murmurings of the children of Israel: speak unto them, saying, At even ye shall eat flesh, and in the morning ye shall be filled with bread; and ye shall know that I am the LORD your God.
And it came to pass, that at even the quails came up, and covered the camp: and in the morning the dew lay round about the host.

Exodus 16:11-13

As you can see, eating quail has gone back a good few years. You don’t see them very much in the UK these days; I’ve perhaps seen them twice at Farmers’ Markets. The USA, however, is chock-full of tricky-to-find ingredients to help me with this blinking blog project.

Although classified as a game bird, quails are farmed these days as they’re not very common, and it is now illegal to kill them, so if you hear one chirping away in a nearby field, let it be.

People in the Middle Ages certainly did not let them be, because they loved them. Actually they ate everything it seems. Here’s a list I found of their favourite game: quail (natch), partridge, pheasant, hare, rabbit….ok thus far, all Grigson recipes, but then… rook, crow, raven, lark, sparrow, capercaillie, peacock, stork, heron, swan, crane and bittern. Phew! A certain Alfred Gottschalk says on the matter: ‘It is wonderful that the stomach of man can profit by all manner of birds, and yet there are some of them that even starving dogs would not eat.’ Quite.

Griggers doesn’t give that much detail on how to cook them, in fact this is the whole recipe: ‘…they can be browned in butter and braised with a little stock, port wine and orange peel.’

So that is exactly what I did. They were browned in a cast-iron casserole and covered in a quarter of a pint of chicken stock and a good slug of port, along with some salt and pepper and some pared orange peel and popped them in a 160°C (325°F) for 20 minutes. I then took them out to rest and used a beurre manie (i.e equal weights and butter and flour mashed together) to thicken it. I served it not with the usual game accoutrements (bread sauce, game chips etc), but mashed potatoes and some wilted spinach.

#289 Quail. One of the mildest of the game birds, pale-fleshed and light to eat. It’s difficult to keep these tiny moist so quick cooking is required. The port wine and orange gravy was delicious and didn’t overpower the birds. These smaller game are good, but I think I prefer the stronger birds like pheasant and pigeon. I did enjoy feeling all medieval having an entire animal sat on my plate, so just for that it was worth cooking them. 6.5/10.

#284 Veal, Ham and Egg Pie

Okie dokie, so the last two posts have all been on the subject of raised pies. The first one explained how to bake and construct one, and the second explain how to make the jellied stock. Now it is time for an actual filling to complete the full recipe.
This is the first of several fillings for raised pies from the book, and I must admit that I have been putting off making one in case it was a disaster. In the end it was a delight to make.
I chose this recipe because it seemed the most basic, with the easiest ingredients to get hold of; the nearby Central Market sells a range of veal cuts, which are usually tricky to get hold of. Strangely enough, the tricky item to get hold of was the unsmoked and raw ham, gammon or bacon. I searched high and low for it, but to no avail. Luckily, I am now pretty good in the kitchen these days and knew I could cure my own ham overnight in the brine tub I now have sitting at the back of the fridge ready to leap into action whenever I need an emergency curing. I bought a bit of pork loin as it is the leanest cut.
So, to make the filling you will need to hard boil and shell four eggs. Whilst they are bubbling away, get the meats ready: cut up 1 ½ pounds of ‘pie veal’ (I took this to mean cuts for casserole, like shoulder) along with 12 ounces of unsmoked bacon, ham or gammon. You want chunks around a centimetre in size. Add the grated rind of a lemon, a tablespoon of chopped fresh parsley, a teaspoon of dried thyme. Mix these together well with a decent  amount of seasoning. Pack half of the mixture in the pastry-lined mould. Place the eggs inside and then the remaining filling (see the raised pie post for pics of this). Then bake as described in the raised pie post.
#284 Veal, Ham and Egg Pie. Whew! This pie pretty much took me a whole Sunday to make. It was worth it though. The filling was wonderfully light and fresh tasting due to the herbs and lemon and the meat flavour was quite subtle, the whole thing kept moist by the jellied stock. The pastry was crisp and tasty too – hot water pastry is so easy, I can’t believe I put it off for so long. I brought it into work for people to try and it seemed to go down pretty well and I’ve been eating it through the week. There’s one slice left know, and I already miss it. Cannot wait to try the next one. I think i have found my calling as an artisan pie-maker extraordinaire! An excellent pie! 8.5/10 (I’m not marking it higher, in case the others are even more delicious!).

#283 Jellied Stock

If you are going to attempt to make a raised pie, then you need to make a jellied stock. The jelly in these pies is either loved or hated. Many people can’t stomach the thought of savoury jelly I think and either have to pick it out or avoid eating these delicious pies altogether. The jellied stock is very important though. The meat inside is cooked for a long time and can dry out a little – some water escapes through the hole in the top and some is absorbed by the pastry. The stock soaks into the meat, making it nice and juicy again and it fills any gaps made by the shrinking contents.
So here’s the recipe. You could, of course, just use some stock and gelatine, but that would be cheating!
First you need some bones that will release alot of gelatine, so use either two pig’s trotters or a veal knuckle – ask the butcher to cut them into several pieces for you. To these, add any bones you may have left over when you prepared the fillings. You’ll also need a sliced large carrot, a medium onion studded with three cloves, a bouquet garni and twelve black peppercorns. Place all of these in a big stockpot.

From this…
Now add four to five pints of water, bring to the boil, skim off any scum and cover and simmer for three to four hours.

…to this…
Strain the stock through some muslin into a clean pan and boil it down until it is a concentrated ¾ of a pint. Season it with some salt and more pepper if required. The stock is now ready to be funnelled or poured into the raised pie (see here for instructions).

…to this!

#283 Jellied Stock. I won’t write a review for this as it’s not a dish in itself, but I will say that it was a very satisfying process; condensing that big set of ingredients into the viscous well-flavoured stock. Made me feel like a real baker.

#282 Raised Pies

Is there anyone who doesn’t like a pie made with hot-water pastry? Everyone, I say, from the Mayor of Melton Mowbray to, er, Sweeney Todd. Oh, except for vegetarians. They’re so quintessentially English and I’ve not seen anything remotely close here in Texas. I must admit I’ve been putting off making these pies – I’d never made one before and I knew that it would take a lot of time, and presumably, effort. However, I felt I was ready – and so I should be because there are several to do in this book so I need the practice. Hopefully I’ll get it right first time.
So, for those of you not in the know, a raised pie is a pie made from pastry using boiling water and lard, unlike shortcrust pastry that is kept as cold as possible. Hot water pastry achieves a putty-like consistency that allows the pie mould or tin to be moulded and raised up the sides of the tin, rather than rolled. The hot water makes the pastry very absorbent too; you need this as the filling cooks and releases juices. Normal pastry that contains butter would just turn into a sloppy mess. Raised pies became crazily over-the-top in the seventeenth and eighteenth centuries. Elizabeth Raffald’s receipt for a Yorkshire Goose Pie gives the following instructions:
Take a large fat goose, split it down the back and take all the bones out. Bone a turkey and two ducks the same way, season them very well with pepper and salt, with six woodcocks
You don’t get pies like that in Yorkshire nowadays, I can tell you. Imagine the meat sweats you’d get from a slice of that!
The raised pie hasn’t quite fallen out of favour in Britain these days – I’m sure Melton Mowbray pork pies are as popular as ever, but that’s all you generally see now. The book proffers more, and I shall be adding them as I go. The basics are: Pork Pie; Veal, Ham and Egg Pie; Raised Mutton Pies; and Game, Chicken or Rabbit Pie. They all have the same basic parts: the pastry, the jellied stock and the filling itself.
It all seems a bit complicated, but it’s not really. In this post I’ll deal with the construction and baking of the pie. The jellied stock and the fillings can have their own posts (these are coming in the next day or two).
Begin by making the hot water pastry. Bring a third of a pint of water and six ounces of lard to the boil. In the meantime, weigh out a pound of flour and place in a bowl with half a teaspoon of salt. When boiling, tip the water and fat into the flour and mix quickly – electric beaters are the best for this, but don’t use a high speed as the pastry won’t bind properly. To enrich this pastry add an egg, or a tablespoon of icing sugar. Cover the dough and leave until it cools enough to handle, but don’t let it cool down completely. Take three-quarters of the pastry and put it in a six or seven inch cake tin with removable base. You can buy fancy hinged raised pie moulds – they are quite expensive though, but they are beautiful (see this link). Quickly, but carefully, mould the pie by gently pushing the pastry up the sides of the mould or tin until it overlaps the lip, making sure there are no holes or tears. If it just flops down, then it is too hot. Wait five minutes and try again.
If you want to make small pies, you can mould the pastry around the outside of a wide rolling pin or a jam jar. This method is required for the mutton pies. This is alot trickier apparently. So unless you can avoid it, do the big pie.
Now you can start on the jellied stock and prepare your pie filling. Pack the filling well into the raised crust.
…if it mounds up above the rim, so much the better.
Roll out a lid with the remaining pastry and fix in place with a little beaten egg, making a hole in the centre for steam to escape. Decorate the pie with leaves and roses using pastry trimmings. It’s strange that savoury pies have the ornate decorations in England and that the sweet ones are left plain. I don’t know why this is. Anyway…. Brush the lid with more egg (don’t throw unused egg away, you’ll need it later).
Bake in the oven for half an hour at 200°C (400°F) to colour the top, and then lower the temperature to 160°C (325°F) for two hours for large pies and just one hour for small pies – you need this time for the meat to cook and become tender. Watch the pie doesn’t brown too much though – if it needs a little protection, cover with some brown or wax paper. Remove it from the oven and leave it to cool for thirty minutes before removing it from its mould very carefully. Brush the sides with beaten egg and return it to the oven for a final half an hour to brown and crisp up.
Whilst the pie cooked, the meat shrank, so the gaps need filling with the jelled stock. This can be carefully poured through the hole in the lid, or better using a small funnel. Let the pie cool and eat the next day. The pie will keep for days wrapped in wax paper and kept somewhere cool.
Phew!
#282 Raised Pies. It won’t write a review for this recipe – I’ll save that for the fillings. However, it is worth saying that although making a pie like this is no mean feat, it is worth having a go. I had such fun pottering about the kitchen making my first riased pie (the Veal, Ham and Egg Pie). But then, I am a great big geek. Anyway, hopefully I have inspired you to give it a go, if not at least appreciate how much effort goes into these beautiful and delicious artisan pies.

#276 Giblet Gravy

It’s such a shame that the art of gravy making has been lost. This gravy is rather posh, containing things like veal and vermouth. You don’t need to add these sorts of things every time you make it, but even basic gravy is so much more delicious than any from a packet. I know it takes more planning and time, but it’s not that difficult really – mainly a bit of simming. I haven’t used gravy granules for a good couple of years now…
I’ve been meaning to do this recipe for ages – but finding chickens with giblets these days is difficult in Britain. The reason being, apparently, that people would keep forgetting to remove the giblets in their little plastic bag from the carcass before roasting it. Idiots ruining things for the rest of us, as per usual! It is also difficult finding veal in Britain too. In America however, it is pretty common. However both chickens with giblets and veal are everywhere. So I invited my friend Danny round for a roast dinner – the first I’ve made since the move over here. I don’t know why I put it off, the heat I suppose. Roast chicken and stuffing (see the next post, when I write it!) with Yorkshire puddings (my recipe here, Grigger’s here) and mashed potatoes are as manna from the Gods as far as I’m concerned. Danny had never had Yorkshire pudding before. What is that about!?
To make the gravy you’ll need a set of turkey giblets or two sets of chicken giblets – Grigson says to not include the liver, but my Mum always used it for hers and it’s good gravy that she makes! – two quartered carrots, one halved onion, either a quarter of a pint of dry white wine or 90 mls of dry white vermouth (I went with the former), a bouquet garni (see here for a post on what should go in a bouquet garni), and eight ounces of casserole veal that has been cut into pieces. Put all these ingredients into a saucepan over a high heat. When the alcohol has boiled up and the giblets and veal has changed colour, add two tomatoes that have been halved plus enough water to just cover things. Season with salt and pepper. Cover and simmer for two hours. Strain the stock.
In another pan, melt and ounce and-a-half of butter and let it cook until it turns a golden brown – a noisette brown as it is called in the trade, a good name because it does change its aroma as well as its colour and a definite nutty smell emanates. This change happens quite quickly so don’t take your eye off it. Now stir in a level tablespoon of plain flour (you can add more if you like a thick, thick gravy). Pour over the hot stock and allow to simmer covered quietly for a further half an hour. Check the seasoning.
If you are making a chicken gravy, add the juices from the roasting pan (as I did). For turkey, pour the fat away and add a glass of Madeira wine to it. Boil it up and serve it separately from the giblet gravy.
Check out that layer of butter settling out there!
I can’t believe I had no gravy boat; how embarrassing.
#276 Giblet Gravy. This was a long time coming, and it was certainly worth the wait. Rich and satisfying with a good herby flavor from the thyme I added. The best gravy I have ever made that for sure – and definitely the most indulgent. The veal, by the way, didn’t go to waste, I fished them out and serve the chunks with the meal. Waste not, want not! Anyways, an excellent recipe – 9/10.

#265 To Cook Salt Pork and Hams, Part II: to Eat Cold

Living in Texas means that there a lot of Mexican people (seeing as Texas was once part of Mexico, until the USA nicked it). Many Mexicans mean much pork is eaten. In England we eat loads of ham and bacon and sausage, but we’re not very exciting when it comes to other ways of eating it. Indeed this is reflected in English Food: there are just 8 pork recipes in the Meat chapter, yet there are loads of pork in the cured meat section. This is one of them of course – there is a whole variety of pork cuts that are familiar and unfamiliar to me. I saw a small leg and though it would be great to make my own salt pork seeing as I have the brine tub on the go at the moment. I have already done similar things from the book, like the Bradenham ham and the hot salt pork.
Noone seems to cure anything in England anymore – I can understand it of course, but brining meats is much more common here in the US – the Thanksgiving turkey got a good brining the night before from Joan last month. However if there is a cheap leg or loin going spare at the supermarket or butcher, it would be put to good use by being added to the brine tub rather than the freezer until it’s is needed.
You can use leg or loin for this. I have already gone through how to prepare and boil the salt pork or ham in a previous post. When it is cooked remove from the stock and allow it to drain and cool down enough for you to remove the skin without scolding yourself. If the meat has been deboned, then it needs to be wrapped in cling-film and pressed overnight (as I did). Toast some breadcrumbs and press them into the meat. This will be easier if the meat is still warm, though if you had to press it, there is no open than to do it when it is cold. Keep the whole thing wrapped up in clingfilm or greaseproof paper in the fridge and slice it up thinly for salads and sandwiches.
It’s important to remember that when you make these hams, you get a delicious ham stock. Use it to make some pea and ham soup (recipe here).
#265 To Cook Salt Pork and Hams, Part II: to Eat Cold. I think I must be getting better at these things because the salt pork was very moist and nicely salted. The trick seems to be to have the merest simmer when cooking it – in fact I turned the heat off completely for the final half hour; the cooking liquor was hot enough to continue to cooking process. I have been shaving bits of and eating it with mustard, pickles and sourdough bread. Very good! 7.5/10

#258 Boiled Ox Tongue: To Serve Cold

Hello there Grigsoners! No, I’ve not died, I have simply been a lazy bastard. I am going to stop apologising for my blog-tardiness and try my very best to pull my finger out. All that said, I have been preparing this recipe on the sly for the last few days. I went to Central Market with Gerda from the lab a while ago and found that quite alot of the ingredients that are tricky to get hold of in the UK are actually much easier to get hold of here in Texas. In the meat section, I happened upon an ox tongue and I knew that there are quite a few recipes using ox tongue specifically so I thought I’d grab it and do something with it later.

I decided upon this one – Boiled Ox Tongue: to Serve Cold, because I could take it into work and force my new labmates to eat it and (hopefully) put some comments on here! The recipe calls for a 2 ½ to 5 pound pickled (i.e. brined) ox tongue – these you can order form your butcher (in the UK at least). I thought I would pickle it myself using this now tried-and-tested brine method from English Food. The tongue needs 5 to 7 days in the brine tub, but there is no maximum time really – you can’t oversalt anything, because you can soak it in water for 6 or so hours beforehand. It’s recommended you do this with a pickled tongue from the butcher’s shop.


The tongue before brining

 Anyways, after you have soaked your tongue place in a stock pot and cover with cold water or a light stock. Bring it to the boil and skim any scum that appears at the water’s surface. Turn the heat down to the merest simmer. After half an hour, taste the water – if it is horribly salty, thrown the water away and start again. Add some stock vegetables: an onion studded with a couple of cloves and a chopped carrot and celery stick. Add also a bouquet garni and 12 crushed black peppercorns. Allow the whole thing to simmer for a total of 3 or 4 hours (don’t forget to include that first half hour!). The tongue is cooked when you can insert a skewer with ease.

The pressed but unsliced tongue
Remove the tongue from the water and allow it to cool slightly. Peel away the skin and remove any gristly bits from the thick end. The tongue is now ready to be pressed. Coil the tongue and place it in a 5 or 6 inch loose-bottomed cake tin with base removed. If you can’t get hold of one (I couldn’t) you could invest in a proper tongue press. I actually used a straight sided mixing bowl that I happened to have and it worked very well. Place the tin base on top (or something similar) along with a couple of tins of food and allow to cool and press for several hours or overnight. When cool, transfer to the fridge.


When you are ready to eat it, slice it thinly and serve with a salad and some horseradish sauce so says Lady Jane Griggers. If you want to be all Victorian about it ‘press the tongue into a slipper shape, and then decorate it with aspic jelly and bits and pieces’. However, The Grigson goes on to say: ‘I think we have lost sympathy with over-presented food of this kind: it always arouses my suspicious – I wonder what the caterer is trying to conceal.

FYI: the tongue is the only muscle in the body not attached at both ends.

#258 Boiled Ox Tongue: To Serve Cold. I’ve not had much experience of eating tongue, except the kind you get already sliced for sandwiches and always found it a little bit on the tasteless side and have never really cared for it. This was much better, though didn’t pack much of a flavour-punch; which was a shame because when I pulled it hot out of the stock, it smelt absolutely delicious. Perhaps I over-cooked it. Anyways, this tongue was wonderfully tender and moist due to its high fat content and gelatinous qualities. Nice, but I’m not doing back-flips: 5/10.