5.4 Cured Meats – Completed!

#446 Lincolnshire Chine

In the cooking and eating of #446 Lincolnshire Chine I have now ticked off all 17 recipes (by my reckoning) in the Cured Meats section of the Meat, Poultry & Game chapter of Jane Grigson’s English Food. The recipes contained within it were key in developing my own skills in traditional cooking and I acquired skills I didn’t think I had in me: dry and wet curing, pressing, smoking, potting, etc. Aside from acquiring new skills, cooking the recipes really made me appreciate good food, properly made: proper ham, bacon and salted (corned) beef – foods that have now largely become diluted-down commodity products. The majority of the recipes are pork-based; it seems that Jane wasn’t keen on fresh pork (there are just 2 recipes in her Pork section that use fresh pork joints) but finds pork products delicious. I must say I’ve never been that keen on roast pork myself, I’d much rather have a glazed ham!

A beautiful illustration of smoking meat from Dorothy Hartley’s Food in England

In English Food, Jane opines on how ‘bacon was once our passion’ but is now outsourced to the Danish who turned pig farming into a real industry well before British farmers. As a country that in general prefers cheapness over quality, often discounting false economies, means that bacon filled with brine and injected with smoke flavouring has become the norm. So many of us have never eaten proper dry-cured butcher’s bacon, and I am glad to have been educated so well by Jane in the preparation of these foods that are considered very British – and the bacon sarnie is certainly one of those foods! And it’s not just a ‘cheerio’ to shrinking, scummy bacon: it’s a big ‘see you later’ to gammon and ham made from reformed offcuts, similarly injected with brine and additives.


If you like the blogs and podcast I produce and would to start a £3 monthly subscription, or would like to treat me to virtual coffee or pint: follow this link for more information. Thank you.


We’ve forgotten just how important cured meats used to be to households all across the country. When autumn began to wane, all livestock, except for the breeding stock, were killed: of course, some fresh meat was eaten straight away, usually the offal because it didn’t keep and couldn’t be cured as well as meat from the carcass, which was salted down and eaten throughout the winter – this is why bacon was our passion. For many households, this meant ploughing through a great deal of bacon, gammon and ham, but beef was salted too, as was duck and even lamb and mutton. Salt beef was extremely important to the crews of sailing ships on long voyages: a sure way of providing protein to hardworking sailors.

Not my finest photo, but a great dish: #366 A Fine Way to Pot a Tongue

I remember putting off any of the curing for a good while, fearing it slightly, but eventually I had to put my trust in Jane and her instructions. Of course, everything worked. Whenever things went awry, it was due more to my naivety than anything: for example, I used joints that were far too small to poach successfully; luckily I now know to cook as large a piece as possible, and pot what isn’t eaten in the next couple of days. Jane also taught me the importance of aromatics: cures are not simple brines, but they are flavoured with dark brown sugar, juniper, bay, allspice and nutmeg (to name but a few). The only thing I haven’t taken with me is the liberal use of saltpetre. Also going by the name potassium nitrate, saltpetre cures meat well and also gives the meat a nice pink colour, but there are associations with whole a host of diet-based diseases, so these days I miss it out. I don’t mind my bacon being a little less pink.[1]

The very delicious #228 Spiced Salt Beef

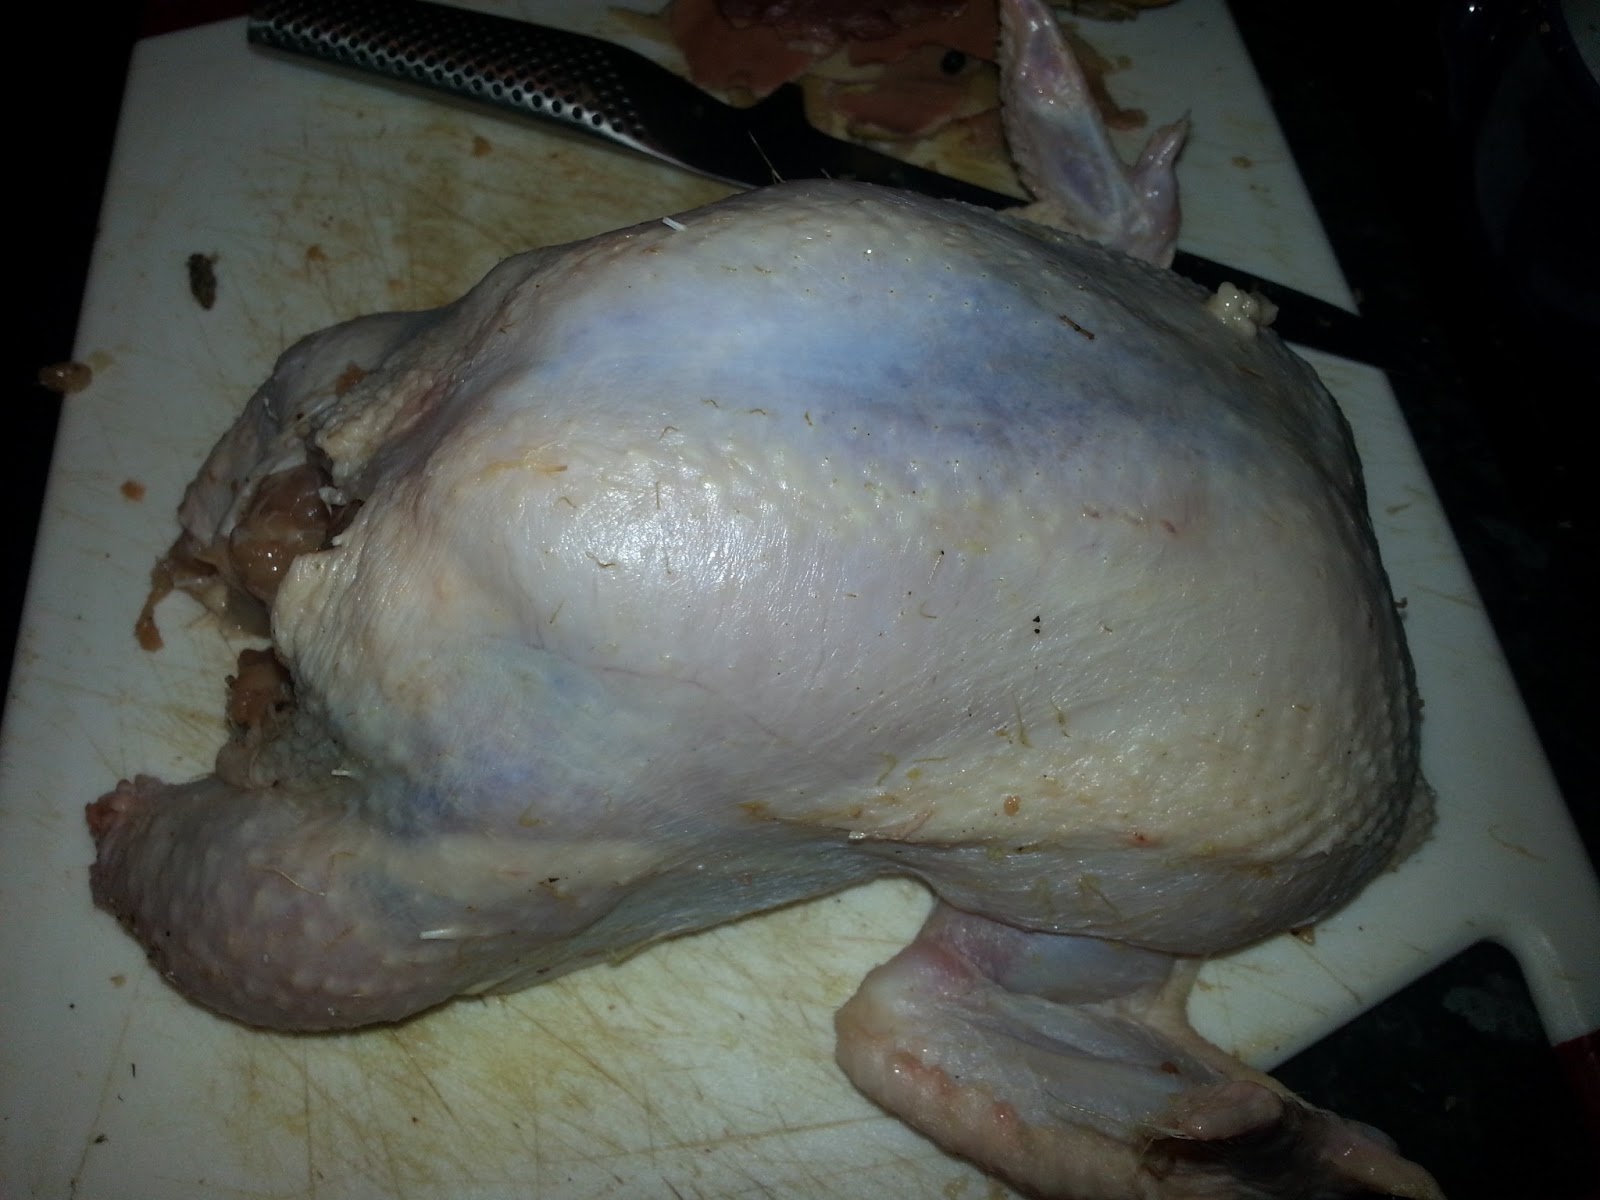
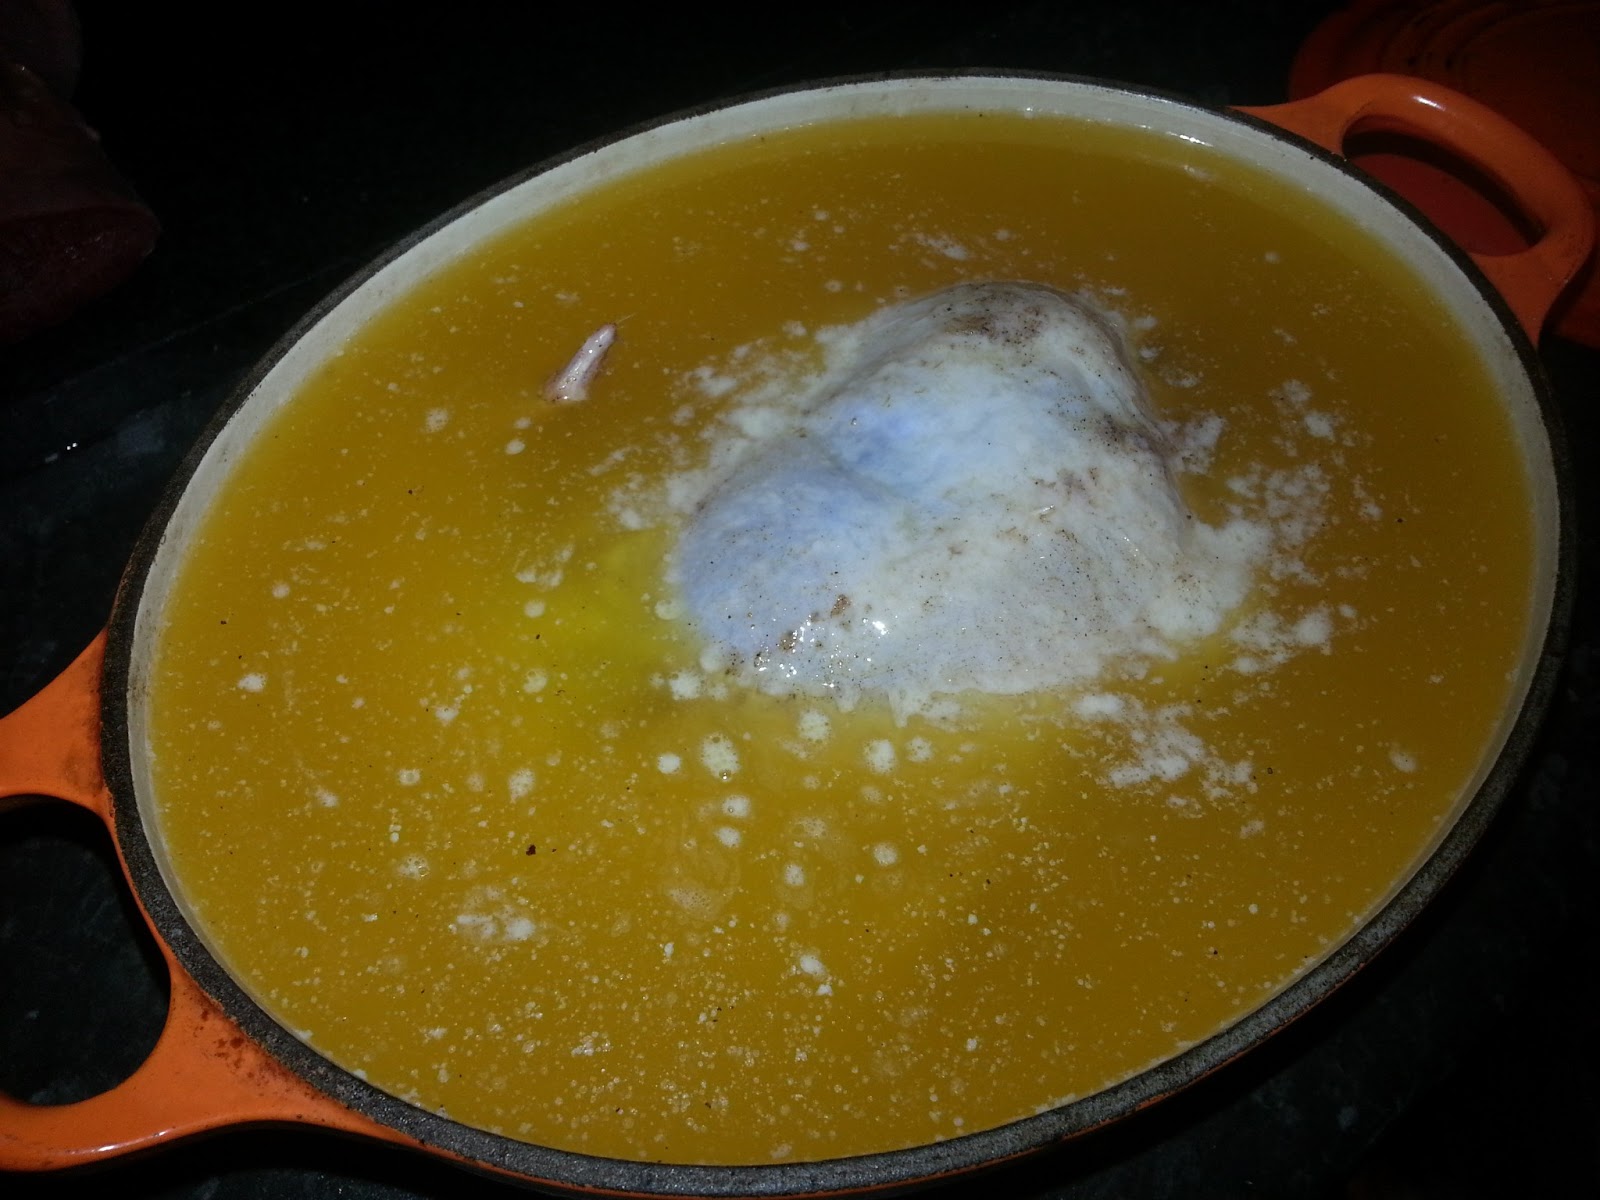
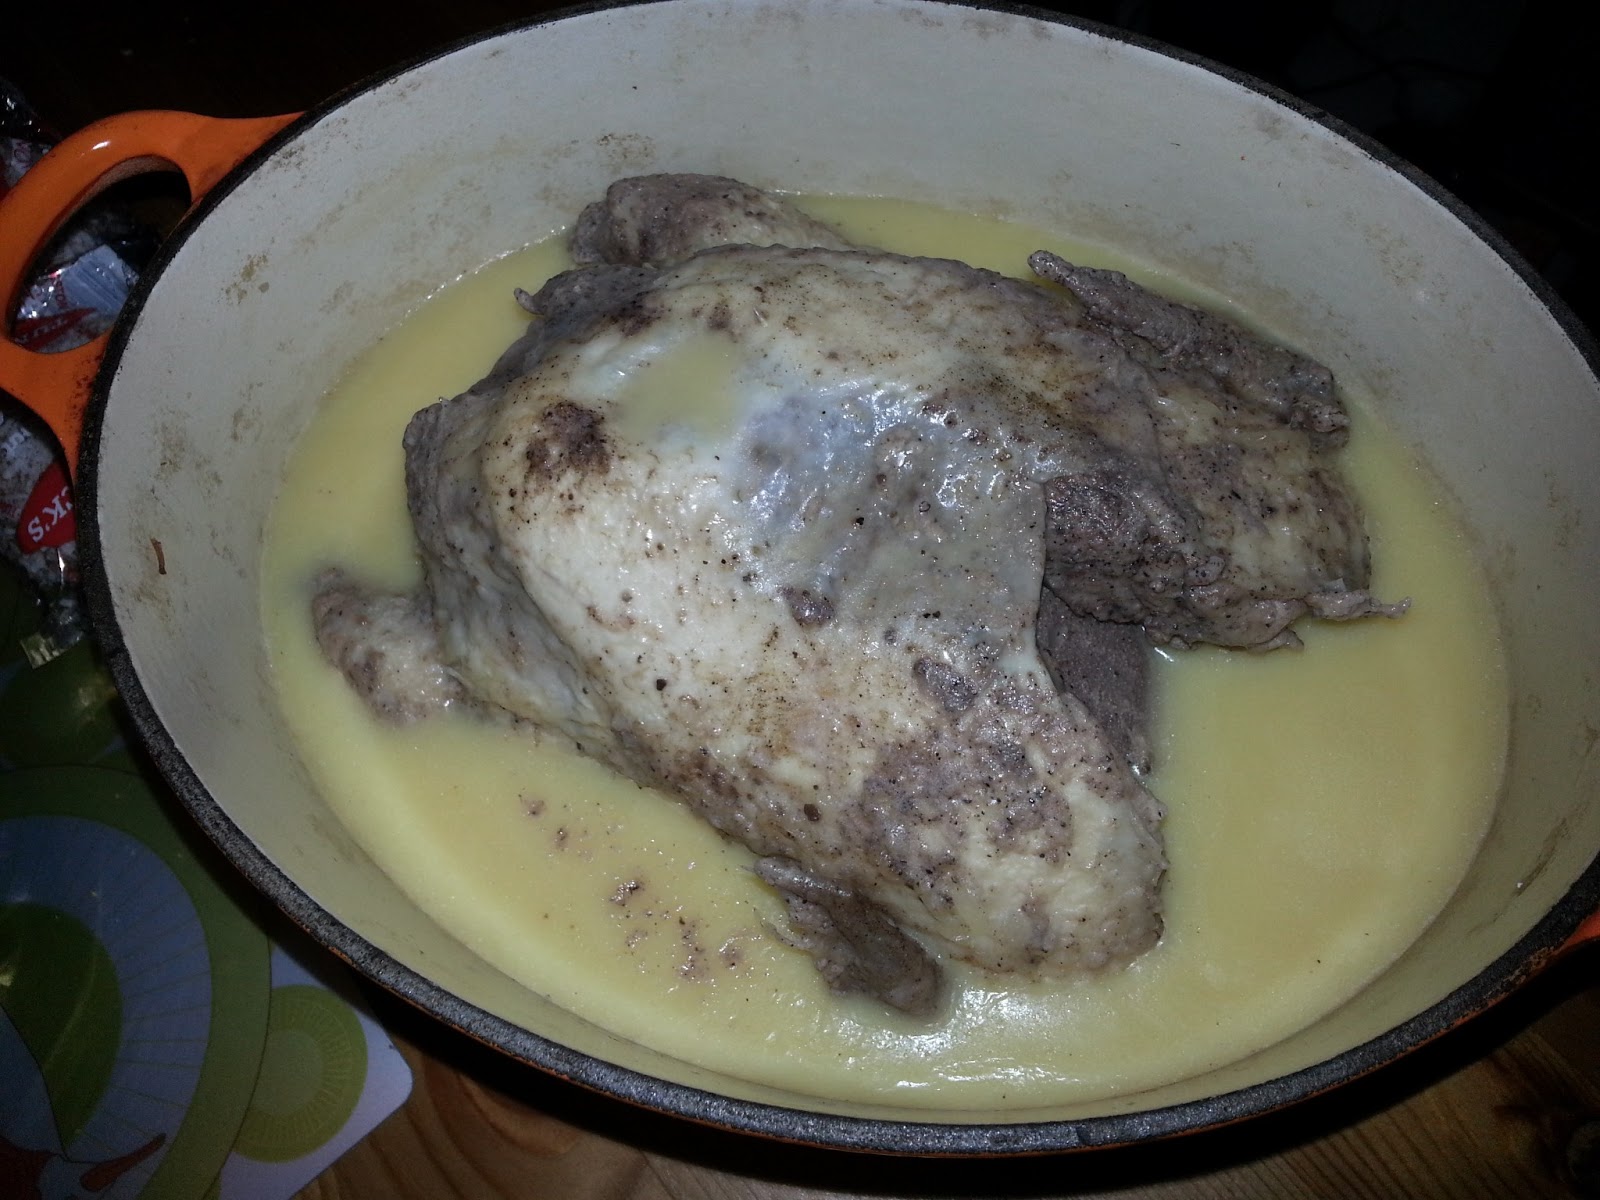
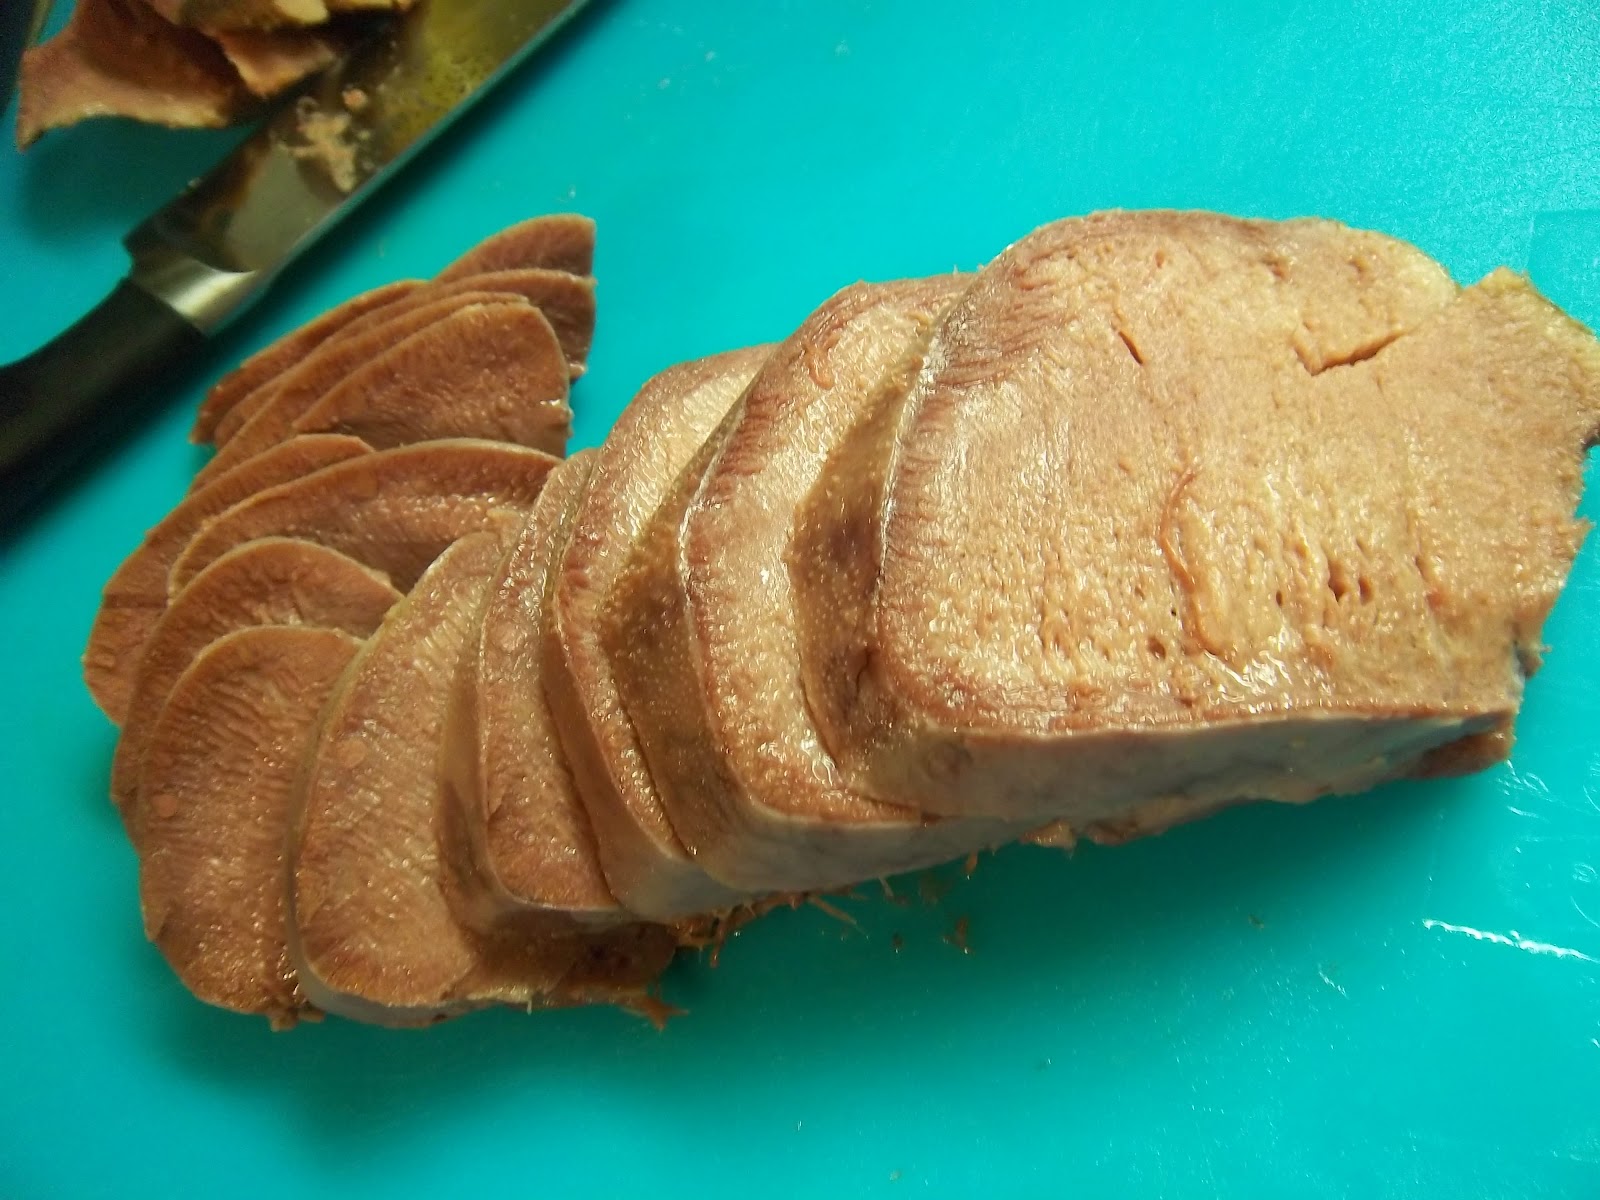
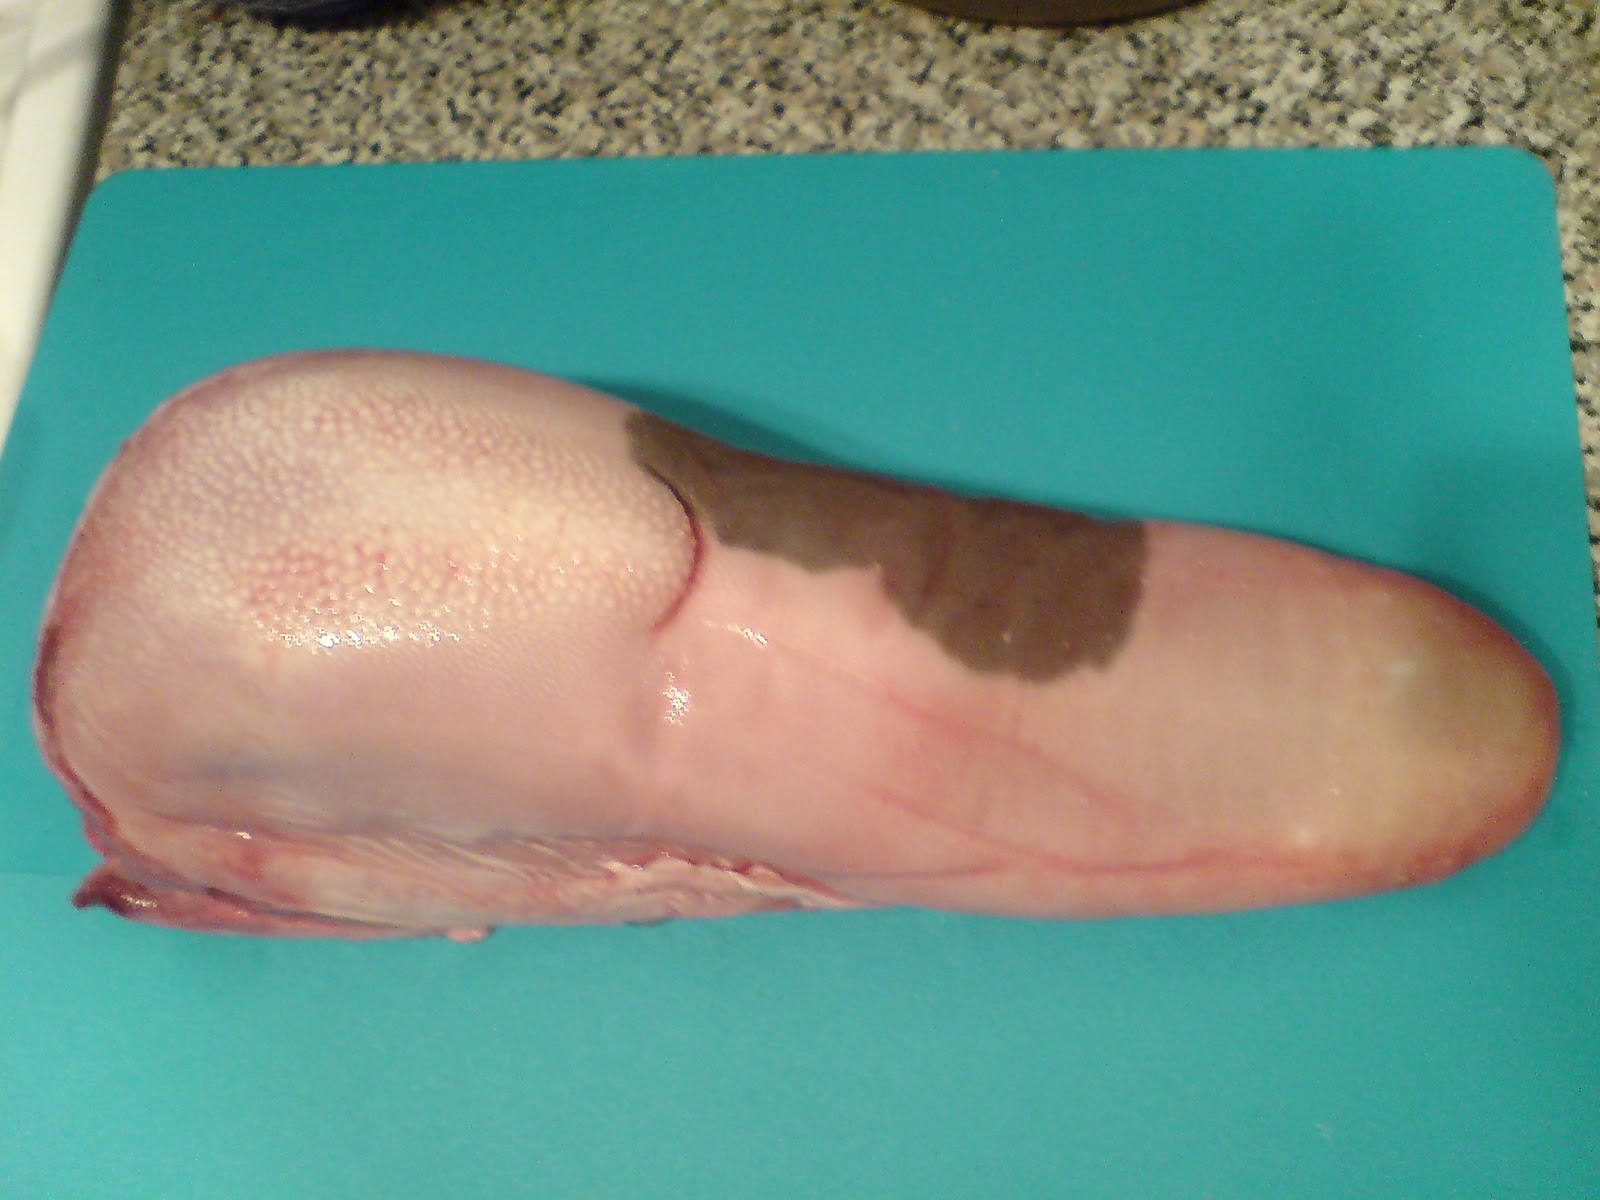
One of the most fun elements of this chapter was potting: there were simple ones like #205 Potted Tongue, more complex ones like Elizabeth Raffald’s #434 To Pot Ham with Chicken, and then Hannah’s Glasse’s #366 A Fine Way to Pot a Tongue: a whole pickled and poached ox tongue stuffed into a boned chicken, immersed in spiced butted and baked. Glorious stuff.

One of the best recipes didn’t use cured meat: #375 Boiled Silverside of Beef (not boiled, but gently poached) was sublime, cooked with vegetables and eaten with horseradish. If you can spare the time and resources, I recommend #441 Smoking Meat (the only 10/10 score) and attempting the aforementioned potted tongue by Hannah Glasse (9.5/10). The most revisited recipes are Jane’s #150 How to Cure Meat in Brine, and #228 Spiced Salt Beef – the latter being very good indeed, and which makes a delicious potted beef; something I used to sell on my market stall right at the beginning of my career in food.

#331 Boiled Ox Tongue: To Serve Hot (in this case with sour cherries)

As usual, when I complete a part of the book I give you the stats for the section.[2] Cured Meat scored a mean of 7.53, putting it on level pegging with Pork and Poultry. The median score was 8, and there were two modes: 7 and 8.5. The only significantly better scoring section of the Meat, Poultry and Game chapter thus far is the section on Meat Pies and Puddings.

Below, I have listed the recipes in the order they appear in the book with links to my posts with their individual scores, so have a gander. It is worth pointing out, that my posts are no substitute for Jane’s wonderful writing, so if you don’t own a copy of English Food, I suggest you get yourself one.

#212 Bradenham Ham8.5/10

#150 How To Cure Meat in Brine 8/10

#151 To Cook Salt Pork and Hams 1: To Eat Hot 7/10

#265 To Cook Salt Pork and Hams 2: To Eat Cold 7.5/10

#446 Lincolnshire Chine7/10

#441 Smoking Meat10/10

#161 Boiled Beef and Dumplings 8/10

#375 Boiled Silverside of Beef 8/10

#202 Pressed Beef 8.5/10

#228 Spiced Salt Beef8.5/10

#258 Boiled Ox Tongue 1: To Serve Cold 5/10

#331 Boiled Ox Tongue 2: To Serve Hot8.5/10

#205 Potted Tongue 4/10

#434 To Pot Ham with Chicken7/10

#366 A Fine Way to Pot a Tongue 9/10

#296 Tongue and Mushroom Crumble 6.5/10

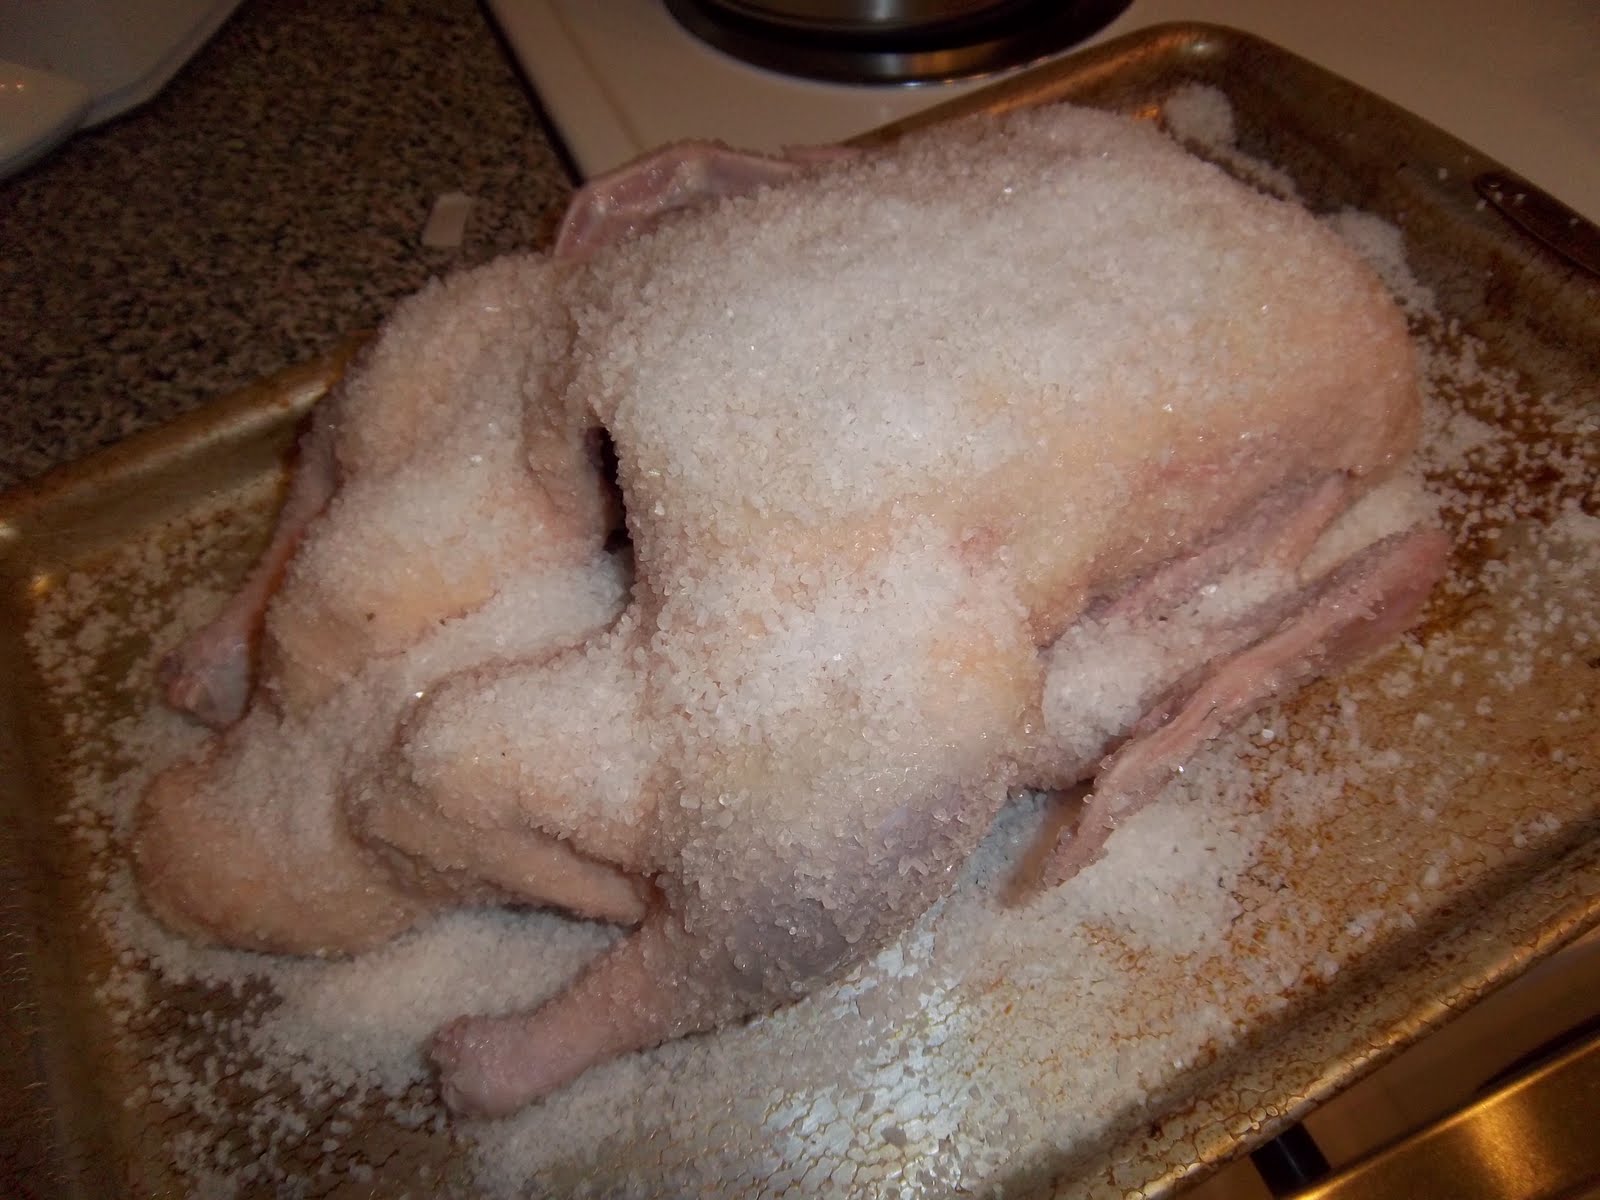
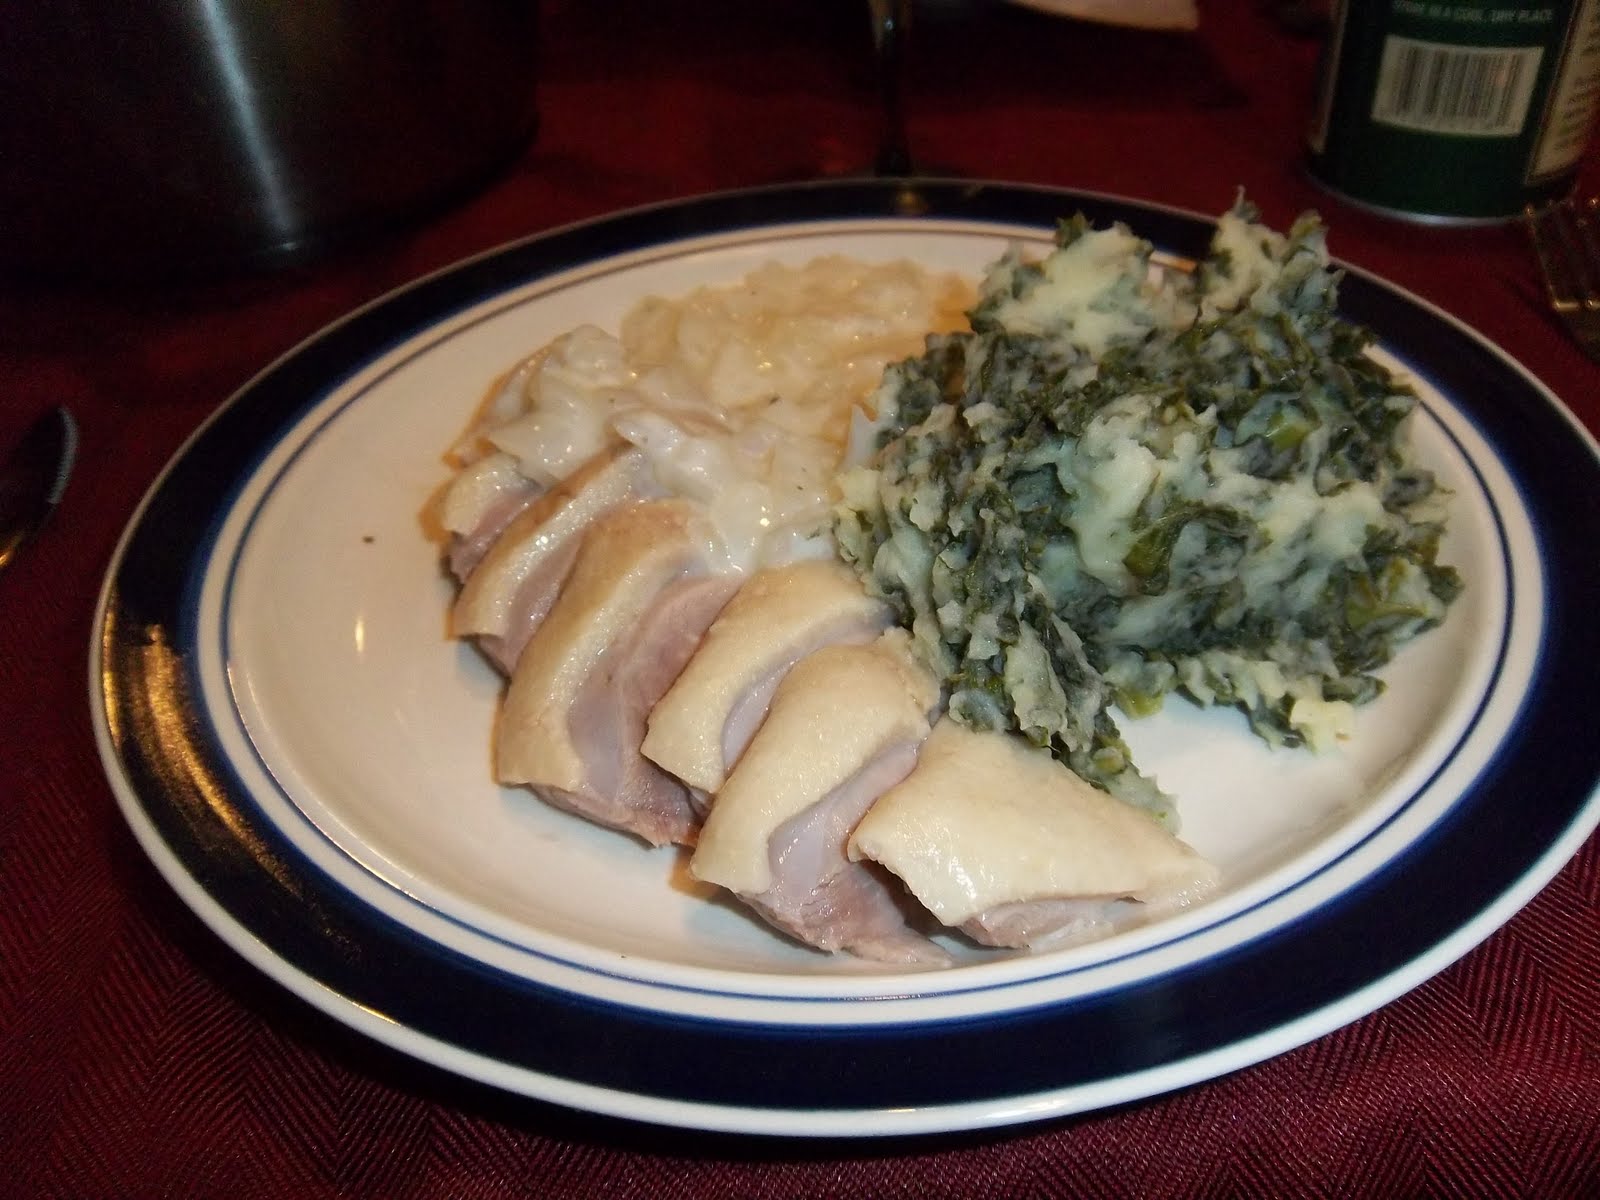
#292 Isle of Man Salt Duck7/10


[1] Correlation is not necessarily causation of course. If you want to know more, I wrote about it on the other blog a while back. Read that post here.

[2] Is anyone interested except me?

#442 Smoked Chicken with Three-Melon Salad

When I first leafed through my (original) copy of Jane Grigson’s English Food, I would never have expected this recipe to cause me much bother. The problem here is Jane’s insistence on a particular type of smoked chicken. This recipe calls for a cold-smoked chicken, which then gets roasted, cooled and then sliced up. The alternative option, of course, is to simply buy a hot-smoked chicken and allow it to cool, a product available in almost every supermarket in the country. However, these chickens have ‘flabby’ flesh and do not make for good eating apparently. According to Jane, cold-smoked chickens are much superior but ‘more difficult to find’.1 No, they are impossible to find. I’ve looked and looked, and I have never found one. Therefore, I had to resort to cold-smoking one myself, something made possible by the fact I now own my own little cold-smoker, which I used last post to make my own smoked bacon.

There is scant information on how one should go about such an endeavour; I think it is considered dangerous, but this isn’t smoked salmon and I will be cooking the beast. Eventually I did find some guidance in smoking and appropriately curing poultry in Keith Erlandson’s very handy little book Home Curing and Smoking.2

To cure and smoke the chicken:

As suggested in Erlandson’s book I made up a strong brine solution:

3 L cold water

800 g sea salt

160 g soft dark brown sugar

5 bay leaves

1 tsp cracked black peppercorns

Bunch of thyme

1 roasting chicken

Pour the water into a large pan with the other ingredients except the chicken. Put over a medium-high heat and stir to dissolve the salt and sugar, bring to a simmer and let it tick away for 10 minutes before turning off the heat and allowing it to cool down.

Prick the chicken breasts and legs with a fork to aid penetration of the brine and place it in a closely-fitting tub (I used a 4 L ice cream tub). Pour in the brine, placing an appropriate ramekin or similar between bird and lid to keep it immersed in the brine and leave for 6 hours.

Remove the chicken from the brine and pat dry, then leave to air day for a couple of hours; I sat mine on its bottom so that the cavity could drip dry.

When it is dry to the touch, cold-smoke your chicken for anything between 8 hours and 4 days. I went for the former, using my ProQ Eco Smoker (see previous post on how to use one).

Once smoked, the chicken needs to be cooked – either by roasting (see below) or a two-hour hot smoking, should you have access to a cold-smoking device.

To roast the chicken:

This is what Jane tells us to do: “Rub the chicken over with salt and pepper, roast in the manner you prefer, basting with the sherry.”

To roast the chicken, I followed my usual method. I have written about my method of roasting a chicken on my other blog, so I shan’t repeat myself. The only difference being that I didn’t put butter under the breasts, just over them, and the legs. I used about 50 g, then seasoned it and basted it with 6 tablespoons of dry sherry after 40 minutes and then every 30 minutes thereafter.

Then, ‘[r]emove the bird and allow to cool. Skim as much fat as possible from the juices [I found there were barely any juices so and I had to add a little hot water to dissolve the delicious dried juice deposits], pour the rest into a glass and leave to cool. When the chicken is cold, cut away the meat and slice it up.’

To make the salad:

Take your melons – I went for cantaloupe, Galia and watermelon – halve, deseed and cut into wedges, cut away the rind and dice into large chunks and place in a bowl. I didn’t bother deseeding the watermelon, as the seeds don’t really bother me and life’s too short. I only used half each of the cantaloupe and Galia melons and a quarter of a watermelon. Then ‘arrang[e] them on a large shallow dish, with the sliced chicken.’

Now make the dressing: Check the reserved roasting juices and remove any fat. It should be very concentrated, but if not, boil it down and reduce further. Whisk in 3 tablespoons of hazelnut oil and 5 tablespoons of sunflower oil (or if you can’t get hazelnut oil, use 8 tablespoons of olive oil only), then sharpen it with either cider vinegar or lemon juice. Jane doesn’t say how much to use, so do it to your tastes. I used vinegar and added 2 tablespoons. Taste and check the seasoning and sharpness and adjust accordingly.

Pour the dressing over the melon and chicken, but don’t swamp them, keep any remainder of it in a separate jug if anyone wants more. Lastly, sprinkle over the chopped leaves of a small bunch of coriander and serve.

#442 Smoked Chicken with Three-Melon Salad. This was a very 1970s-looking dish, and I am not sure the combination worked particularly well. However, the chicken itself was absolutely delicious and next time I use my smoker, I will certainly brine another chicken to pop in there. The meat was close textured, rather like a tender ham, and it melted in the mouth. The melon salad, too, was delicious, I liked the hazelnut dressing. Though whole thing lacked texture and the addition of some chopped roasted hazelnuts would have been an improvement. If they were served in separate courses; melon salad as a starter and the chicken as a main, I would be giving high scores, but taking it as a dish in itself the two jarred a little for me. Still, worth a good score because of the revelation that is roasted cold-smoked chicken! 7.5/10.

References

1.           Grigson, J. English Food. (Third Edition, Penguin, 1992).

2.           Erlandson, K. Home Smoking and Curing. (Ebury Press, 1977).

#366 A Fine Way to Pot a Tongue

Jane Grigson gives this recipe no introduction or explanation, but one can tell from the title that this was an old recipe. It consists of a tongue inside a boned chicken that covered in butter and baked. After a quick sift through the cookbooks, I found that it is adapted from a recipe of Hannah Glasse’s that appears in the 1774 book The Art of Cookery, and the original is a little more ostentatious:

‘Take a dried tongue, boil it till it is tender, the peel it; take a large fowl, bone it; a goose, and bone it…Put the tongue into the fowl; then season the goose, and fill the goose with the fowl and tongue, and the goose will look as if whole. Lay it in a pan that will just hold it, melt fresh butter enough to cover it, send it to the oven, and bake it an hour and a half…this will keep a great while, eats fine, and looks beautiful. When you cut it, it must be cut cross-ways down through, and looks very pretty…’


It resembles recipe #322To Make a Goose Pye.


Here’s Jane’s recipe (in my words):

First of all you need to tackle your pickled ox tongue – you can buy these from your butcher pretty cheaply as I did this time, but you might want to have a go. I usually do this but the butcher didn’t have any fresh (which is understandable seeing as very few people buy them nowadays). Have a look at the post #150 How to Cure Meat in Brine for some guidance on this. Once pickled, you need to poach your tongue for 2 to 3 hours and then peel it. You don’t need to press it or anything, but see #258 Boiled Ox Tongue: To Serve Coldand #331 Boiled Ox Tongue: To Serve Hotfor more information on this.
Next, bone a 5 to 7 pound chicken. This isn’t as difficult as you think. I’ve given instructions already on how to do this in the post #322 To Make a Goose Pye. In fact this is easier because the chicken can be first split down the back with poultry shears or a hefty knife. Of course, you could ask your butcher to do it – you might have to flutter your eyelashes a little though!
Now trim your tongue, cutting off the root to remove gristle and the front portion of the tongue so that it will fit snugly within the cavity of the bird.

Before you fit it, make a spice mix from the following: a teaspoon each of ground black pepper, ground mace and ground cloves plus ½ a freshly-grated nutmeg and a level dessert spoon of sea salt.

Flip the bird over with the cut side facing you and rub in around two-thirds of the spice mix into the cavity, then place the tongue inside and wrap it in the chicken. Quickly but carefully turn the bird over to produce a surprisingly normal-looking chicken. Pop it into a close-fitting ovenproof casserole dish and rub in the remainder of the spices.


Now get on with gently melting the butter – the amount you need will depend upon how well the chicken fits into its pot. I needed four 250g packets of butter in all – that’s 2 ¼ pounds approximately. Once melted, pour it over the chicken so that it just covers it.


Pop on  a lid and bake at 200⁰C (400⁰F); if your casserole is very full, as mine was, it’s a good idea to put a roasting tin on the floor of the oven as the butter will bubble hard. When it is bubbling and boiling, turn the heat down to 180⁰C (350⁰C) and bake until cooked through. After 45 minutes see if the chicken is cooked: use either a meat thermometer (the meat should be a temperature of 73⁰C, that’s 163⁰F) or a skewer and check for any pink juices. If it’s not quite done, bake for another 10 minutes before checking again.
When cooked, gingerly take the chicken out so it can drain on a rack and pour the butter and meat juices into a bowl. Let everything cool before boiling the butter up in a pan – however, make sure none of the juices go in. Put the chicken back in its pot and tip over the butter.


You need to leave chicken for at least 36 hours before slicing it and eating with wholemeal bread spread with the spiced butter. If you want to leave it longer than 36 hours,  add more butter to fully cover the chicken.
#366 A Fine Way to Pot a Tongue… and what a fine way it was indeed!  The tongue was salty and tender with blander spiced chicken that actually balanced it very well. The spiced butter was unbelievably tasty. Three cheers for Hannah Glasse! 9/10


#331 Boiled Ox Tongue: to Serve Hot

I know what Othello needs; more tongue…

There was a time when I would shudder at the thought of eating some tongue, but now because of this blog, I look forward to it. After all it’s just a muscle like any other in the body, and no meat-eater turns their nose up at the muscle bits (although, as an aside, the tongue isn’t like any other muscle in body because it is the only one that isn’t attached at both ends).

In the earlier recipes, I wasn’t so good at boiling meat – I always had too high a flame burning beneath the stockpot. What any meat needs is a nice slow simmer – as slow as possible, the water should be scalding and letting up the tiniest gulping bubbles.

You can buy pre-pickled tongues from any good butcher quite cheaply; when I paid a visit to the butcher back in Manchester, I noticed they were selling them for just £2.50 each! If you want to do it from scratch, I have already written how to pickle an ox tongue (recipe #150) and how to boil and prepare one for Boiled Ox Tongue: to Serve Cold (recipe #258). So all I need to do for this post is tell you what you need to do to eat it hot…

Once it has been skinned and trimmed, Grigson gives her orders: ‘[s]lice the tongue whilst still hot and arrange it decoratively on a large shallow serving dish. Cover with a suitable sauce, boiling hot, place in the oven to heat through for about 10 minutes.

But what sauce? Jane says that the typical English way is to serve Madeira sauce, though strangely she does not give a recipe for it (I shall hunt one down and add it to the other blog in due course…). She does, however, give us an alternative and that is an “unusual” black cherry sauce, but you’ll have to see the next post for that recipe…

#331 Boiled Ox Tongue: to Serve Hot. This has got to be the best tongue recipe so far (there is only one more left) – it was so tender, hardly any chewing was required and the brine give a good, subtle curing. It reminds me of extra-succulent corned beef in fact. I know many turn their noses up at offal, but have a go, it is really good food and I have yet to eat a bit of animals I haven’t liked. 8.5/10.

#292 Isle of Man Salt Duck


After returning from my little trip back to England and Ireland, I wanted to cook something that evoked some memories of it whilst all was still fresh in my mind. There are no Irish recipes in English Food, but there are a couple of Manx recipes (if you are from the Isle of Man, you are Manx). When Hugh and I flew the short distance from Belfast to Liverpool, we looked out the window and he told me about the bits of coastline and other features, and of course the Isle of Man was pointed out, looking surprisingly small. I’ve never managed to go to the Isle of Man, but it looked very pretty from the air.

This is apparently a traditional Manx cured meat dish, but I did a quick internet search and could find any references to it at all, so I can’t give you any background information I’m afraid, Grigsoners. The cure is very simple to do; you simply have to pack coarse sea salt inside and outside of a duck 24-hours before you want to cook it. I assume in the days when this was done for actual preservation of meat, rather than for flavour, the duck could have been cured for several days or weeks. When you are ready to cook it, brush off the salt, rinsing off any tricky to remove bits and place in a pot with enough water to barely cover it.

Cover, bring to a simmer and let it happily gurgle away for between an hour and ninety minutes, depending on the size. I am always worried about doing the boiled meat recipes in the book, I always think they are going to come out insipid and boring, especially in this case as there was no call for any stock vegetables or seasoning with spices. I invited my friends Danny and Eric around to sample the delights – hoping it would taste okay…

If you like, you can cure your duck in brine instead – check out the recipe and instructions on brining meat here.

While the duck is simmering away gently, you can be getting on with the accompaniments: an onion sauce and colcannon (an Irish invention of potatoes and either cabbage or kale mashed together).

For the onion sauce, chop four large onions and add them to a pan with just enough water to cover them, season, cover with a lid, and allow them to simmer for fifteen minutes. Drain them over a bowl, so that the cooking liquor is saved. Add half a pint of milk and just under a pint of the liquor to the pan along with half an ounce of butter and bring to a simmer. Measure two level tablespoons of cornflour and slake it with a little more cold milk and whisk it into the hot sauce; it will thicken instantly. Simmer for a few more minutes so that the cornflour can cook out. Add the onions back to the pan and season with plenty of salt and pepper – very important here to season it very well – plus the grated rind of a lemon. Add more liquor or milk if it becomes too thick. This sauce can be (and was!) made in advance – make sure you keep it covered with a lid or some cling film to prevent a skin from forming if you do.

For the colcannon, boil equal amounts of potato and kale or cabbage together in a pan. Drain, and mash with butter and salt and pepper. If you are feeling extravagant, add a little blob of cream.
When the duck is cooked, make sure you let it rest for about twenty minutes before you carve it.

#292 Isle of Man Salt Duck. I must admit, when the duck was taken out of pan to rest, it did not look that appetizing with its podgy fat and no hint of colour. I’m used to eating roast duck. However, when I cut inside, there was the most tender duck meat within. It was salty, but not overpoweringly. It also had very subtle flavour too, as did the onion sauce, which I expected to be terribly strong. Instead, it was light and very good for a spring or summer meal. The colcannon was a great accompaniment too. This kind of good, but bland food, really requires heavy seasoning, otherwise it is in danger of becoming tasteless pap. This was not tasteless pap however: 7/10.

#265 To Cook Salt Pork and Hams, Part II: to Eat Cold

Living in Texas means that there a lot of Mexican people (seeing as Texas was once part of Mexico, until the USA nicked it). Many Mexicans mean much pork is eaten. In England we eat loads of ham and bacon and sausage, but we’re not very exciting when it comes to other ways of eating it. Indeed this is reflected in English Food: there are just 8 pork recipes in the Meat chapter, yet there are loads of pork in the cured meat section. This is one of them of course – there is a whole variety of pork cuts that are familiar and unfamiliar to me. I saw a small leg and though it would be great to make my own salt pork seeing as I have the brine tub on the go at the moment. I have already done similar things from the book, like the Bradenham ham and the hot salt pork.
Noone seems to cure anything in England anymore – I can understand it of course, but brining meats is much more common here in the US – the Thanksgiving turkey got a good brining the night before from Joan last month. However if there is a cheap leg or loin going spare at the supermarket or butcher, it would be put to good use by being added to the brine tub rather than the freezer until it’s is needed.
You can use leg or loin for this. I have already gone through how to prepare and boil the salt pork or ham in a previous post. When it is cooked remove from the stock and allow it to drain and cool down enough for you to remove the skin without scolding yourself. If the meat has been deboned, then it needs to be wrapped in cling-film and pressed overnight (as I did). Toast some breadcrumbs and press them into the meat. This will be easier if the meat is still warm, though if you had to press it, there is no open than to do it when it is cold. Keep the whole thing wrapped up in clingfilm or greaseproof paper in the fridge and slice it up thinly for salads and sandwiches.
It’s important to remember that when you make these hams, you get a delicious ham stock. Use it to make some pea and ham soup (recipe here).
#265 To Cook Salt Pork and Hams, Part II: to Eat Cold. I think I must be getting better at these things because the salt pork was very moist and nicely salted. The trick seems to be to have the merest simmer when cooking it – in fact I turned the heat off completely for the final half hour; the cooking liquor was hot enough to continue to cooking process. I have been shaving bits of and eating it with mustard, pickles and sourdough bread. Very good! 7.5/10

#258 Boiled Ox Tongue: To Serve Cold

Hello there Grigsoners! No, I’ve not died, I have simply been a lazy bastard. I am going to stop apologising for my blog-tardiness and try my very best to pull my finger out. All that said, I have been preparing this recipe on the sly for the last few days. I went to Central Market with Gerda from the lab a while ago and found that quite alot of the ingredients that are tricky to get hold of in the UK are actually much easier to get hold of here in Texas. In the meat section, I happened upon an ox tongue and I knew that there are quite a few recipes using ox tongue specifically so I thought I’d grab it and do something with it later.

I decided upon this one – Boiled Ox Tongue: to Serve Cold, because I could take it into work and force my new labmates to eat it and (hopefully) put some comments on here! The recipe calls for a 2 ½ to 5 pound pickled (i.e. brined) ox tongue – these you can order form your butcher (in the UK at least). I thought I would pickle it myself using this now tried-and-tested brine method from English Food. The tongue needs 5 to 7 days in the brine tub, but there is no maximum time really – you can’t oversalt anything, because you can soak it in water for 6 or so hours beforehand. It’s recommended you do this with a pickled tongue from the butcher’s shop.


The tongue before brining

 Anyways, after you have soaked your tongue place in a stock pot and cover with cold water or a light stock. Bring it to the boil and skim any scum that appears at the water’s surface. Turn the heat down to the merest simmer. After half an hour, taste the water – if it is horribly salty, thrown the water away and start again. Add some stock vegetables: an onion studded with a couple of cloves and a chopped carrot and celery stick. Add also a bouquet garni and 12 crushed black peppercorns. Allow the whole thing to simmer for a total of 3 or 4 hours (don’t forget to include that first half hour!). The tongue is cooked when you can insert a skewer with ease.

The pressed but unsliced tongue
Remove the tongue from the water and allow it to cool slightly. Peel away the skin and remove any gristly bits from the thick end. The tongue is now ready to be pressed. Coil the tongue and place it in a 5 or 6 inch loose-bottomed cake tin with base removed. If you can’t get hold of one (I couldn’t) you could invest in a proper tongue press. I actually used a straight sided mixing bowl that I happened to have and it worked very well. Place the tin base on top (or something similar) along with a couple of tins of food and allow to cool and press for several hours or overnight. When cool, transfer to the fridge.


When you are ready to eat it, slice it thinly and serve with a salad and some horseradish sauce so says Lady Jane Griggers. If you want to be all Victorian about it ‘press the tongue into a slipper shape, and then decorate it with aspic jelly and bits and pieces’. However, The Grigson goes on to say: ‘I think we have lost sympathy with over-presented food of this kind: it always arouses my suspicious – I wonder what the caterer is trying to conceal.

FYI: the tongue is the only muscle in the body not attached at both ends.

#258 Boiled Ox Tongue: To Serve Cold. I’ve not had much experience of eating tongue, except the kind you get already sliced for sandwiches and always found it a little bit on the tasteless side and have never really cared for it. This was much better, though didn’t pack much of a flavour-punch; which was a shame because when I pulled it hot out of the stock, it smelt absolutely delicious. Perhaps I over-cooked it. Anyways, this tongue was wonderfully tender and moist due to its high fat content and gelatinous qualities. Nice, but I’m not doing back-flips: 5/10.

#243 Spiced Welsh Mutton ‘Ham’

Well hello there! No I haven’t died on you or anything. I’ve just been uber-busy with my thesis writing and hardly had time to do any Grigson-related cookery. Here’s is one that I actually did a couple of weeks ago but haven’t been able to tell you about.

The cured meats from the book have all been pretty successful and this one sounded nice and easy, plus would keep me in butties for the foreseeable future. I wasn’t sure how it was going to turn out because we don’t really cure lamb to make ‘ham’ do we? Unless I’ve been missing something all these years.

Anyway, here’s how to make to your spiced lamb ‘ham’:

First of all select your leg of lamb or mutton – you need one that weights about 6 pounds. Place it in a large pot or tub that has a well-fitting lid and rub it all over in a spiced salt mixture for curing. To make the spiced salt, mix together 4 ounces of dark brown sugar, 8 ounces of sea salt, ½ ounces of saltpetre, an ounce each of crushed black peppercorns and allspice berries, plus a heaped teaspoon of coriander seeds. Make sure you rub it in well, ensuring you get down between meat and bone. Keep it in the tub in a cool place and turn it over every day, rubbing in the juices and spices for 14 days.

Then, rinse any excess spices away from the surface of the leg and place in a large pot and cover with water. Bing slowly to a simmer and cook as gently as possible with the lid on for 3 ½ hours. Let the lamb cool in the water for a couple of hours, remove it and, wrap it in clingfilm or greaseproof paper and let it finish cooling under a weight. It keeps in the fridge for ages as long it is wrapped up or kept in Tupperware. Griggers says that if you have a smokehouse nearby that will let you put the cured but uncooked leg in, then do so! I haven’t, so I didn’t!


#243 Spiced Welsh Mutton ‘Ham’. This was a revelation! I do not know why we don’t cure mutton and lamb anymore. Absolutely delicious. The lamb meat was succulent and flaky just like corned beef and the spices cut through the richness of the fat. Best cured meat so far. 8.5/10

#234 Smoked Eel

If you have a nice little independent butcher or fishmonger it’s always worth having a quick nosey to see if they have anything different in. I did this at Out of the Blue – probably the best fishmonger in the North-West, at least when it comes to getting hold of weird and wonderful ingredients like the freshwater eel from a few months ago. Well, this time there was freshwater eel on the shelves in abundance, at least in its smoked form.

There are a few smokehouses that smoke eels in Britain, though the eels themselves are usually brought over from Holland and the surrounding countries due to the fact that are fewer of the beasties to found in British rivers.


This is not a recipe, but really a suggestion by Griggers as to the best way to appreciate smoked eel. As a starter, give each person a three inch section of eel fillet along with some good brown or rye bread and butter, a lemon wedge and perhaps some horseradish sauce. That’s it. Enjoy.

#234 Smoked Eel. A true delicacy; and the best way to treat a delicacy is to eat it in the simplest way possible. The flesh was sweet, succulent and firm, not the soft and slightly gelatinous consistency of smoked salmon which I can find rather off-putting. Don’t be squeamish and get it down yer. Fab stuff 8/10.

#228 Spiced Salt Beef

This is a posh recipe; this cured beef is produced by Harrods by the wheelbarrow-load every Christmas. It’s an old recipe that was revived by Elizabeth David and Griggers helpfully imparts it to us. Good girl. This uses a dry cure mix rather than brine like I’ve done before (see this post). It’s a lot easier than a wet cure as there’s no messing about making the brine itself, so if you’re thinking about curing your own meat, this is good place to start. It’s a good idea to use good quality sea salt, not crappy table salt. Good salt is not only a preservative, but also lends good flavour. Very important for this sort of thing.

You need to start by buying your beef – a piece of silverside between 2 and 6 pounds should be okay. Place the beef in a clean tub (that comes with a clean lid!) and rub 3 ounces of dark brown sugar into it. Fit the lid on tightly and leave in a cool place for 2 days. Next, make the spiced salt mixture using 4 ounces of good sea salt, a heaped teaspoon of saltpetre and an ounce each of crushed peppercorns, allspice berries and juniper berries. Use a spice grinder or coffee grinder to break up the spices if you have one, otherwise use your pestle and mortar and some elbow grease. Now rub this mixture into the beef well and leave for another nine days, rubbing the salt mix and any juices into the beef and turning it every day.

To cook the beef, rinse off any spice by running it briefly under the tap. Place the beef in a tight-fitting lid with around 8-10 fluid ounces of water. Pack shredded suet over the top surface of the beef to hep keep in the moisture as it cooks. To doubly ensure that minimal moisture is lost from the beef cover the pot with a double layer of foil before putting the lid on. Place in an oven heated to 140⁰C for 45 minutes per pound, or 50 minutes per pound if the joint is small. Remove from the oven and allow to cool for three hours before removing the lid and foil. Wrap the joint is some greaseproof paper and place a three pound weight on it and allow it press overnight. Slice it thinly and use it for sandwiches et cetera.


#228 Spiced Salt Beef. This may have been the best cured meat thus far; it was certainly the easiest. The spice-salt mixture comes across very obviously but does not take over. It keeps well in the fridge for a while if wrapped in clingfilm too. Try it in a sandwich with cucumber and horseradish sauce. Great stuff. 8.5/10.