#441 Smoking Meat

Hello folks! Did you know its been almost a year since I wrote my last post proper on the blog? I do apologise; I’m down to the final ten recipes and each one has been eluding me in one way or another – that is until now. In fact I’ve lined up a few so that there will be a steady stream of posts for the remainder of the year.

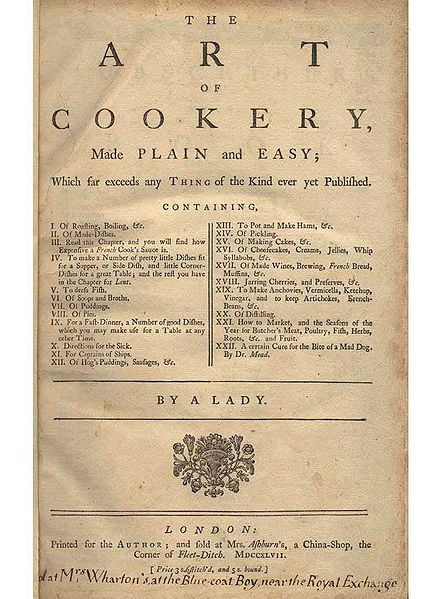
This one, oddly, is not really a recipe because smoking meat, says Jane, ‘is something that few people care to undertake now’, and rather than providing us with a method, advises us against having a go; that is, unless you have ‘an experienced friend to guide.’1

My intentions were to have a go at constructing my own cold-smoker and installing it my backyard, but I never seemed to have the time or wherewithal, then I moved to an apartment and assumed it just wasn’t going to happen. However, home smoking has moved on a bit since Jane’s day, and it can be both simple and inexpensive simply, as I found when I stumbled upon the ProQ Eco Smoker Box online; essentially a cardboard box with metal shelves. I immediately purchased one along with some oak wood dust. Exciting times.

The ProQ Eco Smoker Box (pic: ProQ)

I was soon eager to be tasting some proper home-cured-and-smoked foods that would preserve whatever meat I decided to cure properly: today, smoking is purely ‘cosmetic’1 because we like the flavour, but our refrigerators are doing the preserving for us these days. (For the same reason, less salt is used in the curing process too.) Indeed, the whole process of smoking is sidestepped; many ‘smoked’ meats in today’s supermarkets are merely injected with a woodsmoke ‘flavouring’, a far cry from what our recent ancestors were tucking into.

When smoking was done at home, a smokehouse was not typically used. The housewife of a medieval home hung her salt pork in the rafters above the central chimney. Then, when stone chimneys were built in dwellings, a recess was made so that hams would benefit from a good smoking with being cooked. According to Dorothy Hartley, these recesses are discovered in old houses and are ‘often mistaken for “priest-holes”’.2 In other buildings an external wooden hatch was built in the highest section of the chimney so that year’s hams could safely cold smoke. Hartley also gives us a lovely illustration of a home-made smoker made from a hogshead, which essentially works exactly like the ProQ smoker I bought. Very pleasing.

Illustration from Food in England (1954) by Dorothy Hartley

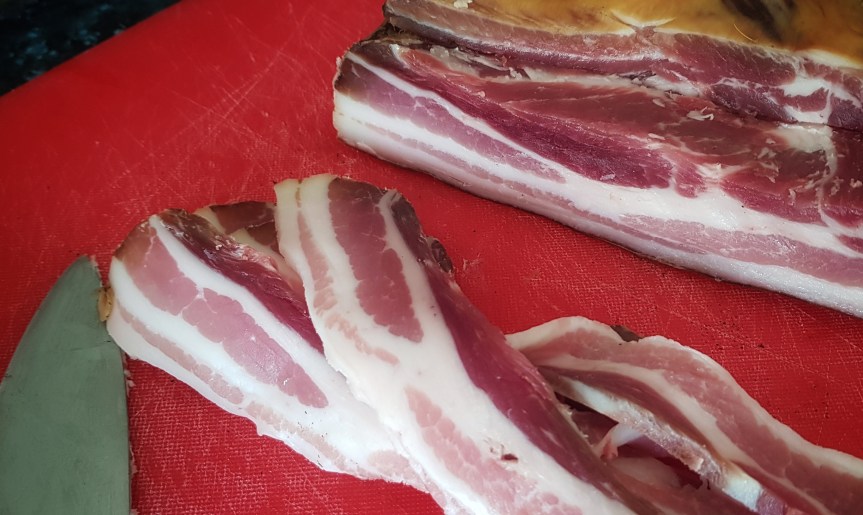
If you want to try and smoke your own meat you need to cure it first, and there are many examples of that in the blog/book. However, I decided upon making my own smoked bacon, which I could either fry in rashers or cook a large piece as an accompaniment to #374 Pease Pudding or in a nice #98 Cawl. Oddly, there is no recipe for a bacon cure in English Food, so I had to look to others for help.

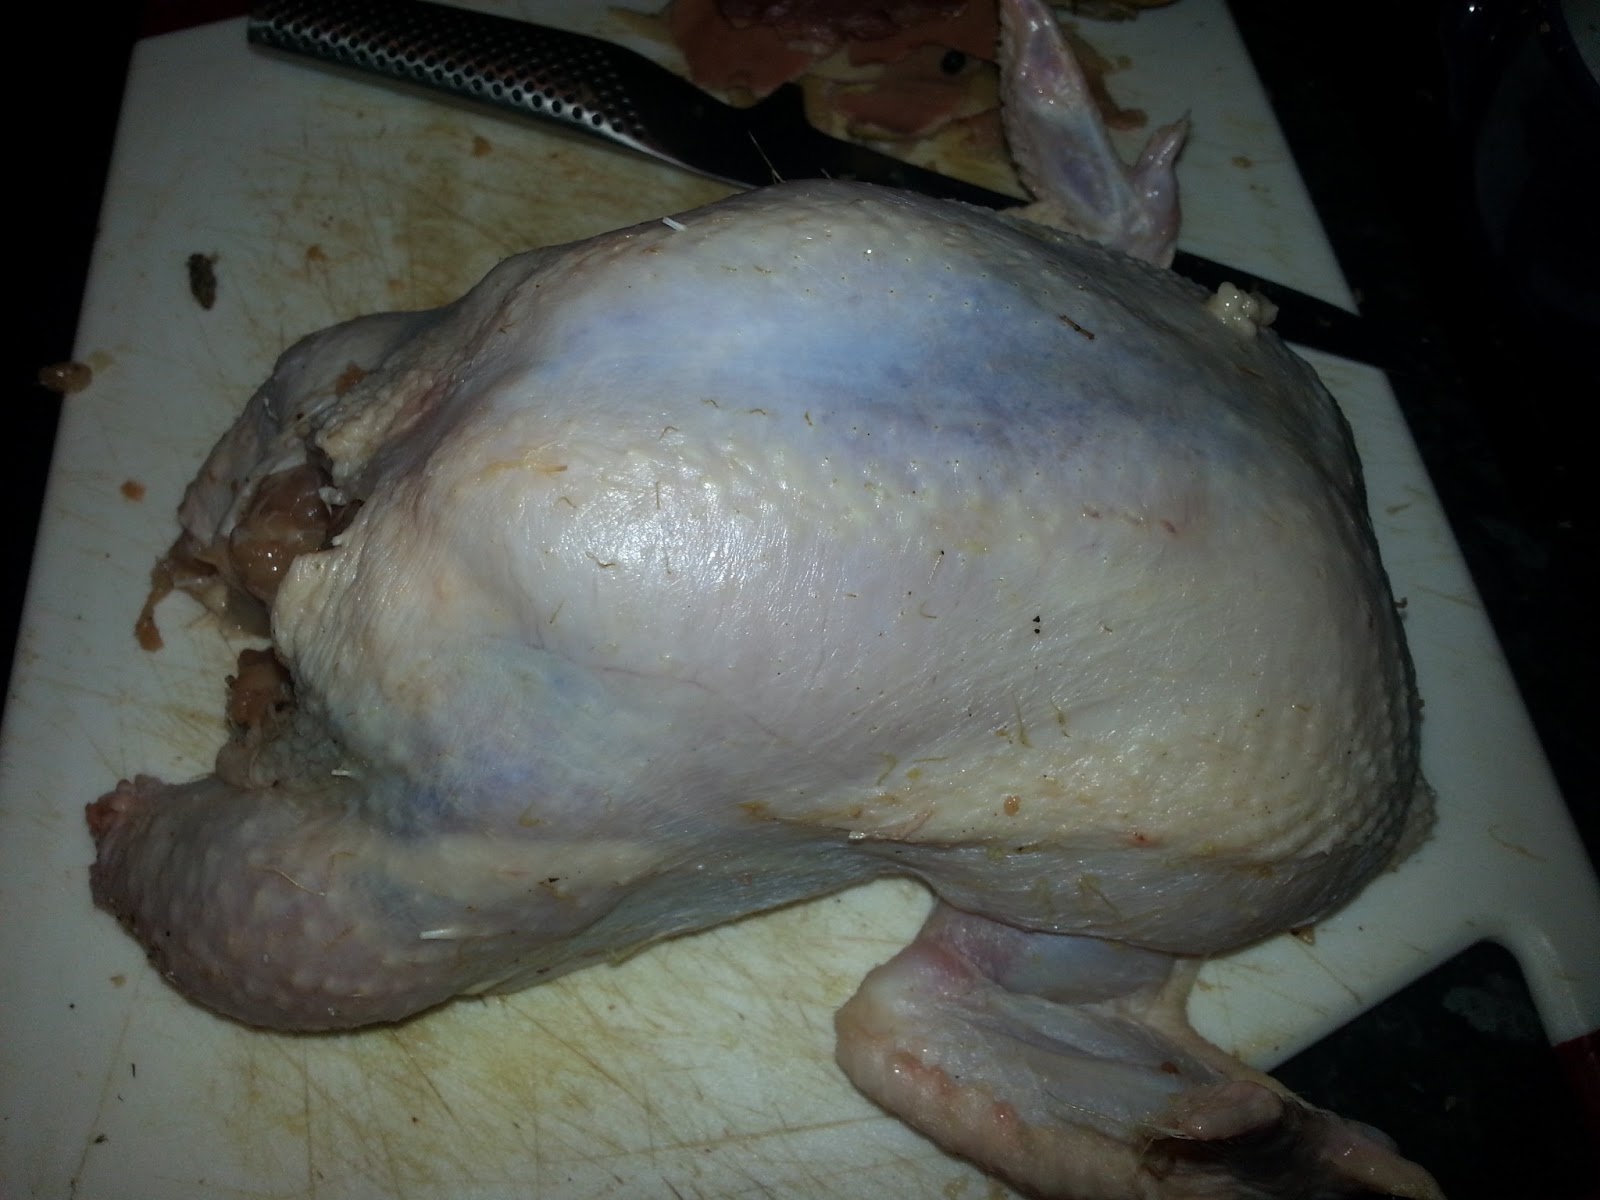
For the bacon I used a 2 kilogram piece of pork belly because it looked like it would fit just right in my smoker. I adapted a recipe given in River Cottage Handbook No.13: Curing & Smoking by Steven Lamb.3 I changed a few things: I used dark brown sugar and the tried-and-tested Jane Grigson cure combo of crushed juniper berries, allspice berries and black peppercorns, just like one of my favourite recipes #228 Spiced Salt Beef, though I toned down the amount of spice somewhat. I avoided using nitrates and I’m sure Jane would agree with me on that today, even though she used ample amounts of it in her Cured Meat recipes.

For a 2 kg piece of pork belly (skin on and bone in):

750 g fine sea salt

750 g soft dark brown sugar

2 heaped tsp each juniper and allspice berries, crushed

1 tbs black peppercorns, crushed

6 or 7 bay leaves, crushed or roughly chopped

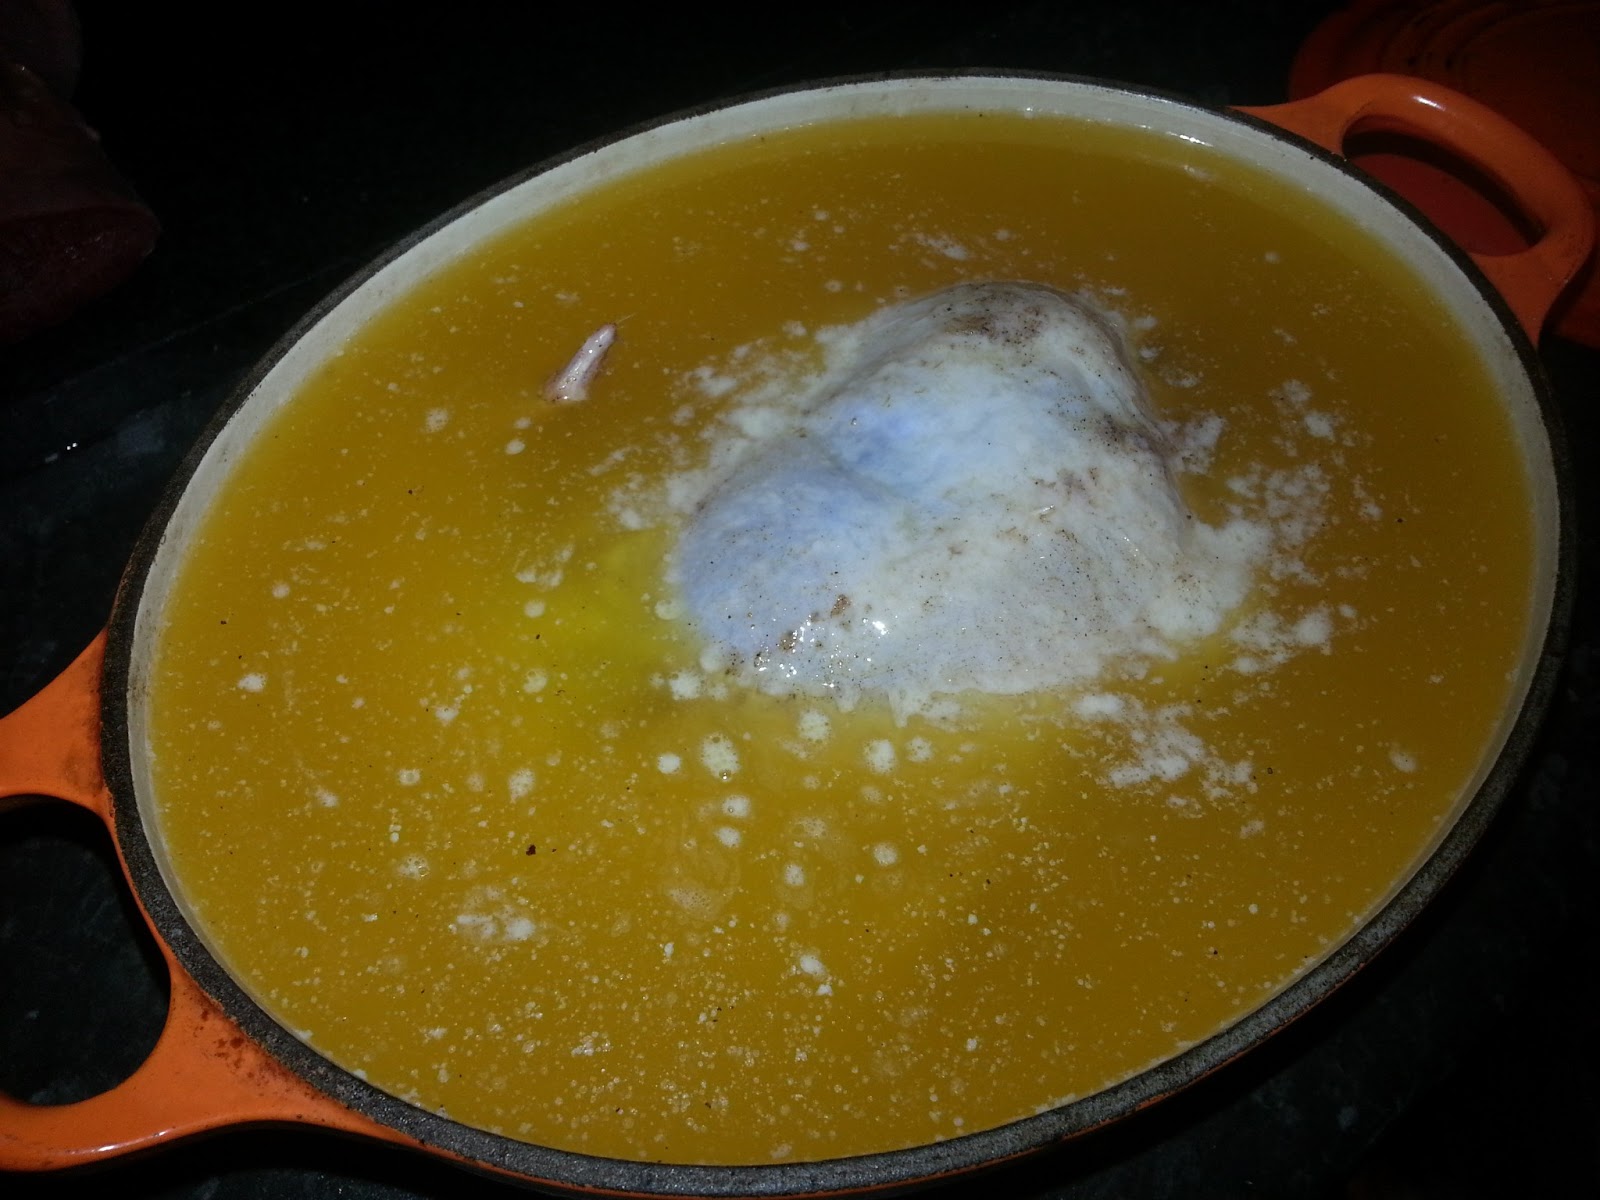
Mix all of the cure ingredients together, then scatter a handful of the mix over the base of a container large enough to fit your piece of pork, then scatter a second handful over the pork.

Now rub the mix into the underside, skin and edges of the pork, making sure you work it into any holes or flaps in the meat.

Cover and leave in a cool place – a larder or fridge – for 24 hours.

Next day lift the pork out of the container and pour away the liquid brine, then repeat what you did yesterday: one handful of cure beneath and another on top of the meat and rub in.

Repeat this over the next 5 or 6 days – i.e. until you have run out of cure mix – then rinse away any spices under the tap, pat dry with a clean cloth or kitchen paper and rub in a little malt vinegar all over the meat.

Use two hooks to hang your meat in a cool airy place for 2 weeks – I used my garage which is very cool and dry, especially in the late winter/early spring here in the UK.

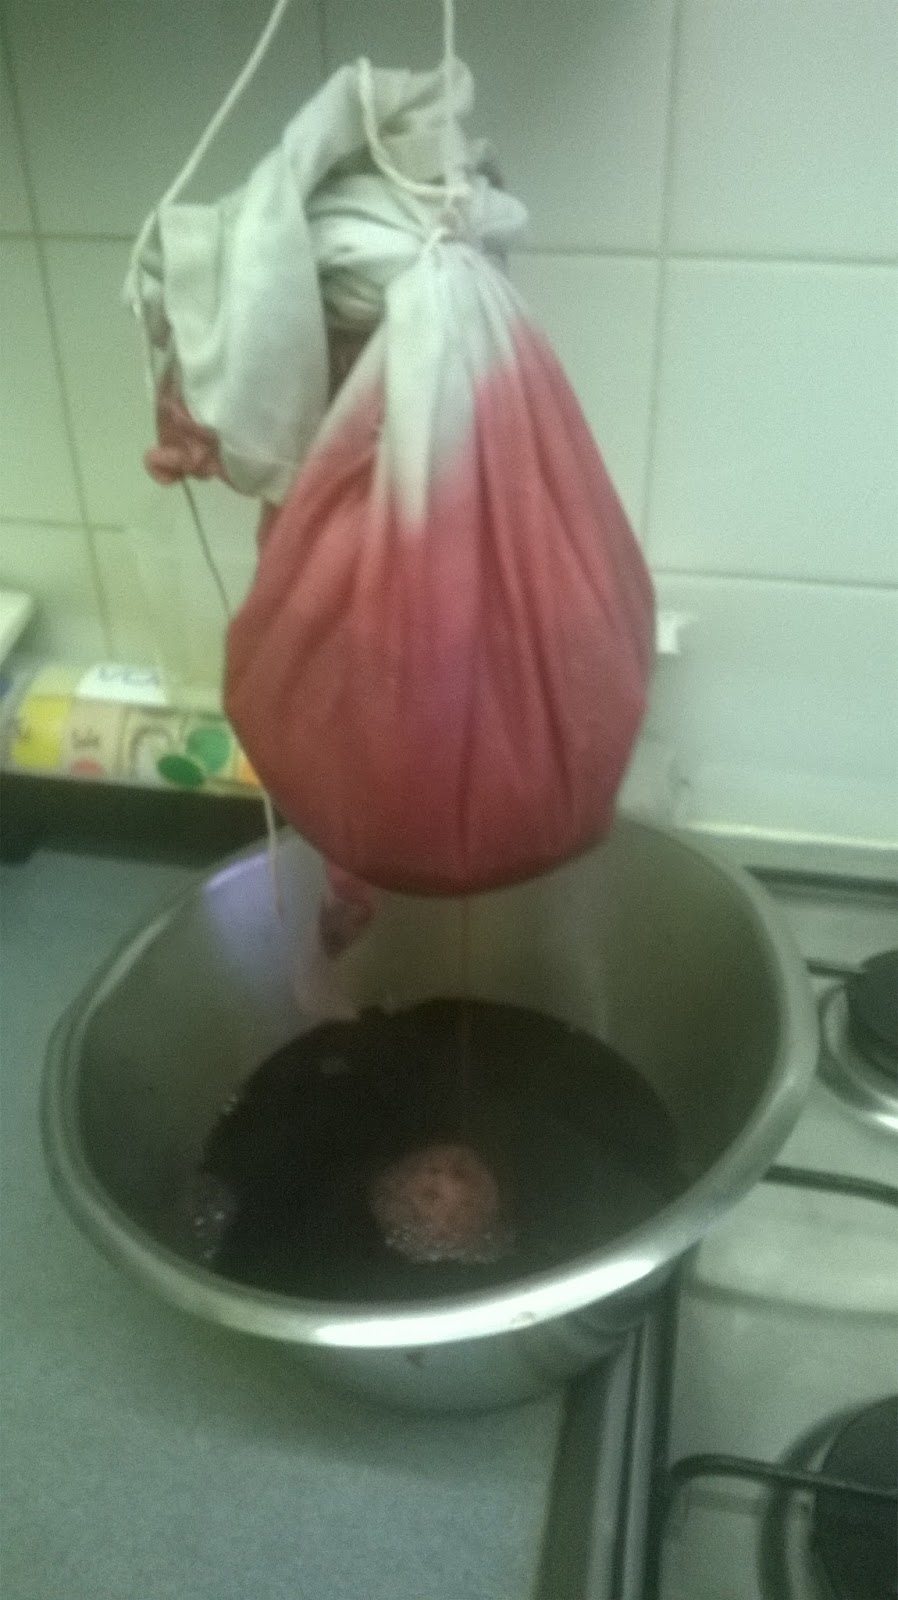
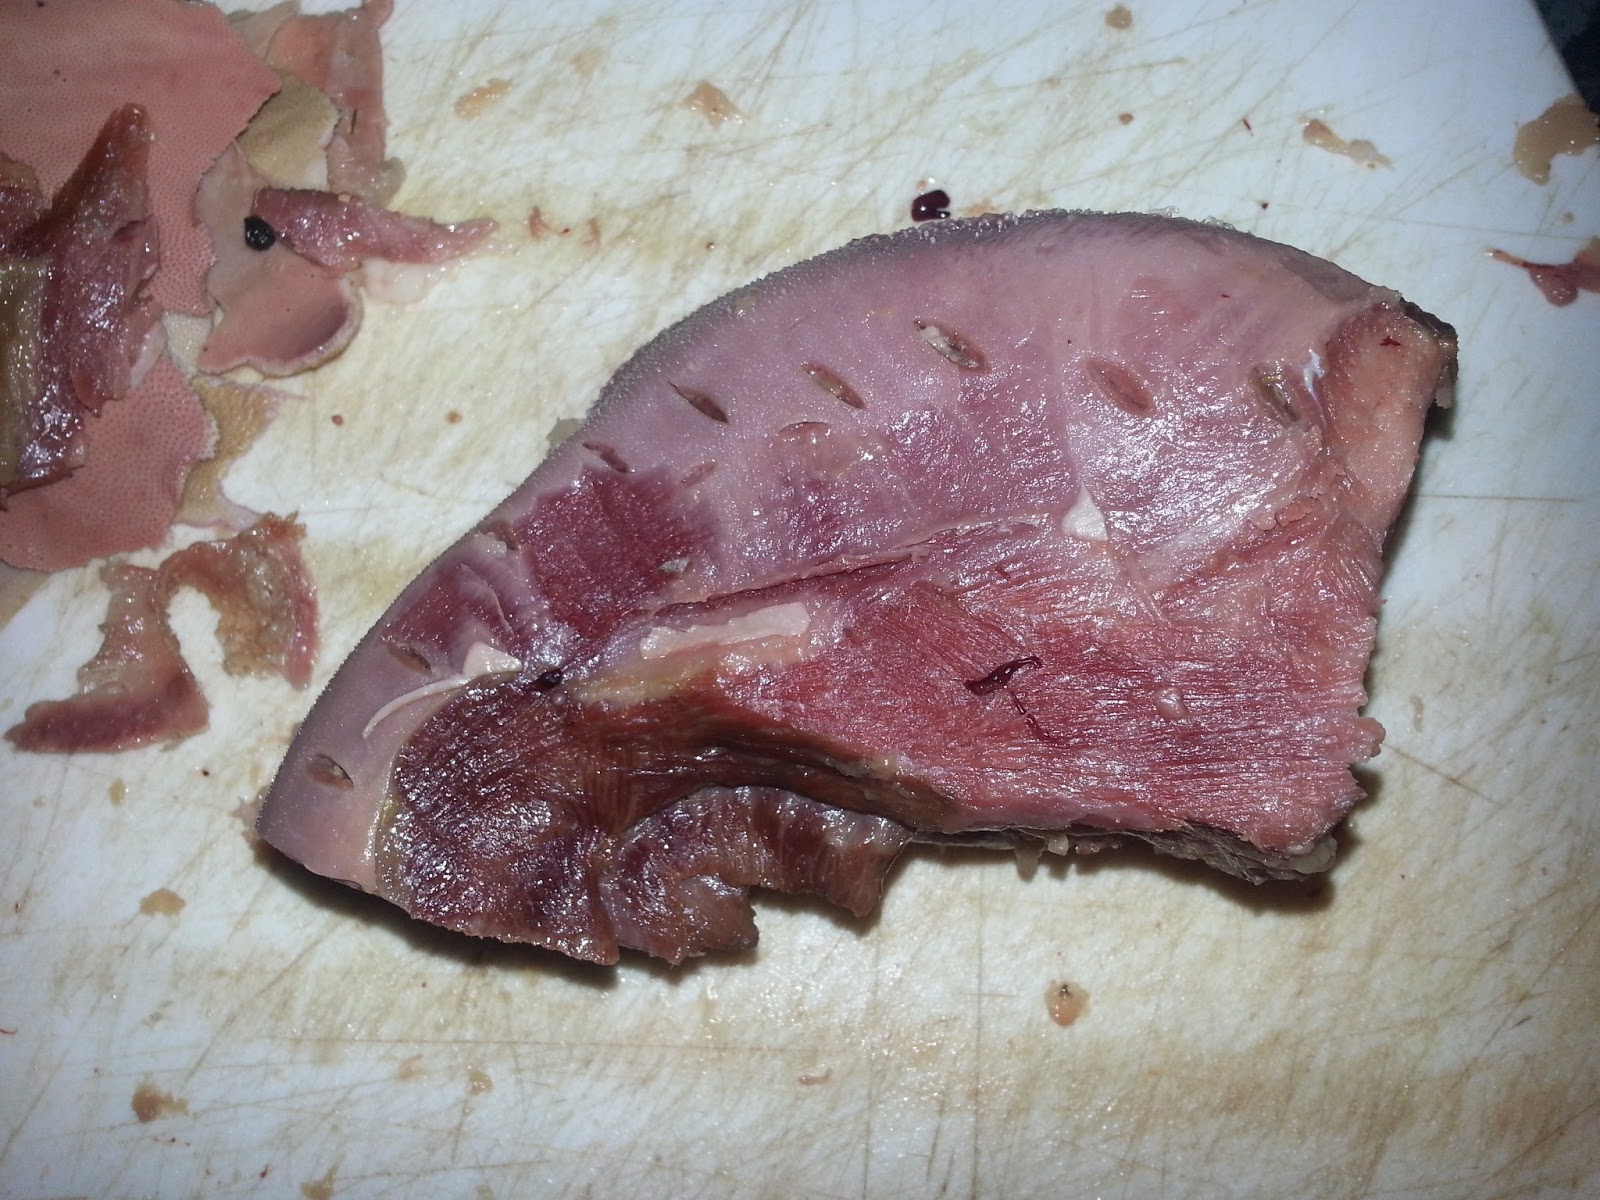
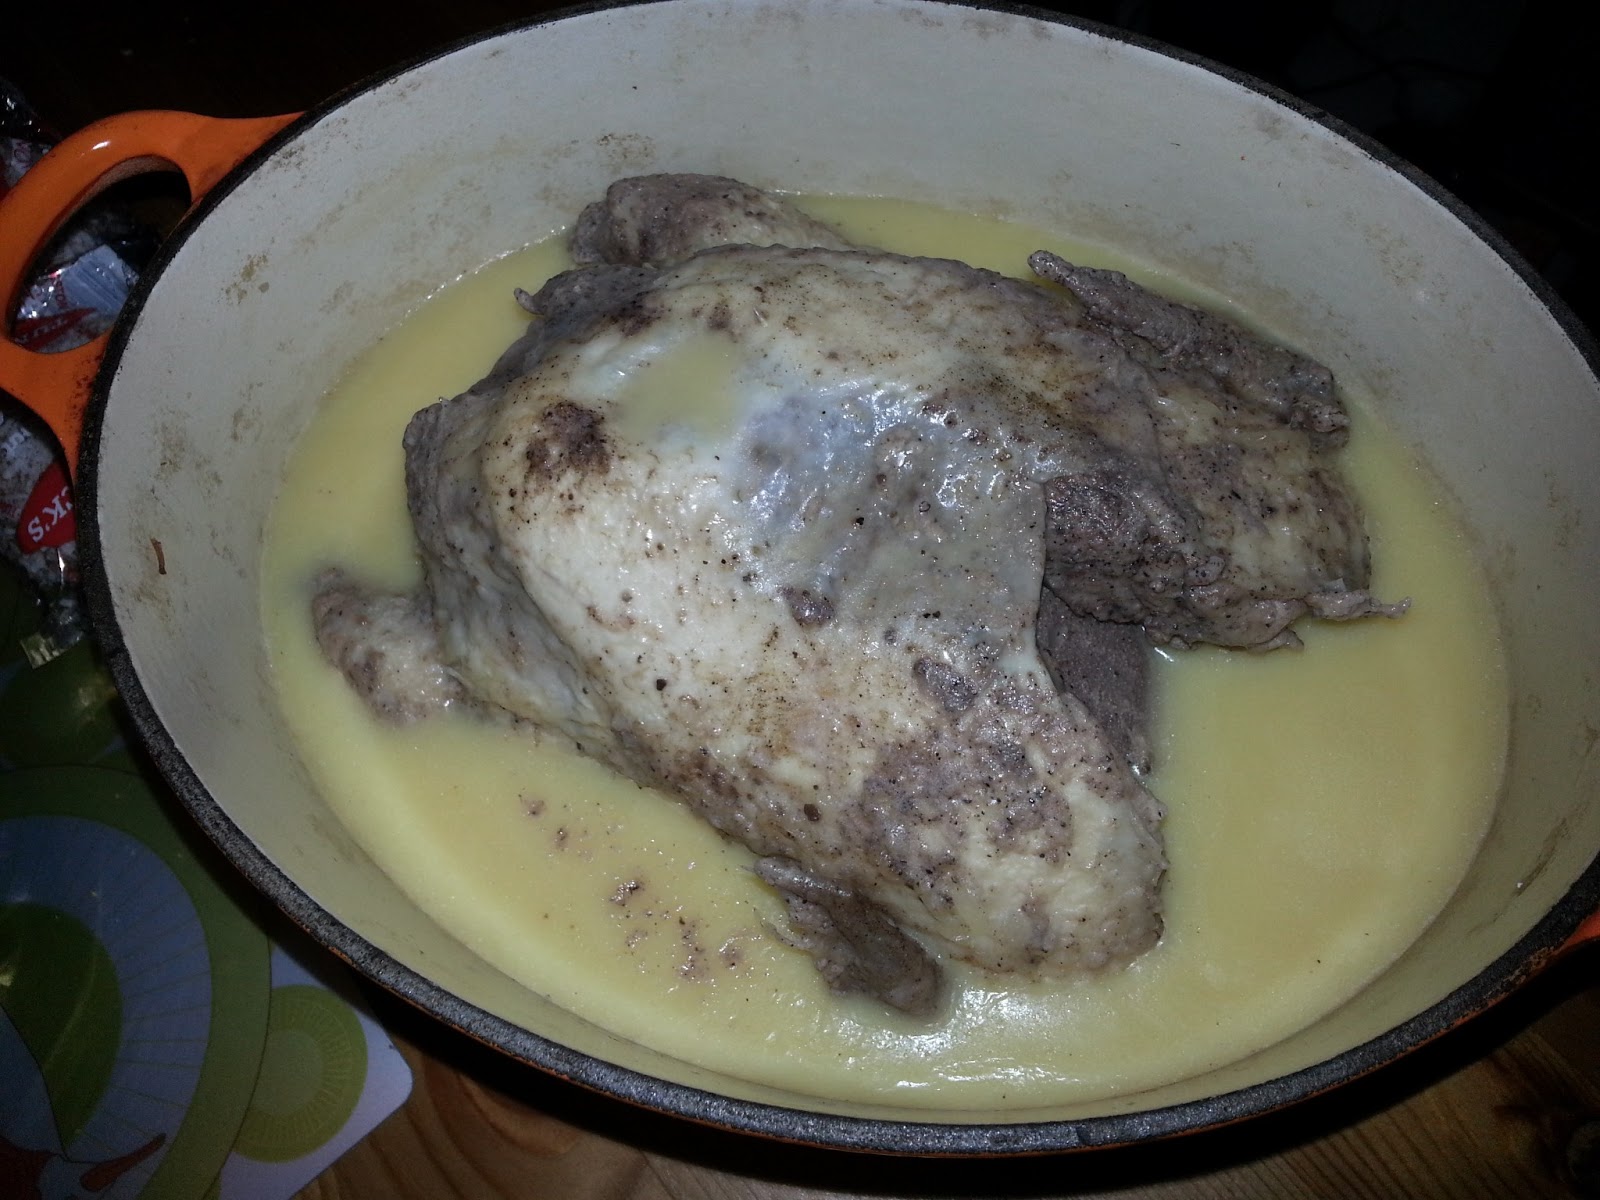
Now all you need to do is smoke it! Rather than type the process, I thought it quicker and easier if I showed you what I did next:

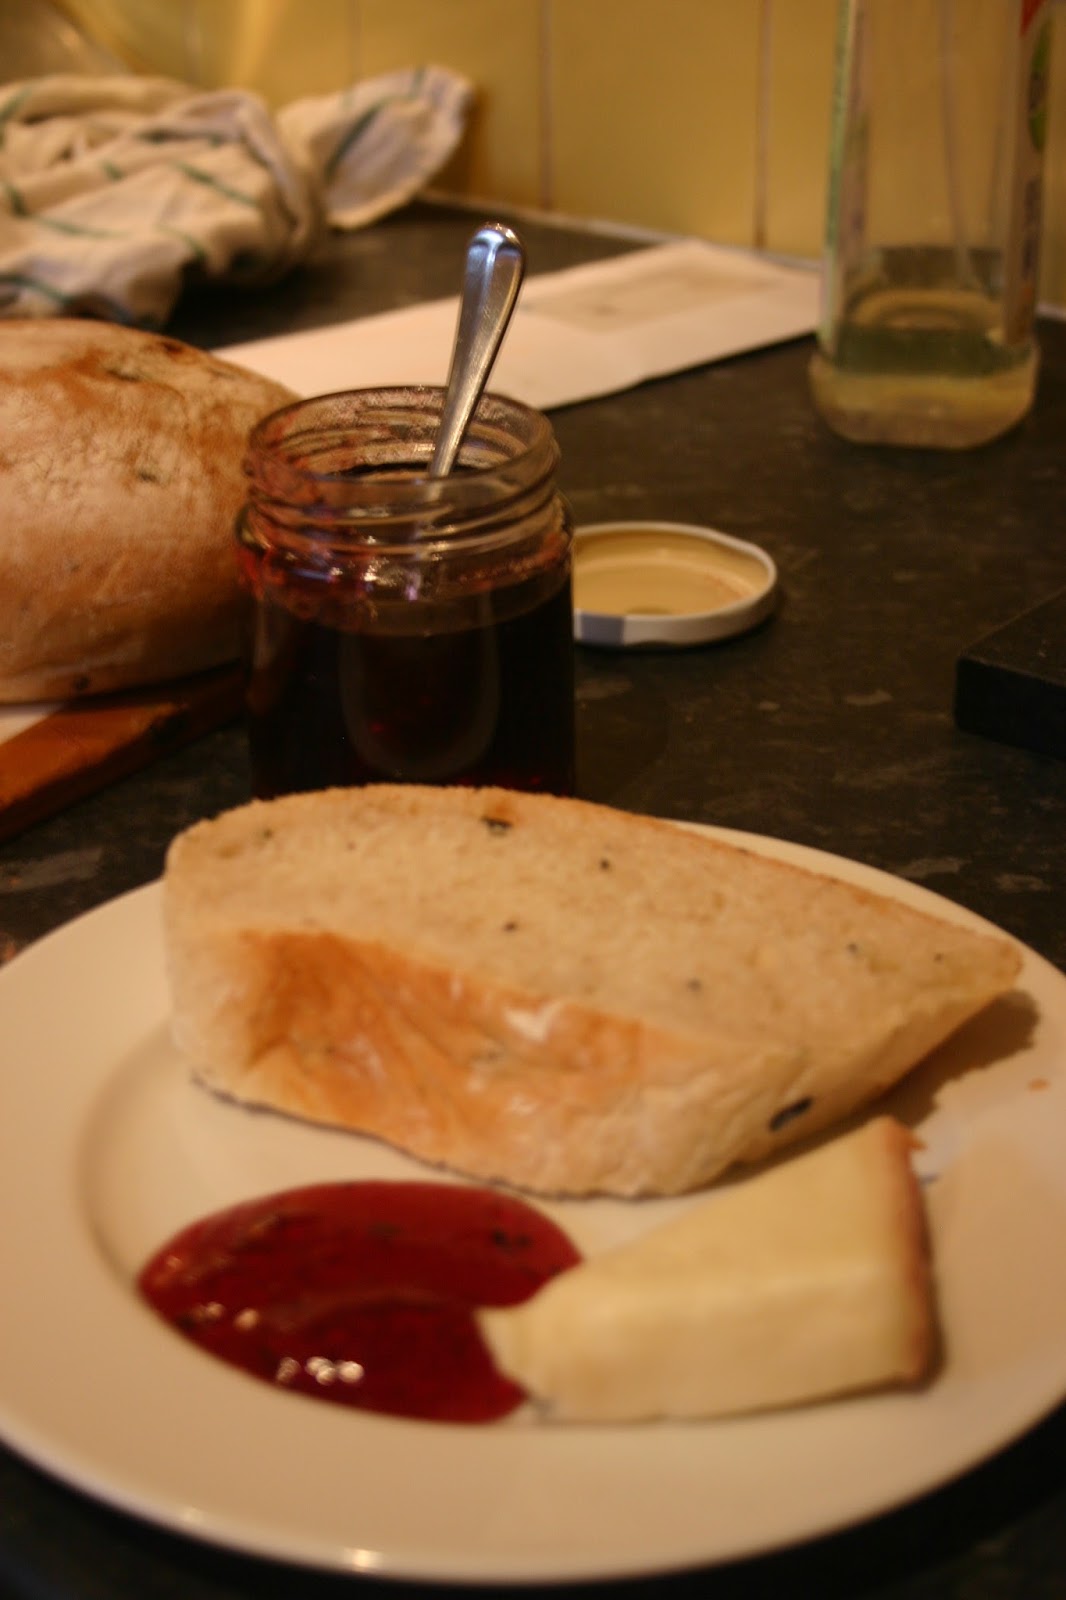
#441 Smoking Meat. Not a recipe, but it has forced me to dry cure and smoke my own meat, and my goodness, how delicious it is! You really should try it yourself – the Lamb-Grigson hybrid recipe worked like a dream and the smoker gave off so little smoke I doubt neighbours would notice it ticking away. The salt, butter and cheese worked a treat too. 10/10.

References:

1.           Grigson, J. English Food. (Penguin, 1992).

2.           Hartley, D. Food in England. (Little, Brown & Company, 1954).

3.           Lamb, S. River Cottage Handbook No.13: Curing & Smoking. (Bloomsbury, 2014).

Chapter 8: Stuffings, Sauces & Preserves – Completed!

Well folks, another full chapter is complete!

This was a bit of an odds-and-ends one which was full of revelations for me because it covered a large area of cookery even most chefs don’t bother with these days.
#272 Melted Butter

It’s rather difficult to reflect upon what Jane thought directly, because Chapter 8 is the only one that does not benefit from a written introduction. It was obviously an important area for her though, as she really looks towards under-used ingredients and uses a variety of techniques, so it’s well worth having a look through yourself.
#343 Oyster Stuffing
I – unsurprisingly – split the chapter into the following sections:
8.1: Stuffings (5 recipes)
8.2: Sauces (19 recipes)
8.3: Preserves (21 recipes)
Giving a total of 35 recipes. Click on the hyperlinks to see my review of the individual sections.
The chapter scored an overall mean of 7.6, the highest score so far for a completed chapter, fuelled by three recipes receiving top marks and a lack of total disasters. For those who care (and I know none of you do), here’s a little bar chart showing the mean scores for the chapter as a whole and as separate sections with standard deviation bars.
The five Stuffingrecipes are absolutely delicious, with #343 Oyster Stuffing being one of the most delicious things I have ever made. Growing up in a Paxo household meant I simply did not know how good a simple stuffing could be.

The Sauceswere diverse and delicious, the simplest – #306 Mint Sauce – being the best, but there are other great recipes, such as #272 Melted Butter and #432 White Devil Sauce.

#109 Quince Comfits
There’s a huge variety in the Preservessection too, with Jane avoiding the obvious things like raspberry jam. Instead she uses ingredients like cornel cherries, medlars and sorbs, so you can make preserves you are very unlikely to find in any store or farmers’ market. There is variety too in the types of preserves; jams, jellies, chutneys, sugars, comfits, candies and liqueurs all make an appearance. #397 Herb Jelly is one of my favourites, as is #46 Rich Orangeade, and I have never found a better, or more simple, (#24) Seville Orange Marmalade recipe.

8.3: Preserves – Completed!

#430 Granny Milton’s Pears in Brandy

There are only twenty recipes to go until I have cooked the entirety of English Food by Jane Grigson, and that means that I am able to give little overviews each time I finish a section.
The Preserves part of the book is at the very end, and is probably the part that most modern cooks would skip or ignore; it’s not as exciting as the meat and fish chapters for example, and you can buy very good preserves in shops and farmers’ markets these days. However, I would say, for me, it is one of the most important sections. 
The principle reason for its importance is that it introduced me to a whole host of British food plants that I had never heard of (or never thought of eating) such as Cornel cherries, medlars, sorbs, rowanberries, quinces and Seville oranges.

#109 Quince Comfits 


Also, it equipped me with a huge range of skills, because foods were not just being preserved as jams and jellies, but mediaeval comfits, sugars, flavoured spirits, chutneys, candied peel, orangeades and whole fruits. This, in turn, provided me with a backbone to my food business when it first started back in August 2012; I could line up several preserves on my little market stall and if the day was a washout, they would keep for next time.

#294 Preserved Spiced Oranges


Jane’s recipes always fill me with inspiration, and they continue to do so, but her influence here is greatest, because it has given me the most pleasure, which is also the simplest: the pleasure of cooking the recipes themselves.

Some of the recipes are now standards for me. Her (#24) Seville Orange Marmalade is the simplest and best recipe I have used, and her #383 Spiced Redcurrant Jelly too has never been bettered. #397 Herb Jelly is served at almost every roast dinner and is sublime when made with mint and served up with pie and peas.
#315 Cranberry Jelly


Real surprises in this section was the delicious #46 Rich Orangeade, laced with orange flower water has appeared in several of my pop-up restaurants as it makes such good cocktails! I would also urge you to try #385 Apricot and Pineapple Jam, a preserved made from preserves – dried apricots and tinned pineapples. I really didn’t see the point, but the result was delicious!

If you have never made preserves, the recipes in English Food are an excellent place to start.
#354 Passion Fruit Curd


That said, there are some real glaring omissions. There is little by the way of chutneys – there are no pickled onions and how could she leave out glorious piccalilli!? Also, there are no, what I would call, proper jams. Where is the strawberry, apricot, blackcurrant, greengage or raspberry jam? I really have no idea why fresh fruit jams wouldn’t make an appearance at all. I am attempting to fill in recipes that have been missed out on the other blog, so have a look there for more preserves recipes. If you spot something missing, please let me know.

#24 Seville Orange Marmalade


All twenty-one recipes from this section are listed below with a hyperlink to each post and the score I awarded them. It scored a mean mark of 7.5 (or if you’d prefer, a median and mode of 8), making it the third best completed part so far. It scored well most of the time but there was no recipe that achieved a top score of ten out of ten.

#294 Preserved Spiced Oranges (Part I & Part 2) 8.5/10
#127 Banana Chutney 5.5/10
#397 Herb Jellies 8/10
#255 Lemon Curd 8.5/10
#354 Passion Fruit Curd 6.5/10
#109 Quince Comfits 7/10
#20 Quince Vodka (Part 1 and Part 2) 7/10
#36 Vanilla Sugar 7/10
#286 Candied Peel 8/10

#430 Granny Milton’s Pears in Brandy

Here is recipe that uses up a glut of hard ‘windfall’ pears, should you have a tree, or know of one nearby. When I first read through this recipe – quite a few years ago now – I made a note to go to Chorlton Meadows, a lovely green area in Manchester that has a relatively unsullied Mersey River snaking through it. When I first started the blog, I had moved from Chorlton and had got to know it quite well, and I knew there was an area called Hardy’s Farm in the meadows, and part of the farm had been orchard full of apple and pear trees as well as gooseberry bushes.

Every year, in late summer, I made sure I visited the site of the farm and EVERY YEAR there were no tasty pears on the pear trees; they were either totally non-existent or shrivelled brown mush. To this day, I have never seen the pears there come to, as it were, fruition.

Not to be beaten, I made sure I planted a nice pear tree on my little allotment. The first year saw dozens of lovely white flowers, some of which I removed as I didn’t want to put the small tree under too much strain when it came to fruit production. It wasn’t too long before the flower petals were shed, and little pears started to grow. Eventually they reached a good size and had blushed with a delicious-looking pink colour, so I reckoned they would start falling soon. The next time I turned up to the allotment my beautiful pears had been STOLEN. I was livid.

After that the pear tree never flowered again.

These are the lengths I go to, dear readers, to follow the recipes as closely as possible; I didn’t want to simply buy some unripe pears from a shop. Anyway, I gave up and bought some.

I have no idea who Granny Milton is, but I assume she had an amazing pear tree in her garden. Well good for her.


First of all prepare your pears – be they windfall or otherwise – by peeling, coring and quartering them. You need 6 pounds in all for Granny Milton’s recipe, but it can easily be adjusted if you have a different amount.

Next zest three lemonsand mix the zest with the juice of the lemons and weigh out 4 ½ pounds of granulated sugar.

Find a large bowl and layer up the pears, zest and juice, and sugar. Cover with cling film and leave overnight.

Next day, put the pears and extracted juices in a heavy pan along with a 4 1/2-inch stick of cinnamon and 8 cloves. Put on the lid and bake slowly in an oven preheated to 140°C for 6 hours.

When the time is up, take the pears out of the oven and allow to cool down completely before stirring in 6 tablespoons of brandy. Remove the whole spices and spoon the pears with the juices into sterilised jars and seal. I found that a lot of the sugar didn’t dissolve into the pear syrup, forming a half-inch thick layer of sugar that could peeled from the base of the pan!

Leave the pears to mature in their jars in a dark cupboard or pantry for three months before eating them.

#430 Granny Milton’s Pears in Brandy. Jane doesn’t suggest what to serve these pears with. I have so far eaten them with sharp cheeses or Greek yoghurt. The pear flavour is very much preserved, and the spices really come through, giving good depth of flavour. They turned a beautiful deep translucent orange-brown colour. However, they were extremely sweet, so I’m quite glad that a lot of the sugar didn’t dissolve, I would suggest eating them with tart accompaniments. Not sure they were worth the wait! 5.5/10

#422 Peppered Redcurrant Jelly

This is the last fruit jelly recipe in the book, and I’ve become somewhat of a seasoned jelly maker, making up my own recipes and these days cooking them up at The Buttery to go with meat and cheese platters, roast meats and the like. This is the second of two redcurrant jelly recipes from English Food.

Redcurrant jelly is considered a rather niche preserved, being served with rich meats such as lamb, venison and other game, or as an ingredient in Cumberland Sauce, but it is versatile; I like it with cheese.

Redcurrant jelly is very much the preserve of the gardener – the delicate berries do not transport well and have a short shelf life, which is why they are expensive to buy fresh. On a recent walk around nearby Chorlton Meadows I found dozens of sprays of ruby-red currants growing out of sight beneath a huge mass of thick brambles. Typically in these situations, I brought neither bag nor tub and so I ate them straight from the bush until acid reflux began. It was a shame really, as I could have made a huge amount of jelly. Hey-ho, I’ll remember this secret spot next year.

Our cultivated redcurrants are actually made up of three distinct species, and the less common whitecurrant is simply a variety of redcurrant that has lost the ability to produce the distinctive red pigment. There is also a pinkcurrant.

Country houses and kitchen gardens particularly in the 18th Century, grew vast amounts of red and white currants; their pectin-rich and tart juice used as a base for dozens of other preserves and sauces. I have never made whitecurrant jelly, and I wonder why one doesn’t see it anywhere?

This redcurrant jelly is enriched with red wine and contains cracked black peppercorns, I imagine it would work just as well using whitecurrants and white wine.

This recipe can be easily scaled up or down, depending on how many redcurrants you have, and the great thing about making a jelly is you don’t have to go through the rigmarole of stripping the berries from their stalks as they all get left behind during straining.

Put three pounds of redcurrants in a saucepan. To this, add around 2 ¼ pints of liquid; between 8 and 16 fluid ounces of it should be red wine, the remainder water. Bring to a boil and simmer until the currants are soft and pulpy. Pass through a jelly sieve or bag and allow to drip overnight.

Next day, place the juice in a saucepan or preserving pan with three pounds of granulated sugar. Put over a medium heat and stir with a wooden spoon until the sugar has dissolved. Remove the spoon and turn the heat up so that the fruity syrup boils enthusiastically. At this point put a saucer in the freezer so you can test for a set later.

After 15-20 minutes boiling, test to see if the jelly has set. There are two ways: (1) use a thermometer, pectin gels set at 105C; (2) the wrinkle test where a few drops of jelly on a cold saucer cool and wrinkle when you scrape them with a finger. I usually do both to be on the safe side. If the jelly isn’t set, boil for another 10 minutes and retest.

Finally, roughly grind about a teaspoon of black peppercorns using a pestle and mortar and stir in right at the end of cooking. Allow to sit for 15-20 minutes before potting in hot, sterilised jars.

#422 Peppered Redcurrant Jelly. This is a delicious jelly, spiked with rough spicy peppercorns giving it both interesting flavour and texture. The red wine doesn’t make it too rich, as you might expect it to, so be generous with it. I am going to use it for some future lamb dishes I think, though I did try a little sample with some good cheese, butter and bread. Very good, 8/10.

#406 Soused Herrings

The herring and mackerel recipes in the Saltwater Fish section of the Fishchapter have been pretty hit and miss; from the sublime #386 Herrings in Oatmeal to the ridiculously rank #390 Isle of Man Herring Pie, so I was rather pleased that this is the final one of the book. That said, this one did not strike too much fear into me; rollmops are okay and this recipe was not a million miles away from them.


Pickled herrings are not really considered as an English food these days, more Scandinavian, yet they were enjoyed frequently, after all how else were those inlanders going to get to eat them prior o e invention of the train? Pickled fish were an essential part of a #334 Salmagundi as we discovered in (quite unexpectedly) the Poultrysection.

When it comes to eating soused herrings, Jane suggests eating them the Scandinavian way: ‘serving them with a bowl of cream, beaten with lemon juice, salt and pepper, and flavoured with chives…[and] with wholemeal or rye bread and butter’.

This recipe is for 6 people, but as you’ll see, it is very adaptable to any number for folk.

First, select 6 good-looking, plump, red-cheeked herring and ask the fishmonger to bone them, removing their heads. Once home, season the herrings with salt and pepper, roll them up tightly, and spear with cocktail sticks to secure them. Arrange the fillets in an appropriate ovenproof dish, masking sure they fit closely.

Next, pour over a quarter of a pint each of good malt vinegar and water. Halve 3 bay leaves and thinly slice 3 shallots(or a medium onion) and tuck between the fish. Add to that a deseeded and thinly-sliced red chili and level tablespoon of pickling spice.


Cover the dish with foil and bake at 160⁰C for 45 minutes and allow them to cool.

If you don’t want to serve the herring in their baking dish, move them to a more suitable serving dish and sieve over the pickling liquor.

#406 Soused Herrings. Well this was a middling recipe really, not inedible but not very exciting either. The well-flavoured pickling liquor was much better than the liquor used for rollmops. However, rollmops they were, which are never going to have me doing cartwheels. 4.5/10.


#397 Herb Jellies

Here’s a quickie from the Preserves part of the last chapter of English Food.

Herb jellies are apple jellies flavoured with a herb and a little vinegar for piquancy. They can be served with roast meats, cold cuts, cheese, even fish or vegetables such as peas.


You can use any herb you like. On my allotment there are vast amounts of mint, lemon thyme, chives, sage and oregano.

Here are some suggestions to give you some ideas:
Mint; lamb, duck, mushy peas, garden peas, new potatoes
Thyme; chicken and other poultry, pork, rabbit
Lemon thyme; chicken, fish
Sage; Pork
Marjoram/Oregano; pork, chicken, cheese
Chervil; game
I shan’t go on – I’m sure you get the idea!
My patch of mint needed taming so I put both the leaves and stems to good use.
It is pretty straight-forward.
First weigh, then roughly chop, some Bramley or windfall apples and place, skin core and all, in a large pan. Add 3 ½ fluid ounces of white wine vinegar to every 2 pounds of apples. Add enough water to only just cover the fruit. Amongst the apple pieces, tuck in 2 or 3 big springs of your chosen herb. Bring to a simmer and cook until the apples have become all mushy, around 20-25 minutes.


Pass the juice through a jelly bag and allow to drip overnight.

Next day, pour the juice into a preserving pan and to every pint add a pound of granulated sugar. Put on a medium heat and stir until the sugar is dissolved. Turn up the heat and bring to a boil. Keep it on a good rolling boil until setting point is reached.
To test for setting point, bring the juice to a temperature of 104⁰C. To do this, the best thing to do is invest in a sugar thermometer, failing that place a drop or two on a freezing-cold plate and push it with your finger when the jelly is cool. If it wrinkles, it is set. I actually use both methods – the thermometer so that I know I’m there, and the wrinkle test to make doubly sure.
Pour into sterilised jars.

#397 Herb Jellies. This is a great recipe, though I found it too sweet. I adapted it by adding 50% more vinegar, and some of the herb itself, finely chopped, added once the sugar dissolved. Orginal recipe gets a 6.5/0, but it was pretty easy to make it an 8/10.

#367 Hot Red Pepper Jelly

Chilli peppers and sweet bell peppers have never really been absorbed into our eating culture. I cannot think of a single English (or indeed British) dish that uses it. You do find some sliced red pepper on a salad, but that’s about it. When Portuguese and Spanish explorers brought them back from their travels to the New World, many of the Southern European and Northern African countries quickly assimilated it into their cooking. Of course, peppers are most successful in Asia. Who can imagine an Thai, Indian or Pakistani curry without it?
Whenever I cook with peppers – sweet or hot – it is always in a curry or an Italian pasta sauce. Well with this recipe I think that Jane Grigson is trying to use peppers in a very English way. In fact it comes from her daughter Sophie Grigson, now a very successful food writer in her own right. I think it is a very British preserve; a clear sweet jelly cut with a bit of vinegar to make it certainly savoury.


Halve and core 2 pounds of cooking apples such as Bramleys seedling, but don’t chuck out the cores (they are a valuable source of pectin). Chop the flesh and blitz in a food processor. Tip them into a preserving pan or stockpot with the reserved cores. Tip in 15 fluid ounces of cider vinegar to prevent the apples from discolouring. Next, deseed and roughly chop 3 red peppers and 4 red chilli peppers. Blitz those up too and add to the pot. 

Bring to a boil and simmer for a good 20 minutes. At this point there will be an absolutely delicious smell. Savour it – the smell from this aromatic sharp concoction is wonderful! Strain the hot mixture through a jelly bag and allow it to drip overnight.


Next day, measure the volume of juice you have and pour it into you pan. Stir in granulated sugar – you’ll need a pound for every pint of juice. Once the sugar has dissolved, turn up the heat and boil for 20 minutes.

Normally, the apples alone have enough pectin in them to easily set a jelly like this, but the chilli peppers somehow interact with the pectin and prevent it from happening. To get around this problem you need to add extra pectin which comes in the form of a viscous liquid or a powder. Grigson suggests using 3 fluid ounces of liquid pectin (e.g. Certo), but you could use a sachet of pectin powder in its place. Whichever you use, mix it well into the boiling jelly. Test for a set using a thermometer; 104⁰C is what you are looking for. This will take about 10 or 15 minutes of hard boiling. It is important to note that you shouldn’tfollow the instructions on the packet. Pot the jelly into sterilised jars.


#367 Hot Red Pepper Jelly. This was very refreshing and delicious – the sweet jelly combined with sharp vinegar is a great one that really brought out chilli flavour as well as chilli heat. It was very good with cheese. 8.5/10

#366 A Fine Way to Pot a Tongue

Jane Grigson gives this recipe no introduction or explanation, but one can tell from the title that this was an old recipe. It consists of a tongue inside a boned chicken that covered in butter and baked. After a quick sift through the cookbooks, I found that it is adapted from a recipe of Hannah Glasse’s that appears in the 1774 book The Art of Cookery, and the original is a little more ostentatious:

‘Take a dried tongue, boil it till it is tender, the peel it; take a large fowl, bone it; a goose, and bone it…Put the tongue into the fowl; then season the goose, and fill the goose with the fowl and tongue, and the goose will look as if whole. Lay it in a pan that will just hold it, melt fresh butter enough to cover it, send it to the oven, and bake it an hour and a half…this will keep a great while, eats fine, and looks beautiful. When you cut it, it must be cut cross-ways down through, and looks very pretty…’


It resembles recipe #322To Make a Goose Pye.


Here’s Jane’s recipe (in my words):

First of all you need to tackle your pickled ox tongue – you can buy these from your butcher pretty cheaply as I did this time, but you might want to have a go. I usually do this but the butcher didn’t have any fresh (which is understandable seeing as very few people buy them nowadays). Have a look at the post #150 How to Cure Meat in Brine for some guidance on this. Once pickled, you need to poach your tongue for 2 to 3 hours and then peel it. You don’t need to press it or anything, but see #258 Boiled Ox Tongue: To Serve Coldand #331 Boiled Ox Tongue: To Serve Hotfor more information on this.
Next, bone a 5 to 7 pound chicken. This isn’t as difficult as you think. I’ve given instructions already on how to do this in the post #322 To Make a Goose Pye. In fact this is easier because the chicken can be first split down the back with poultry shears or a hefty knife. Of course, you could ask your butcher to do it – you might have to flutter your eyelashes a little though!
Now trim your tongue, cutting off the root to remove gristle and the front portion of the tongue so that it will fit snugly within the cavity of the bird.

Before you fit it, make a spice mix from the following: a teaspoon each of ground black pepper, ground mace and ground cloves plus ½ a freshly-grated nutmeg and a level dessert spoon of sea salt.

Flip the bird over with the cut side facing you and rub in around two-thirds of the spice mix into the cavity, then place the tongue inside and wrap it in the chicken. Quickly but carefully turn the bird over to produce a surprisingly normal-looking chicken. Pop it into a close-fitting ovenproof casserole dish and rub in the remainder of the spices.


Now get on with gently melting the butter – the amount you need will depend upon how well the chicken fits into its pot. I needed four 250g packets of butter in all – that’s 2 ¼ pounds approximately. Once melted, pour it over the chicken so that it just covers it.


Pop on  a lid and bake at 200⁰C (400⁰F); if your casserole is very full, as mine was, it’s a good idea to put a roasting tin on the floor of the oven as the butter will bubble hard. When it is bubbling and boiling, turn the heat down to 180⁰C (350⁰C) and bake until cooked through. After 45 minutes see if the chicken is cooked: use either a meat thermometer (the meat should be a temperature of 73⁰C, that’s 163⁰F) or a skewer and check for any pink juices. If it’s not quite done, bake for another 10 minutes before checking again.
When cooked, gingerly take the chicken out so it can drain on a rack and pour the butter and meat juices into a bowl. Let everything cool before boiling the butter up in a pan – however, make sure none of the juices go in. Put the chicken back in its pot and tip over the butter.


You need to leave chicken for at least 36 hours before slicing it and eating with wholemeal bread spread with the spiced butter. If you want to leave it longer than 36 hours,  add more butter to fully cover the chicken.
#366 A Fine Way to Pot a Tongue… and what a fine way it was indeed!  The tongue was salty and tender with blander spiced chicken that actually balanced it very well. The spiced butter was unbelievably tasty. Three cheers for Hannah Glasse! 9/10


#354 Passion Fruit Curd

Well there goes the Great British Summertime, but don’t worry our Griggers is at hand to give us a little bit of tropical sunshine with this rather unusual fruit curd recipe. She must have been rather ahead her time with this one – I think the first time I ever saw a passion fruit in a greengrocer’s shop it was around 1990. I love fruit curd and am always on the lookout for new recipes – especially for the stall. Jane does suggest giving all sort of fruits a go; raspberries, gooseberries, apricots – knock yourselves out, she says (I paraphrase).

This curd is unusual in that it is made in the same way as custard:

You will need 4 large, 6 medium, or – in my case – 8 small passion fruit. Halve them and scoop out the pulp, seeds and all, into a small saucepan. Stir in 4 ounces of sugar and 4 ounces of slightly salted butter that has been cut into cubes over a low heat. Meanwhile, beat 3 large eggs (or 2 large eggsand 2 egg yolks) well in a bowl. When the sugar has dissolved and the butter melted, turn up the heat until it boils then tip it into eggs , furiously whisking to prevent the egg from curdling. Pour the custardy mixture back into the pan and stir over a low heat until it becomes quite thick. If you want to err on the side of caution use a double boiler or a glass bowl over simmering water. I found you don’t need it for this recipe, though I did use a thermometer so that I could get the curd as thick as possible without it curdling – you want a temperature of 78C (though Jane gives a temperature of 80⁰C, but I always find this too high for curds).

Remove from the heat, but mind you still keep on stirring it – the residual heat of the pan may still curdle it – then pass it through a sieve, making sure you work all of the curd out. Stir in a few of the seeds and add a tablespoon or so of lime juice to sharpen it a little. Pot into sterilised jars, let them cool then seal them. It will fill two 200 ml jars.

#354 Passion Fruit Curd. This was a strange one and no mistake. The flavour of cooked passion fruit is rather different to fresh – it’s weirdly not unlike fresh bread, and it took rather a while to get used to it. I ate it on toast, but I reckon it would have been a fantastic filling to a sponge cake. Also, they coordinated very well with my kitchen decor. 6.5/10.