I love an oatcake – in fact I love oats in general, they are my favourite of the cereals.
You may think that Jane Grigson is taking liberties (and she has done this many times already) by including a Scottish recipe in a book of English Food, but you would be mistaken. Oats were the main cereal crop for the most of northern England as well as parts of Wales too; wheat was for the rich and oats and barley for the poor. In Scotland, oats were the only cereal that would grow, so oats have become more synonymous there than in England or Wales.
The best thing I found out was that an oatfield fell victim to a crop circle in 1676 – the first ever recording of one! The woodcut below shows that people assumed it was the work of the devil, rather than men from outer space.

The best thing I found out was that an oatfield fell victim to a crop circle in 1676 – the first ever recording of one! The woodcut below shows that people assumed it was the work of the devil, rather than men from outer space.

To make true Scottish oatcakes, you need some specialist equipment (the recipes themselves hardly differ); a spurtle, which is a wooden stick used to for stirring and mixing and it looks a bit like Harry Potter’s wand; a special rolling pin called a bannock-stick that leaves a criss-cross pattern on the rolled out dough; a spathe, a special piece of equipment that is used to move the oatcakes from board to girdle that is heart-shaped with a long handle; then there is the banna-rack, a toaster used to dry the oatcakes. I do own a spurtle, but the other pieces of equipment are rather more tricky to get hold of.
You can make oatcakes large or small, leave them whole (bannocks) or cut into quarters (farls). Here endeth today’s Scottish vocab lesson. I found this wealth of information in a great book that I picked up in a second-hand bookshop in Inverness last year. It is called The Scots Kitchen: Its Lore & Recipes by F. Marian McNeill and it’s well worth getting hold of a copy.
Oatcakes are somewhere between a pancake and a biscuit, but appear in the Pancakes & Griddle/Girdlecakes section of the Teatimechapter and not the Biscuitspart. I think I would classify them as a biscuit even though they are cooked on a girdle because they’re so crisp; after their initial cooking , they would be dried out in front of the fire and then stored in a meal-chest or girnel covered in oats. We use Tupperware today of course.
I made these oatcakes to take up with me on a visit to my friend Frances who lives in an amazing 17th century house in the Lake District. In her instructions, Jane says to ‘toast lightly before the fire before serving them’, and Frances’s house is not short on proper roaring fires as you can see by the photo below.

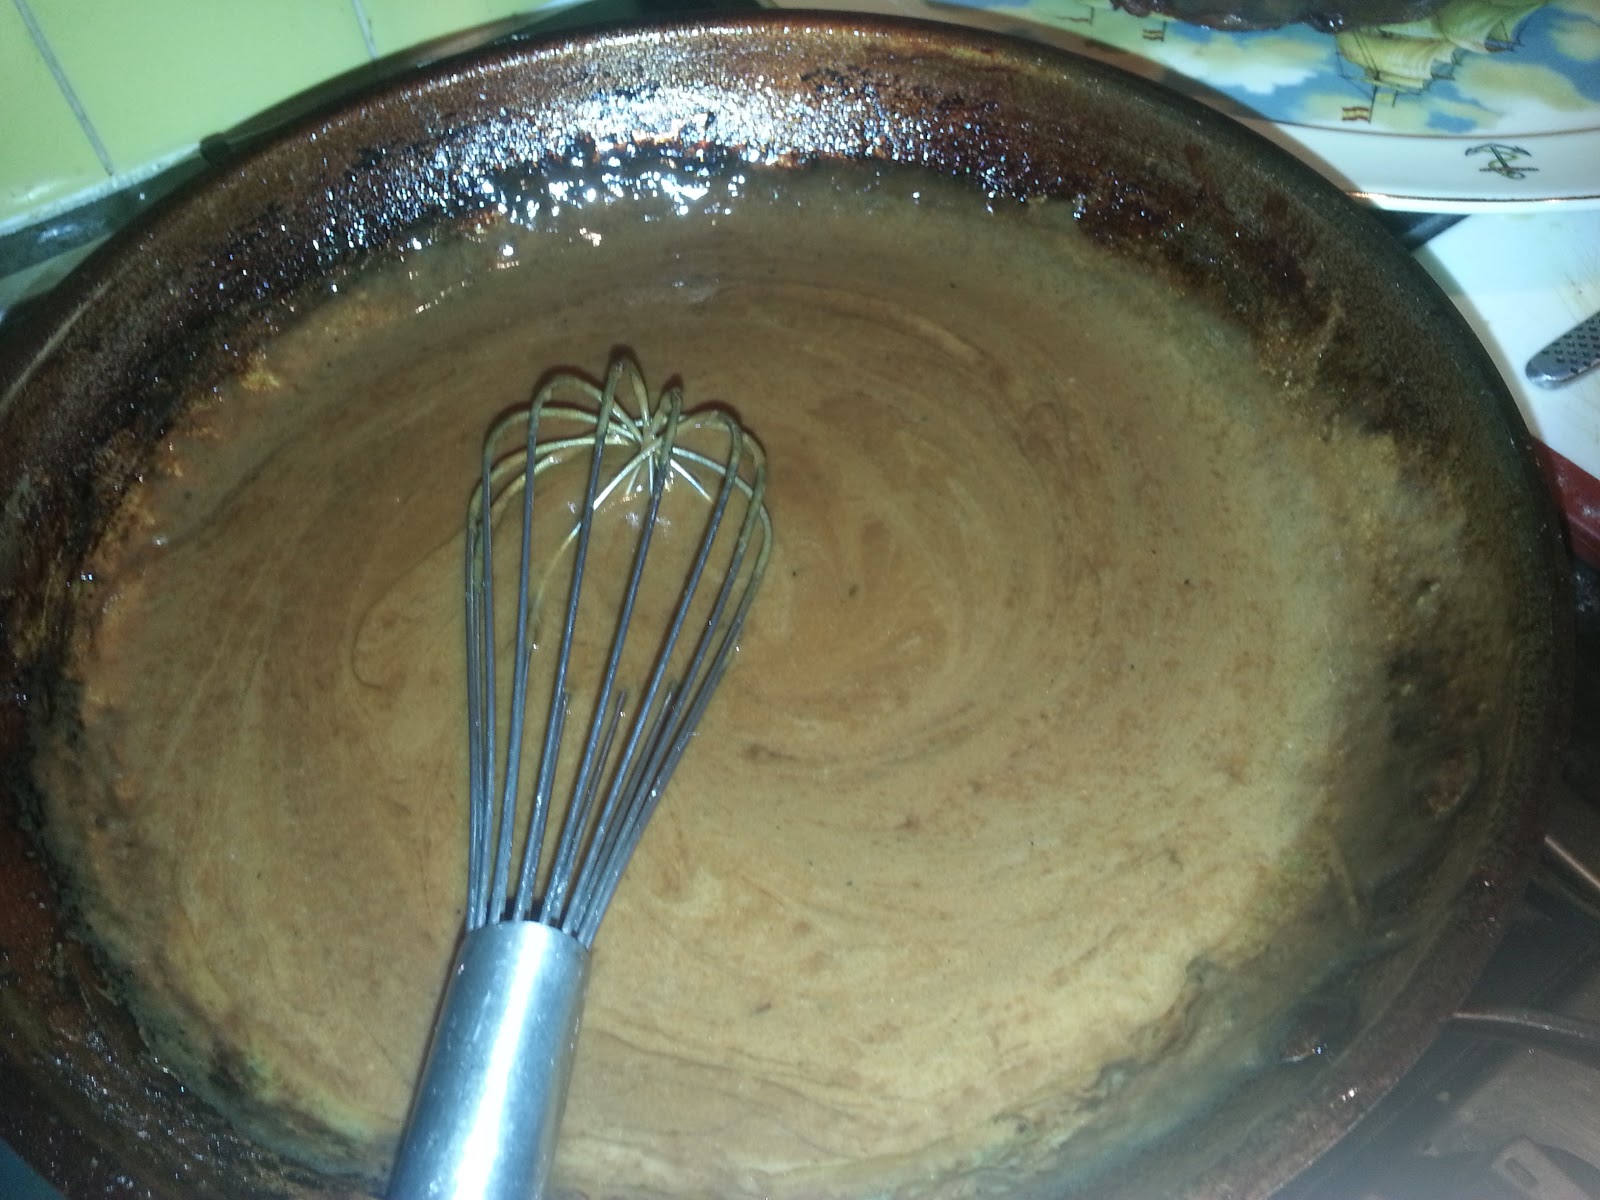
Mix together 4 ounces of medium oatmeal with 4 ounces of plain flour and a level teaspoon of salt, then rub in 2 ounces of lard, dripping or poultry fat(vegetarians can, of course, use hard vegetable fat, but be careful to buy some not made from hydrogenated fats). Mix in enough cold water to make a soft dough. Roll out thinly on a ‘oatmeal-strewn board’ and cut out circles using a scone cutter.

To attain really thin oatcakes, Jane suggests slapping them ‘between your oatmealy hands. I tried this but it was difficult. I found it much easier to roll and cut out circles, then rolling the circles separately on the board. They weren’t perfectly circular, but they were very thin and crisp. The mixture made me 16 good-sized oatcakes.
Before you griddle to oatcakes make a glaze by beating together an egg with a tablespoon of milk and a teaspoon of sugar.

Heat up an ungreased griddle or other suitable heavy-based pan. When hot, place the oatcakes on the griddle and paint them immediately with the glaze. Let them cook through – you know this is happening because the glaze dries and goes shiny when they’re done. There is no need to turn them.

Cool on a wire rack and store in an airtight container and toast them dry in front of a lovely fire, or failing that back on the griddle or in the oven.
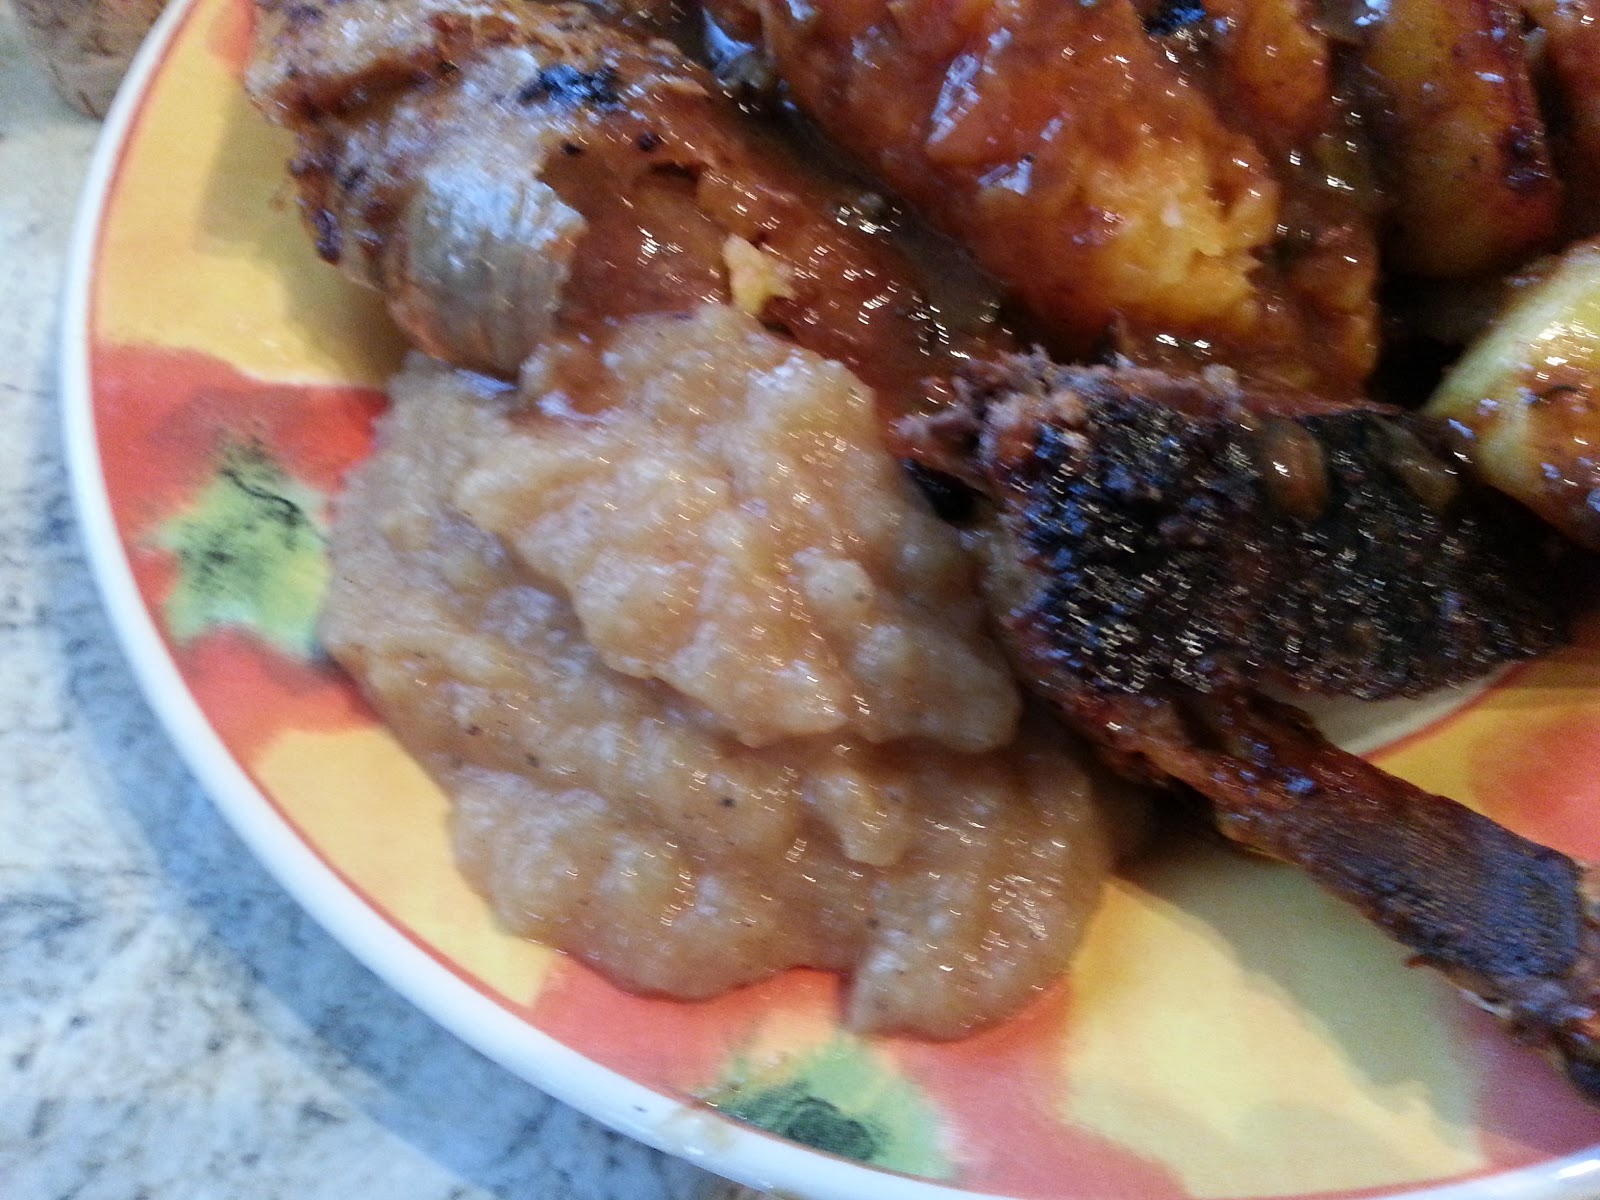
We ate them fresh from the fire with butter spread on them.
#371 Oatcakes. These were very good indeed, they were good and salty and the slightly sweet glaze counteracted it perefectly. Most importantly the almost too-heavy seasoning brought out the lovely toasted oatiness – I think it is important to say that I used organic oats, and I am sure that this made a difference because it really was a hit of oat flavour. I loved how they all curved and curled as they cooked too. Very good 8/10