Sorry for the quiet blog folks, I am still organising my life after my recent move back to Manchester. The dust has settled enough however, for me to do this recipe for potted cheese that I have had my eye on for a good while; I couldn’t make it in America as I couldn’t get hold of the required Cheshire cheese for love nor money (and if I could it would have cost a pretty penny, let me tell you).
Potted cheese was very popular from the mid-18thcentury as a way to use up left-over dry cheese and rinds and pep them up a little and make them edible and delicious once more. The cheese is potted just like potted meat or fish: mixed with butter and seasoned with alcohol and spices.
Any cheese can be used: Cheshire, Stilton, Gloucester, Wensleydale, Gorgonzola, Roquefort, whatever you have available. It then needs to be moistened and seasoned. Jane makes some suggestions as do many 18th century books: white wine, sherry, port, Worcester sauce, chili vinegar, black pepper, chives, mustard, Cayenne pepper, ground mace. The list goes on. Jane uses any leftover cheeses and combines them to make a single that is ‘a far more rewarding result than any cook deserves’, we mix our grapes to make blended wines, so why not cheese? Hannah Glasse says ‘a slice of [potted cheese] exceeds all the cream cheeses than can be made’. This is all high praise indeed. The recipe that Jane specifies uses Cheshire cheese, port or sherry, Cayenne pepper and walnuts.
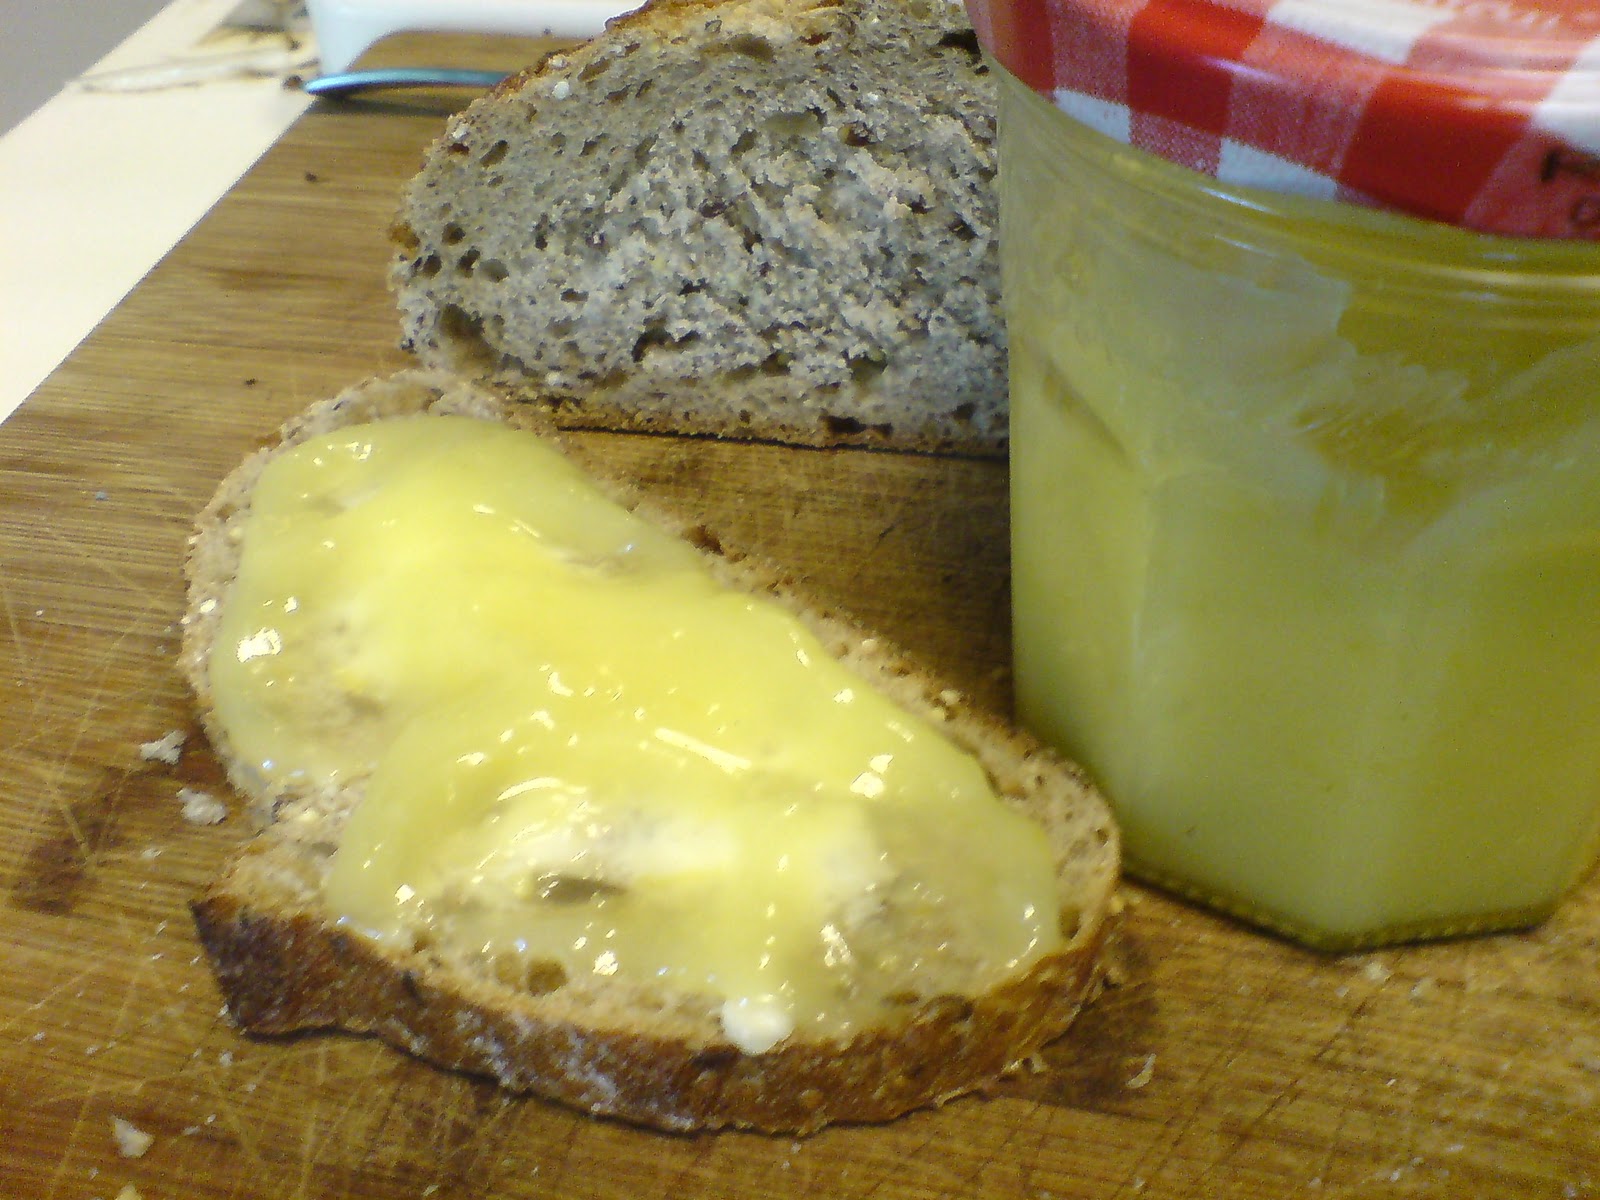
Take 3 ounces of butter out of the fridge in good time so that it can soften. Next prepare 8 ounces of Cheshire cheese – cut into cubes and reduce to a crumble in a food processor or grate if doing by hand. Add the butter and two tablespoons of port or brown sherry to form a paste. Add a good pinch of Cayenne pepper. Jane now tells us to either form into small cheese truckles and roll them in chopped walnuts, or to put in pots and cover with clarified butter if the potted cheese is to be kept for a while. I found the cheese truckles easier to make after the mixture was allowed to sit in the fridge overnight.

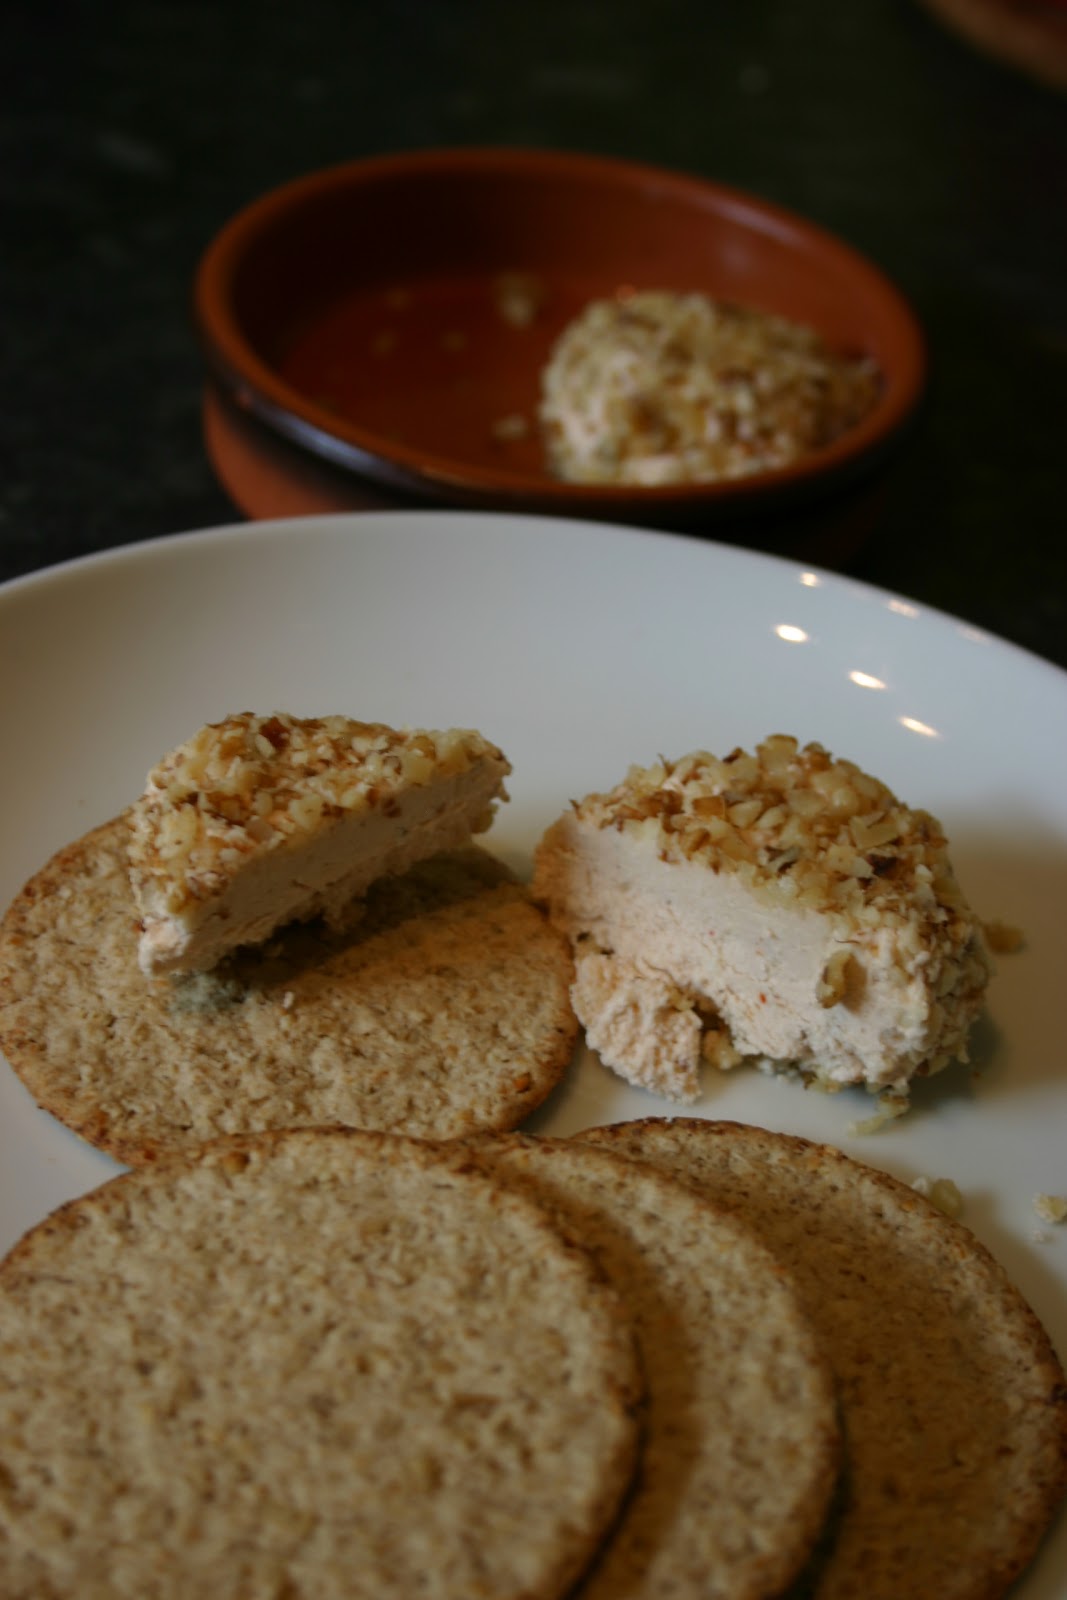
#351 Potted Cheese. I was very much looking forward to making this recipe, mainly because Jane is so enthusiastic about it. When I first made it I wasn’t too sure, I found it grainy and thought the alcohol didn’t quite work. However, I tried it again after a night in the fridge and it had transformed – the port had soaked into the grains of cheese to produce a creamy homogenous cheese truckle. It’s very good on an oatcake. On the strength of this, I’ve gone out and bought a few different cheeses so I can try a few combinations myself. 7/10.