#414 Oldbury Gooseberry Tarts

The summer fruit season is pretty much done and dusted now, with just autumn raspberries and wild blackberries hanging around, but back in June at the very beginning of the season, I made these little gooseberry ‘tarts’. I’m using ‘inverted commas’ there because they are not tarts, they are pies.
In their simplest form, Oldbury fruit tarts are  hand-raised pies made from a hot-water pastry, filled with fruit and sugar and then baked. The pies, according to two of Jane’s correspondents, had links with Oldbury in Gloucestershire, and would be made by families as soon as soft fruits began to appear. In the latter half of the 19th century (and I’m sure much earlier than that too) the pies were ‘sold at fairs at a penny each’.
Below is the recipe and my review of the tarts, but it’s worth pointing out that sometimes these Oldbury pies would be made just like normal raised pies, but instead for being filled with jellied stock as you would  a pork pie, it is filled with fruit jelly preserve instead. This sounds so delicious and I may have a go at these more complex ones. I like the idea of a slice of fruit pie with jelly and some good cheese (Gloucester, of course) to round off a meal.
The hot water pastry for these pies is different to Jane’s recipe for her savoury (#282) Raised Pies in that there is both lard and butter here but no egg or icing sugar (which give crispness and an appetising brown colour to the cooked pastry). However, the method is essentially the same:
First cube 4 ounces each of butter and lard and pour over them 5 tablespoons of boiling water. Stir around until the fats have melted.  Put a pound of plain flour in a bowl, make a well in the centre and tip in the warm liquid mixture. Using a wooden spoon, and then your hands, form a dough.


At this point, I kneaded the dough until smooth – Jane says it should have ‘a waxy look’ – then popped it back in the bowl, covered it with cling film and left it to rest for a bit until it felt like it could be rolled and moulded successfully.

I found that the dough made six tarts using Jane’s method of thinly rolling out batches into circles and, then using a saucer as a template to cut out perfect shapes. I kept the trimmings for the lids.
Here’s the tricky bit: now mould the edges of each pastry circle to a height of about an inch so that they form cases – or in old English coffyns. This was a bit of a nightmare; you need a good cool stiff dough to do this, and if possible, three hands.


Now you can tumble in your topped and tailed gooseberries (about 8 ounces altogether) and a good amount of Demerara sugar (at least an ounce per tart, I’d say, but use your discretion). Roll out the lids, make a hole in the centre, and glue them in place with a brush and water, making sure you crimp the edges. Now leave the pastry to harden, this is a matter of a couple of hours in the fridge, but if leaving them in a cool larder, it’ll require an overnight wait.


Bake the ‘tarts’ for around 25-30 minutes at 200⁰C. Because of a lack of either egg , icing sugar or glaze, the pastry doesn’t turn a nice golden brown, but if the filling is happily bubbling away within, you can be pretty sure they are ready.


I served them warm with some pouring cream.

#414 Oldbury Gooseberry Tarts. Well these were not really worth the effort as the pastry was pretty disappointing in both taste and texture. Gooseberries in any form are good of course, so I did eat them. I’m looking forward to trying to make a larger pie filled with fruit jelly – that hasto be delicious. 4/10.

#297 Raspberry Pie


The tale of this pie is of personal pain and anguish. Let me tell you the tale…

It was my work-buddy Chandra’s PhD thesis defence yesterday and she requested that I made this pie rather a cake for when she came out. Great stuff, thought I, any excuse to make something out of the book, plus the raspberry is my favourite fruit so it has got to be a winner. This pie is an eighteenth century pie and requires the fruit to be cooked in the pastry casing and then in the last five minutes, a custard to be poured in through the hole in the pastry. This was the usual way to make a fruity pie in those days, apparently. Anyway, Griggers says to serve it hot or warm, so I nipped back to my apartment to make it. I popped the pie into the oven and got the custard – or caudle as it was called then – ready.

Unfortunately the raspberries were so juicy that there was no room for any caudle, so I ran over the road and bought some straws from the shop with the inspired idea that I would suck the spare juice out. Hoping the pie had cooled slightly I attempted to suck some out – I think because time was becoming an issue I didn’t notice the fact that this was 170°C fruit syrup too much, but then as I realized just how much syrup there was, my nervous system kicked in. Cue much wincing and swearing. After about 15 minutes of this, I had finally cleared enough space to pour the caudle in. Mouth pretty sore, but not major damage done. Popped the pie back in the over for its final five minutes and rushed it back to Rice University. It was only whilst driving down towards work that I noticed the skin of the roof of mouth sloughing off and dangling upon my red raw tongue. She had better bloody like this pie. Luckily it went down well. On returning home later that evening, I rinsed my mouth out with Listerine before bed. More agony. Then, in the morning, I thought I would clean my tongue as well as my teeth as it was burnt and may have had some nasty bacteria there trying to infect the poor thing. Bad idea. I left for work with bleeding tongue. Hopefully it won’t go gangrenous and I won’t have to have my face removed.

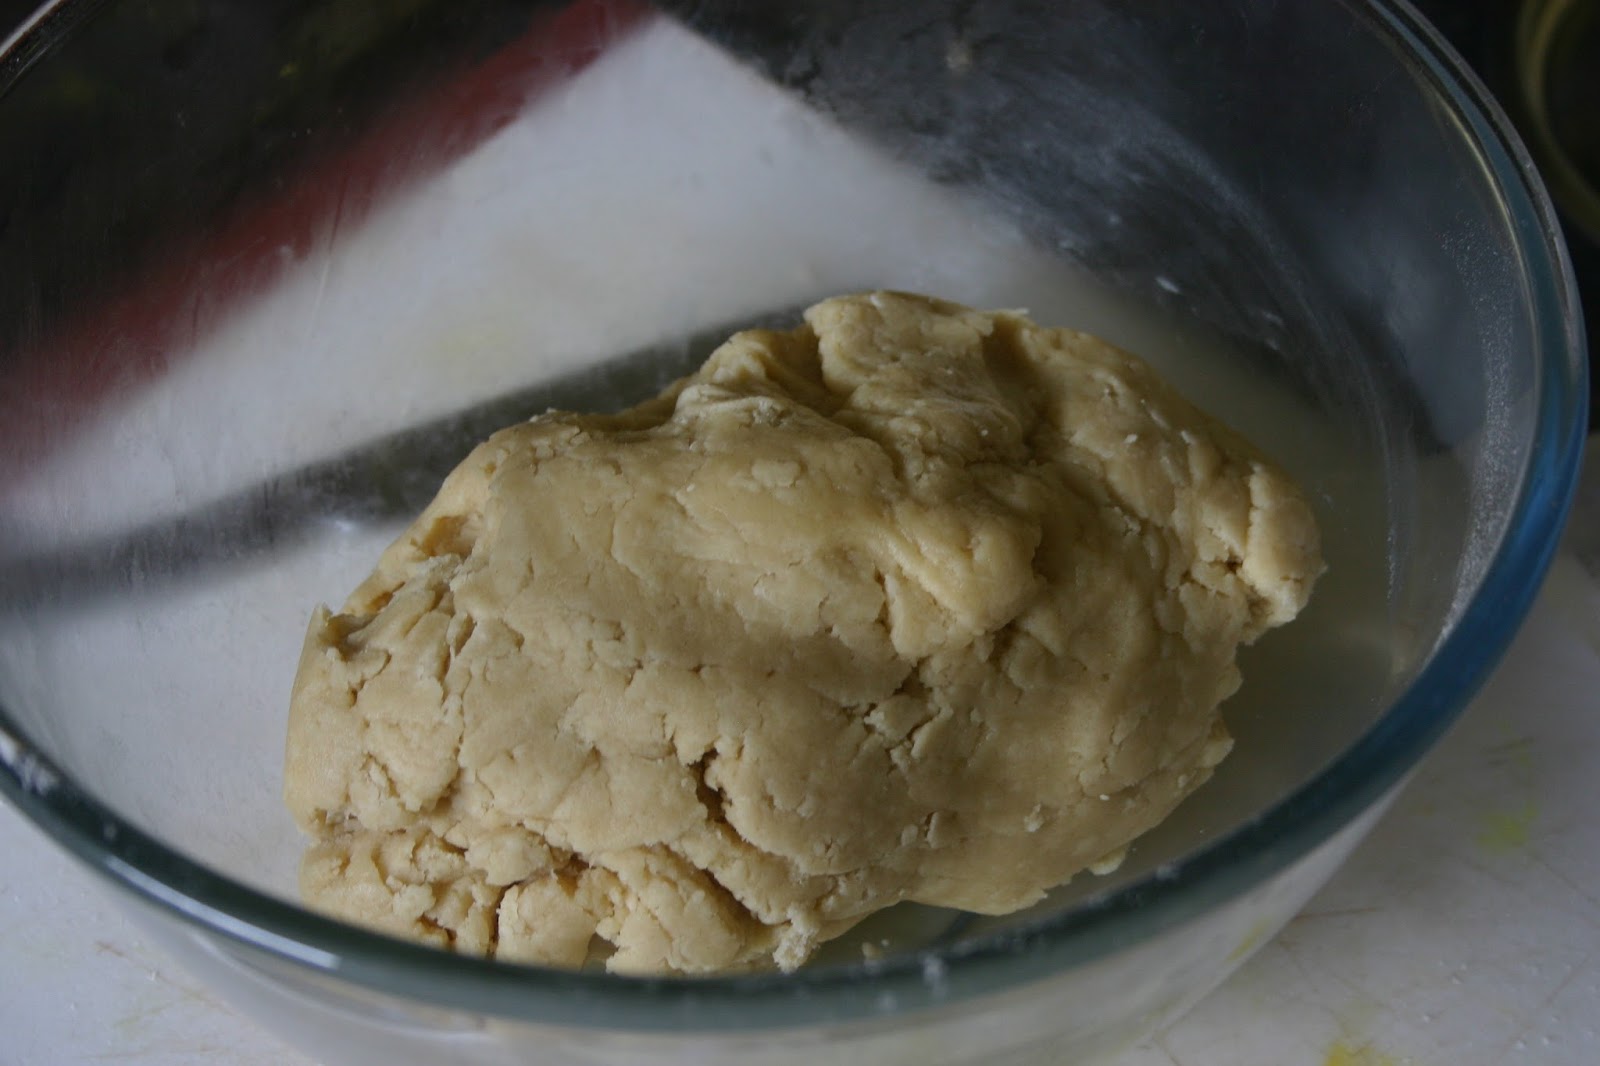
To make the pie, you need to start with the pastry. In the eighteenth century, puff pastry will have been used, but Griggers goes for the sweet rich shortcrust and gives an ingredients list for it. Sieve 12 ounces of plain flour along with 2 tablespoons of icing sugar and a pinch of salt into a large bowl. Next, add 8 ounces of cubed butter or a combination of butter and lard. Use a mixer or food processor, to rub the butter into the flour. If you like to keep it real, use your hands or one of those pastry cutters as I did. The important thing is to keep everything as cold as possible – use butter straight out of the fridge and turn that A/C as low as you can! Once the butter is rubbed in, add an egg yolk (keep the white) and two or three tablespoons of ice-cold water, enough to bring everything to a dough. Don’t worry if you add too much, you can add some more flour. Knead the dough briefly and then pop it in the fridge to rest and firm up again.

Preheat your oven to 190°C (425°F) and place a baking sheet on one of the shelves. Now roll out two-thirds of your dough and line your pie dish with it. If it is warm in the kitchen, roll it out on some cling film, this will stop it from breaking up. A top tip for you there. The dish needs to be 2 to 3 inches deep, Griggers doesn’t mention a diameter, but I went with an eight inch diameter one. Now arrange a pound of raspberries in a layer in the pie and sprinkle over 4 ounces of sugar (or less, if the raspberries are particularly sweet).

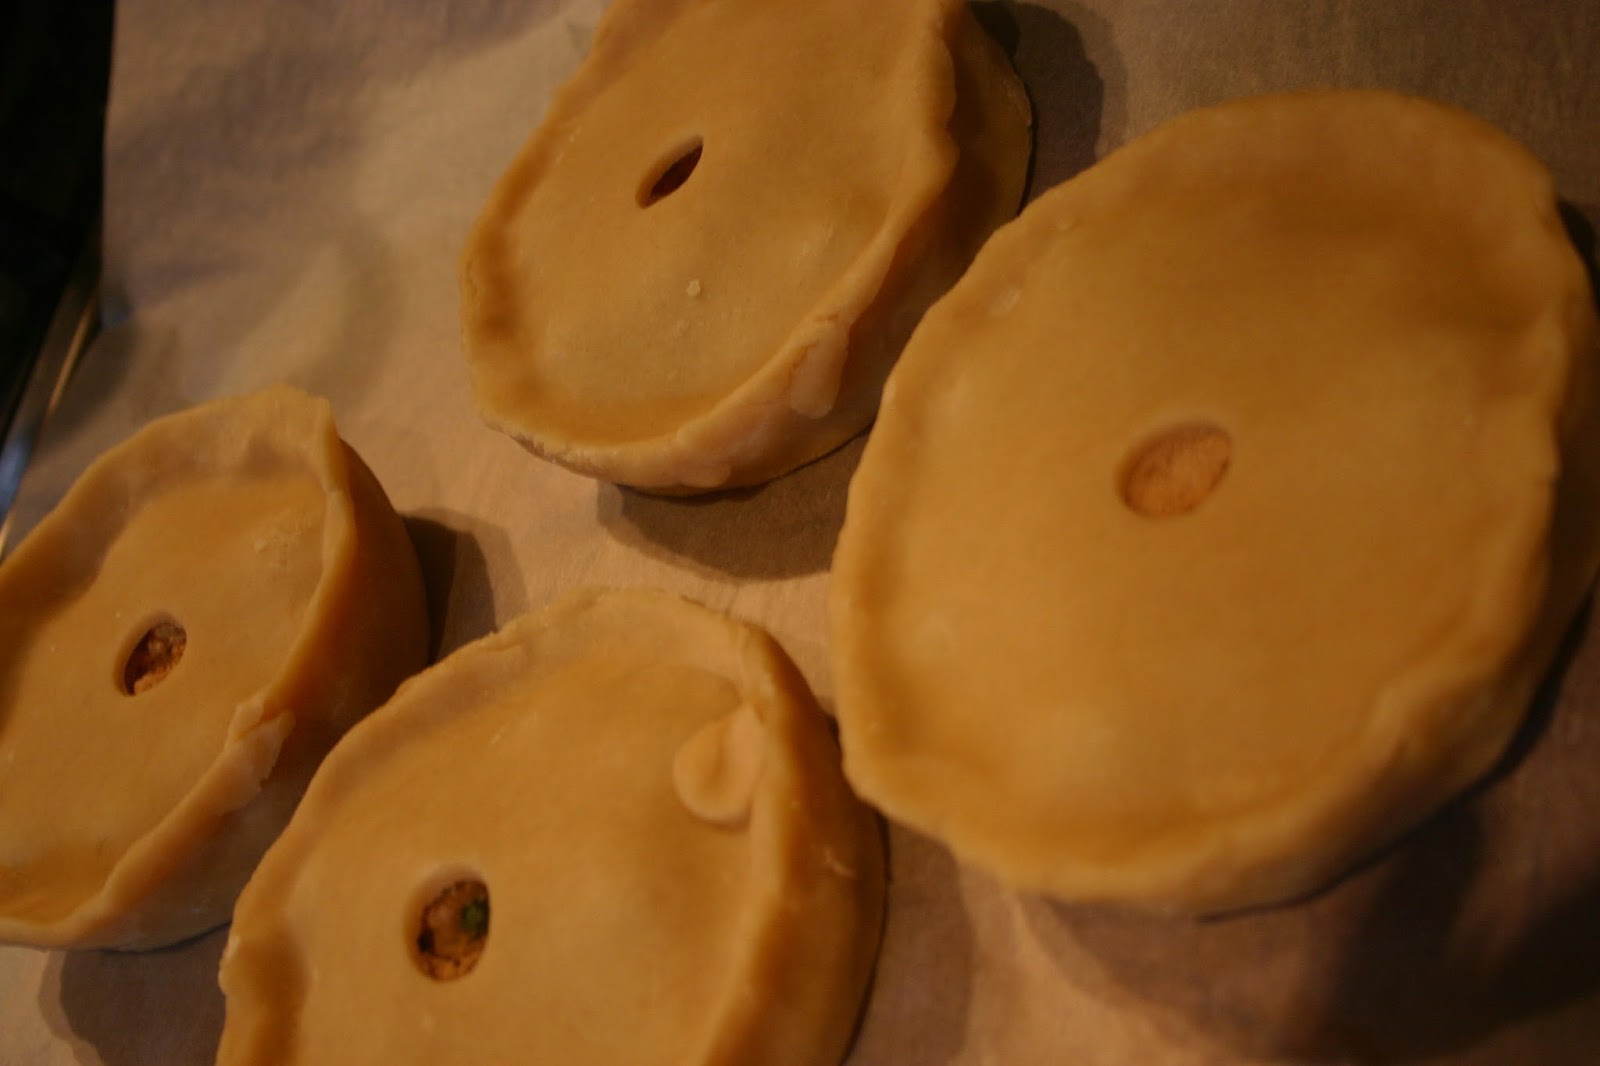
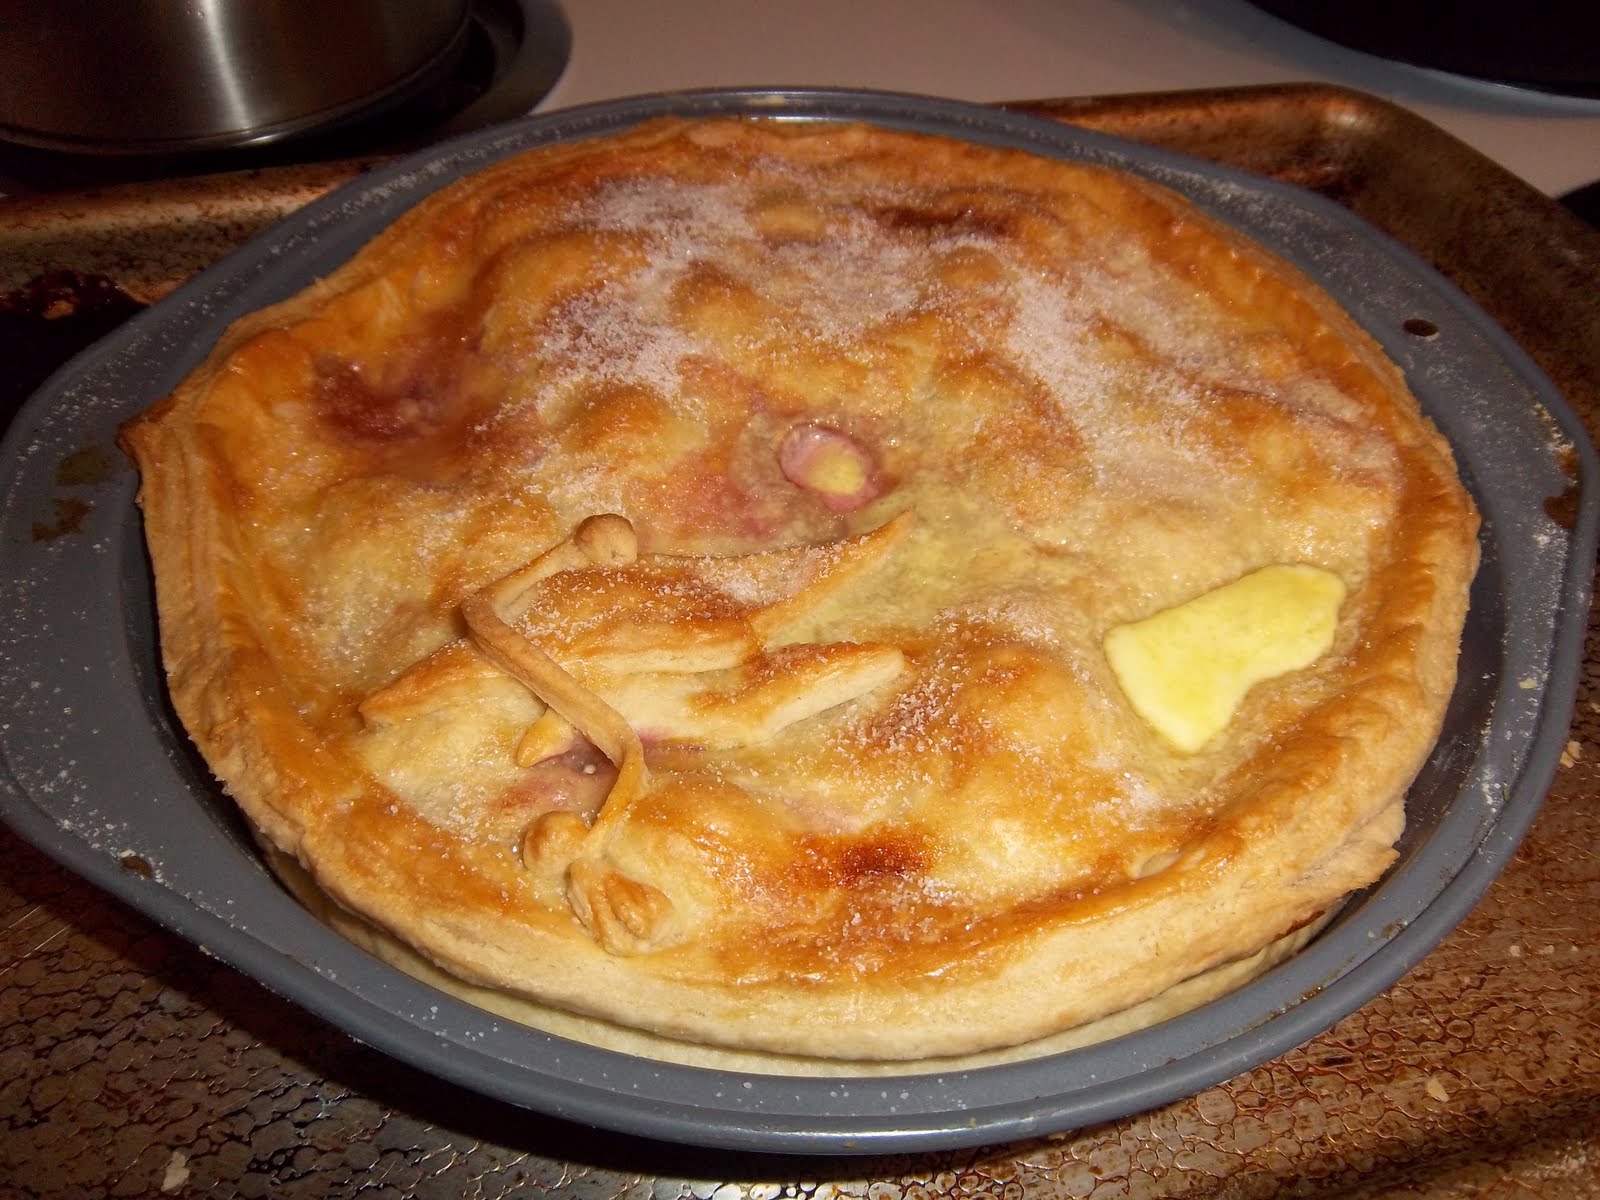
Roll out the remainder of the pastry to form a lid, gluing it on with a brushing of the reserved egg white. Trim the edges and decorate if you wish – I went with a mortar board motif, seeing as it was a PhD defence. Brush with more egg white and sprinkle with sugar. Make sure you leave a good-sized hole in the centre. Place in the oven on the hot baking tray and bake for 15 minutes before turning down the heat to 190°C (375°F). The point of the hot baking tray is so that the pastry bottom crisps up before the raspberries give up their juice, preventing a soggy pastry bottom to the pie. The pie should be cooked until the pastry is nicely browned and crisp, around 40 minutes.

Whilst it is cooking, prepare the caudle: bring 4 fluid ounces of single and 4 of double cream to a boil in a saucepan. As soon as boiling point is reached pour them over two egg yolks, whisking vigorously to prevent making scrambled eggs. In the final 5 minutes of cooking, take the pie out of the oven and slowly pour the caudle into the pie using a funnel and return to the oven so the caudle can thicken. Serve hot or warm. Oh, she makes it sound so easy. Looking back, it would have been better to pile the raspberries in the middle slightly so when it collapsed there would have been some space for the caudle. It was also suggested that instead of using a straw, I should have used a baster or a pipette or something. Retrospect is a wonderful thing.

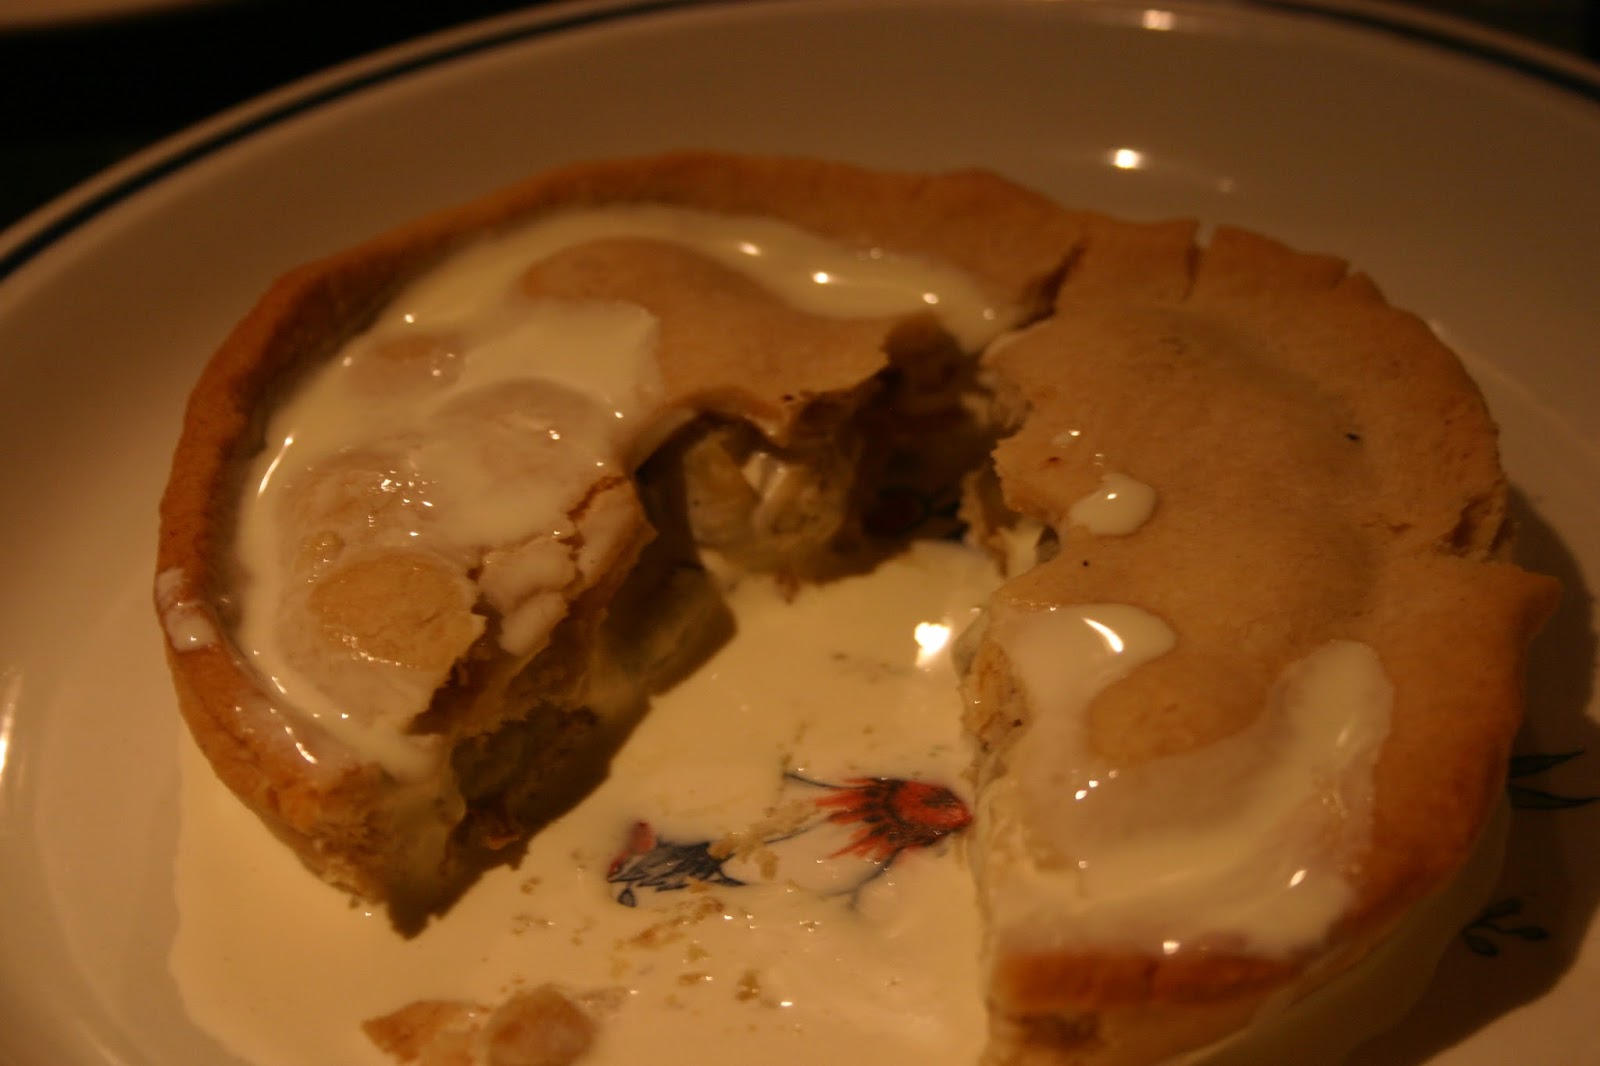
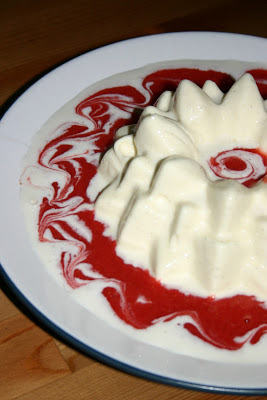
#297 Raspberry Pie. Ah, the raspberry. There is nothing better than stumbling across some wild raspberries when walking in the woods. The pie itself was reminiscent of the French clafoutis, where fruit is cooked in custard in a pastry case, though without the lid. I love raspberries, I love custard and I love pastry, so this could not have been a disappointment. I have to say it was delicious, even though I my taste-buds were not working at their best at the time. The caudle had thickened up and mixed with the juice, and it wasn’t overly sweet either. Jane says that you can use any soft fruit for this pie – gooseberries work particularly well apparently – so I shall be definitely this again whenever there is a glut of soft fruits. Though without the second-degree burns this time. 8.5/10.

#245 Coconut Cream with Strawberry Sauce

This is a dessert that I had been looking forward to making for a while – I was just waiting for strawberry season. What could possibly not be delicious about strawberries, coconuts and cream?? Griggers doesn’t say anything about where it comes from; whether it was modern at the time of writing or if it has a good stoic history in the annals of English cookery. Scroll down to the picture, though, and you have to assume it’s probably from the Fanny Craddock School rather than the Alexis Soyer School.

It’s a little bit of a faff this one and the coconut cream needs to be made well in advance because it contains gelatine and that needs to set. To make it, bring ¼ pint of single and soured cream slowly to a boil along with a split vanilla pod and 4 ounces of desiccated coconut and 7 fluid ounces of water. Let the mixture simmer for 10 minutes and let it cool down until ‘tepid’. Pass through a sieve and add either powdered or leaf gelatine dissolved in 6 tablespoons of water; follow the instructions in the packet and make enough for a pint of liquid in total. Also add a good tablespoon of grated creamed coconut and add sugar and lime juice to taste. Griggers says: “the citrus juice is an enhancer, it should not be identifiable”. Pop the cream in the fridge and allow to cool and reach an ‘egg white consistency’. At this point, fold in ½ pint of whipping cream that had been whipped stiffly. Pour the whole mixture into a lightly-oiled decorative jelly mould and allow to set. To turn it out, dip the mould in hot water briefly before upturning it.

The strawberry sauce is much easier. Hull a pound of strawberries, keeping the nicest ones behind for decoration, and liquidise the rest with the addition of some icing sugar to sweeten. Pour the sauce around the coconut cream and “dispose of the strawberry halves in a decorative manner”. Or else.

#245 Coconut Cream with Strawberry Sauce. Oh, I had looked forward to this one for so long; I should have learned by now that some of these desserts are just plain rubbish. And this one definitely fits into that category. The coconut cream was pretty tasteless bearing in mind the number of what should be delicious ingredients that made it up. Next time, strawberries and cream will be served. 3/10.

#60 Tomato Soup

I still haven’t make anything since I got back, however I did do (#60) Tomato Soup before I left for France. I think it’s important to use fresh tomatoes in this, as tinned have a taste of their own, that although very good, are not suitable. I bought tomatoes on the vine and kept them on the windowsill so that they got nice and ripe and, er, tomatoey. Even then I still had to add extra sugar and tomato puree. Anyways, it was nice to have a cream of tomato soup that wasn’t from a tin.

Soften 3 ounces of chopped carrot, 2 ounces of onion and a garlic clove in two ounces of butter, and then add a pound of peeled tomatoes that have been halved. (To peel them, put them in a bowl of boiling water for 30 seconds and the skins just slip straight off.) Add 1 1/4 pints of stock – chicken, beef or vegetable (I did veg). Bring to the boil and simmer until everything’s cooked through – about 15 minutes. Test the carrot, as it is this that takes the longest. Liquidise the soup and push it through a sieve leaving behind the tomato pips. Now the important bit: the seasoning. Add salt and pepper as you normally would, but also add some sugar and around 2 teaspoons of tomato puree, if the tomatoes need it. Also add some freshly-grated nutmeg; I think it makes all the difference. Boil 1/4 pint of single cream and add the soup mixture. When you are just about to serve it, sprinkle over some chopped parsley. Serve with bread, or maybe a giant crouton.


The Grigson says that you can serve it cold: Chill the soup before adding cold cream.

#60 Tomato Soup: 7/10. A really good, light summery soup. It wasn’t packed with tomato flavour, but it was delicious. I’ll certainly do it again.